36 Harry Potter Pumpkin Painting: Whimsical Wizarding World Ideas
This post may contain affiliate links. Please see my full disclosure for more information.
Pumpkin painting turns a simple fall craft into a full wizarding-world moment, and harry potter pumpkin painting is one of the easiest ways to bring house colors, owls, and wands to your porch without a single carving tool. Acrylic craft paint goes on smooth, dries fast, and lets you skip the mess of cutting into a slippery pumpkin shell.
Whether you have a house full of young witches and wizards or you just love an autumn craft night, these 40 designs give you something for every skill level. From bold house-color stripes to soft owl portraits, each idea uses basic supplies you probably already have in a craft bin.
Hogwarts House Pumpkins
1. Crimson and Gold Stripes
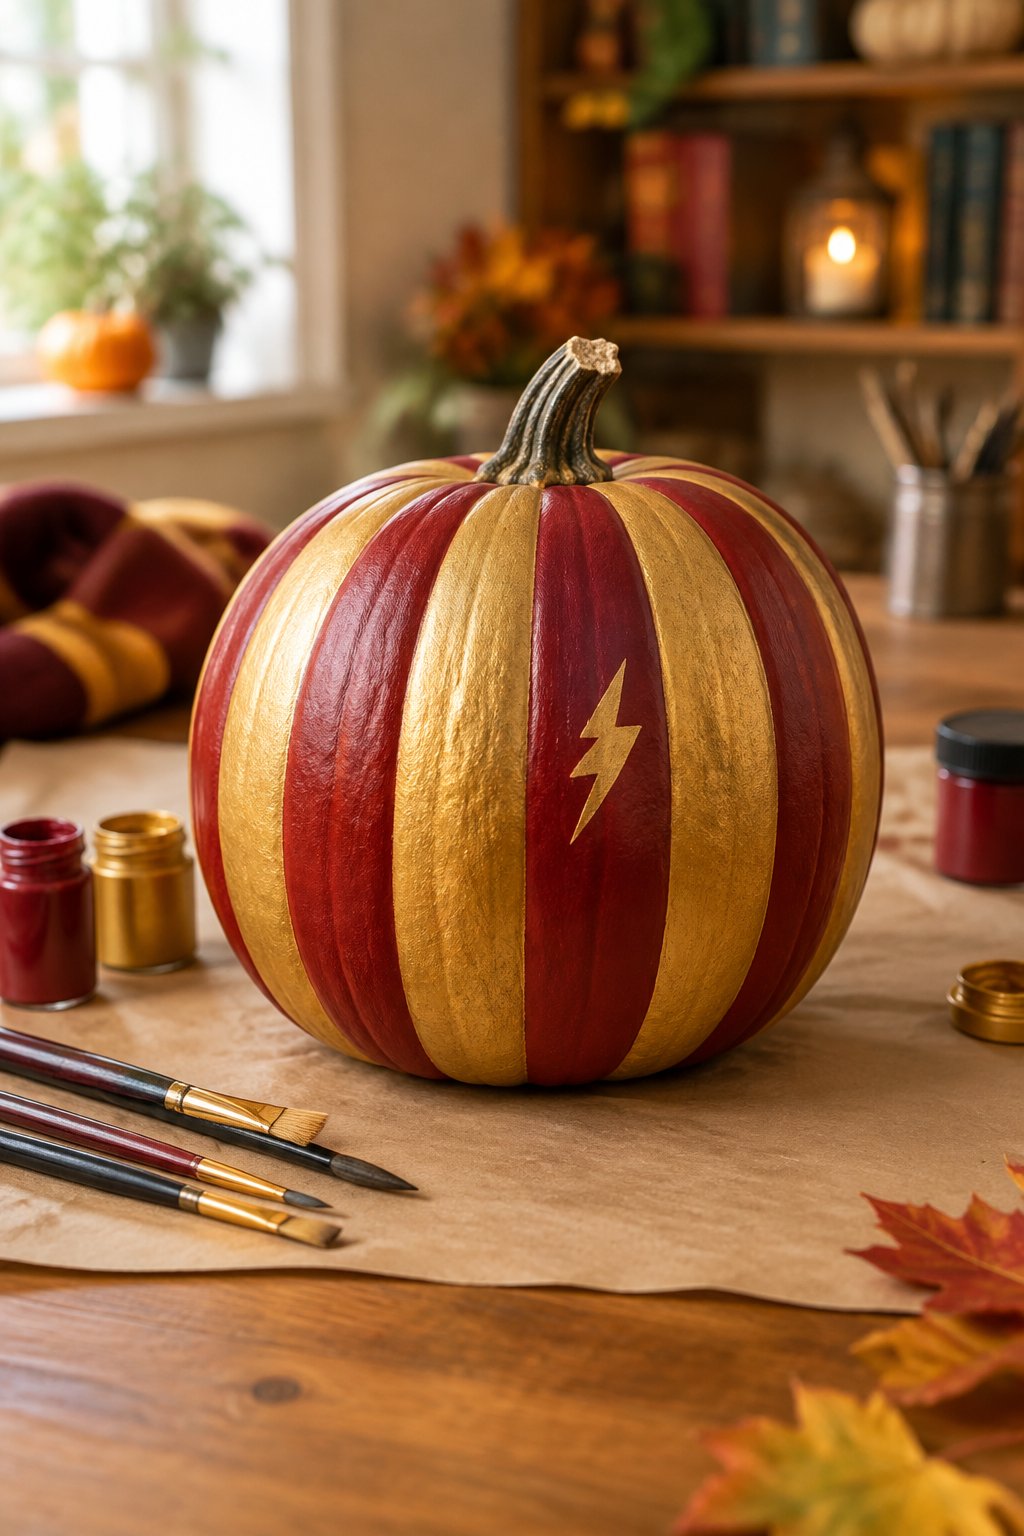
A tall orange pumpkin gets wrapped in wide crimson and gold vertical stripes, standing proud on a wooden porch step in warm afternoon light. The bold color pairing makes it pop against any autumn doorstep display.
Use painter’s tape to mark even stripe lines before you paint, then peel it off once the acrylic dries for crisp edges. This design works great for beginners since straight lines are easier than fine detail work.
2. Emerald and Silver Swirls
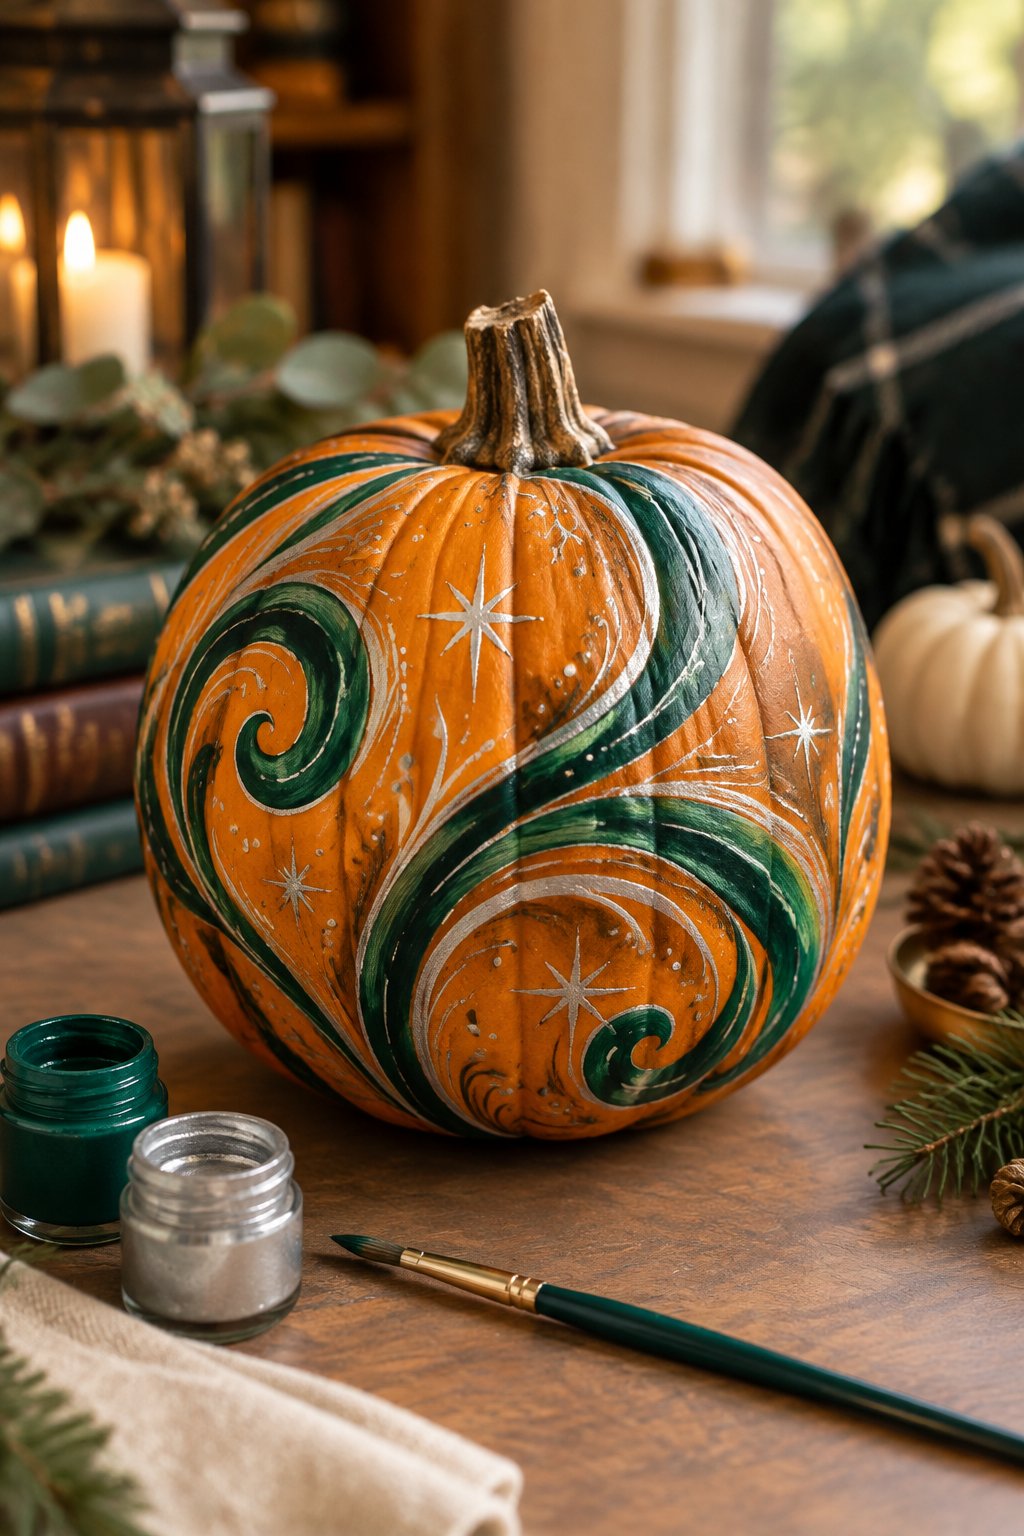
A white pumpkin gets swirled with ribbons of emerald green and silver, sitting pretty on a mantel next to a small lantern. The pale base makes the jewel tones look extra rich and glossy.
Try a thin round brush for the swirl lines and let each color dry before adding the next layer. Kids who love drawing loops and spirals will enjoy this one the most.
3. Sapphire and Bronze Bands
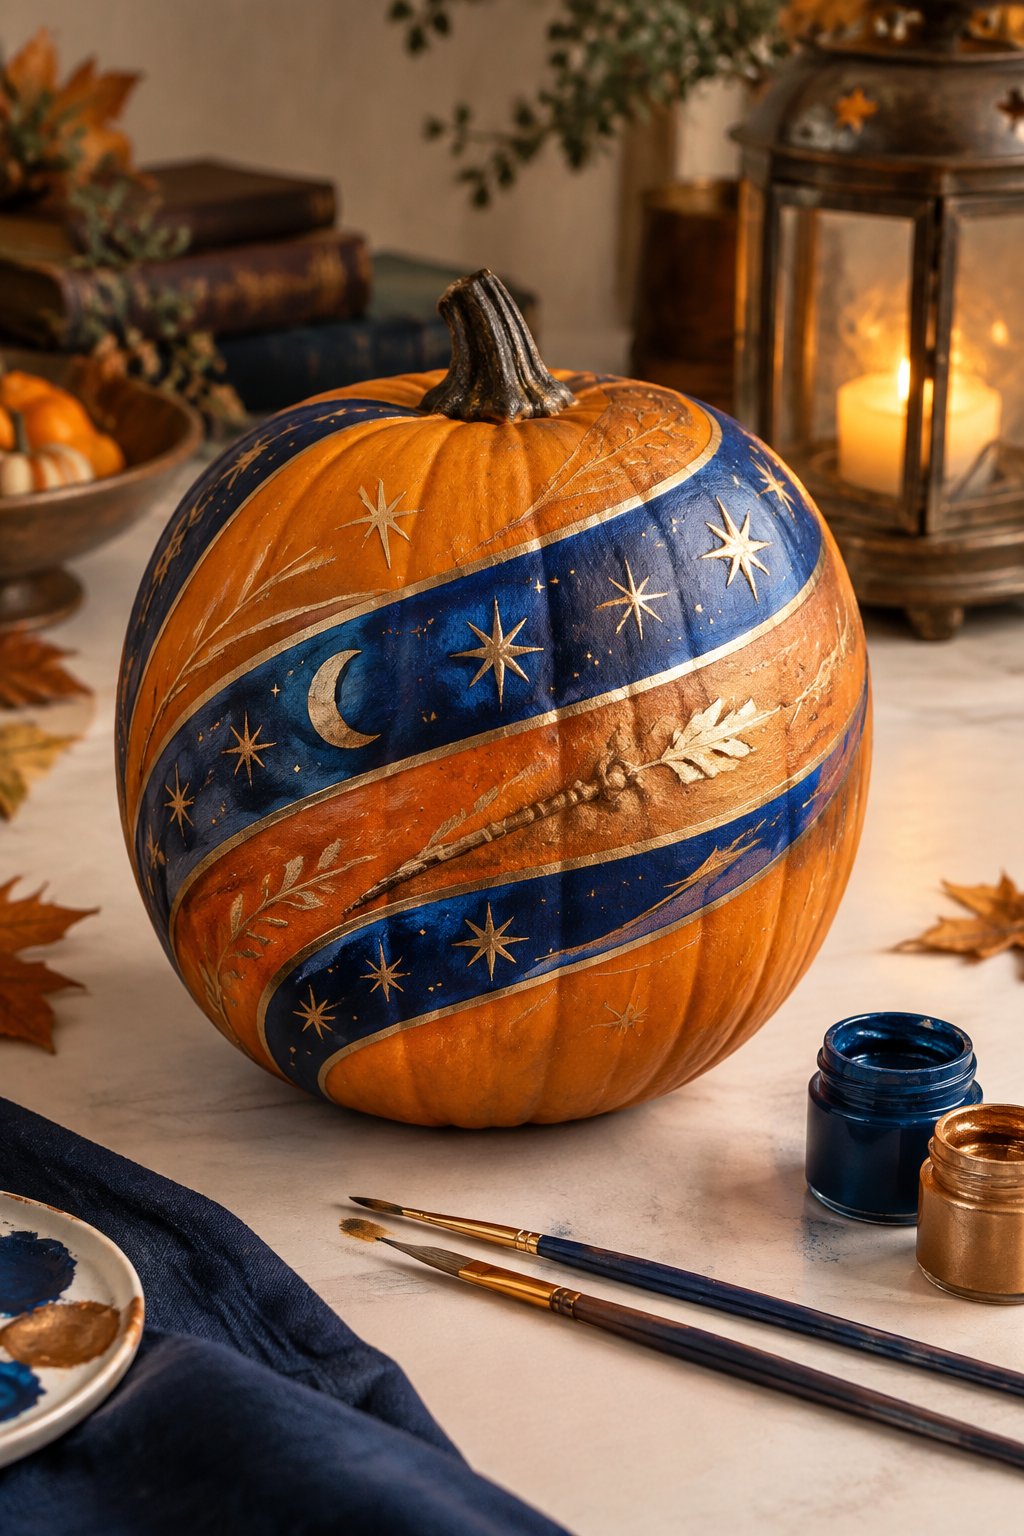
A mini pumpkin wears neat bands of sapphire blue and bronze, tucked on a windowsill among scattered autumn leaves. The smaller size makes this a quick project for a single afternoon.
Metallic acrylic paint gives the bronze bands a soft shimmer without needing glitter or sealant. This size is perfect for littler hands since there’s less surface to cover.
4. Sunny Yellow and Black Trim
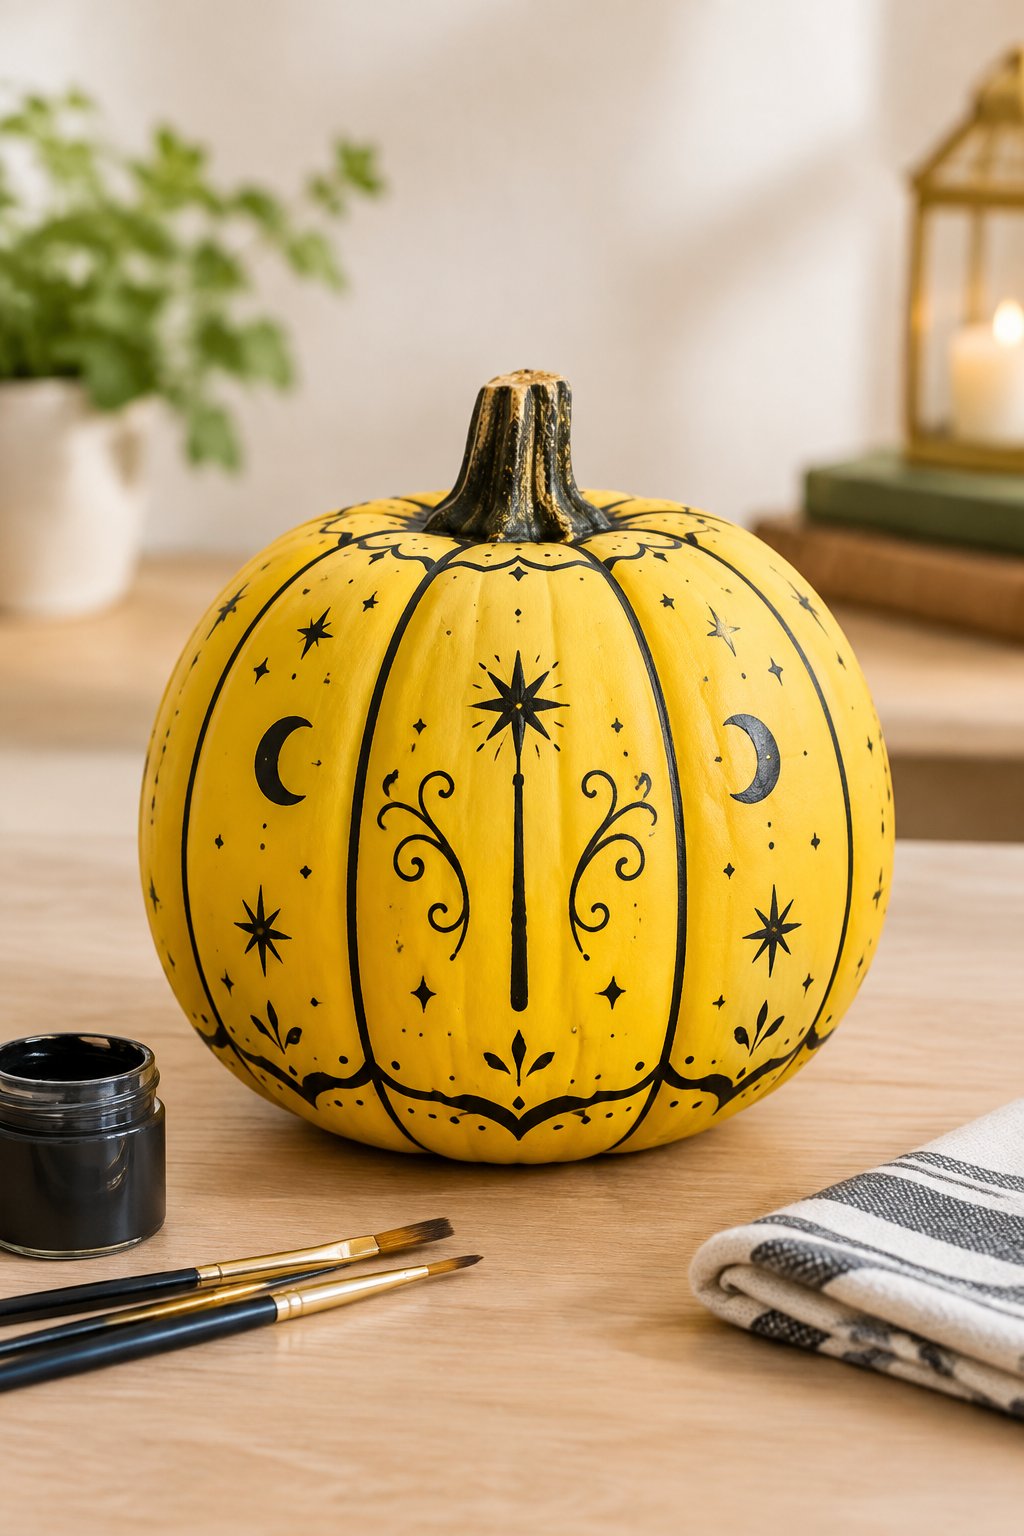
A squat orange pumpkin gets trimmed in sunny yellow and black diagonal stripes, propped on a stacked hay bale for a farmhouse feel. The diagonal angle adds movement compared to plain straight stripes.
Paint the yellow base coat first, let it dry fully, then add black diagonal lines on top. A foam brush helps keep the yellow coat smooth and streak-free.
5. Four House Color Wheel
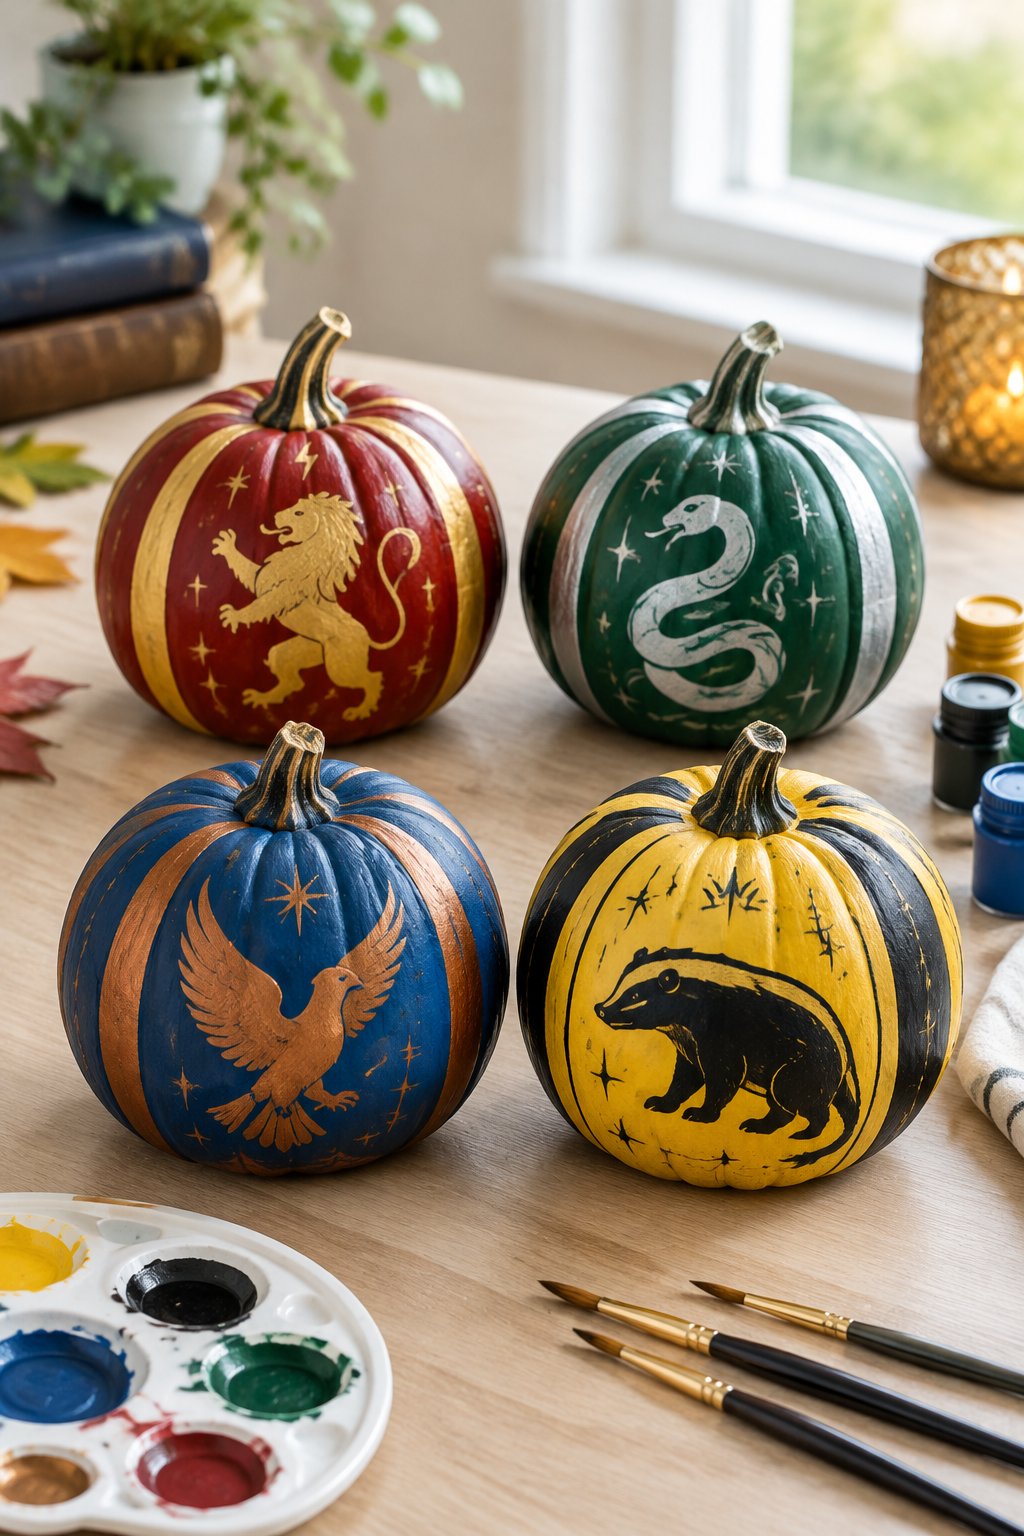
A tall pumpkin is divided into four painted quadrants of crimson, emerald, sapphire, and yellow, standing tall on a garden table. It works like a color wheel that celebrates every house at once.
Sketch the four sections lightly with a pencil before painting so your lines stay even. This is a fun group project since each person can paint one quadrant.
6. House Crest Shield Shapes
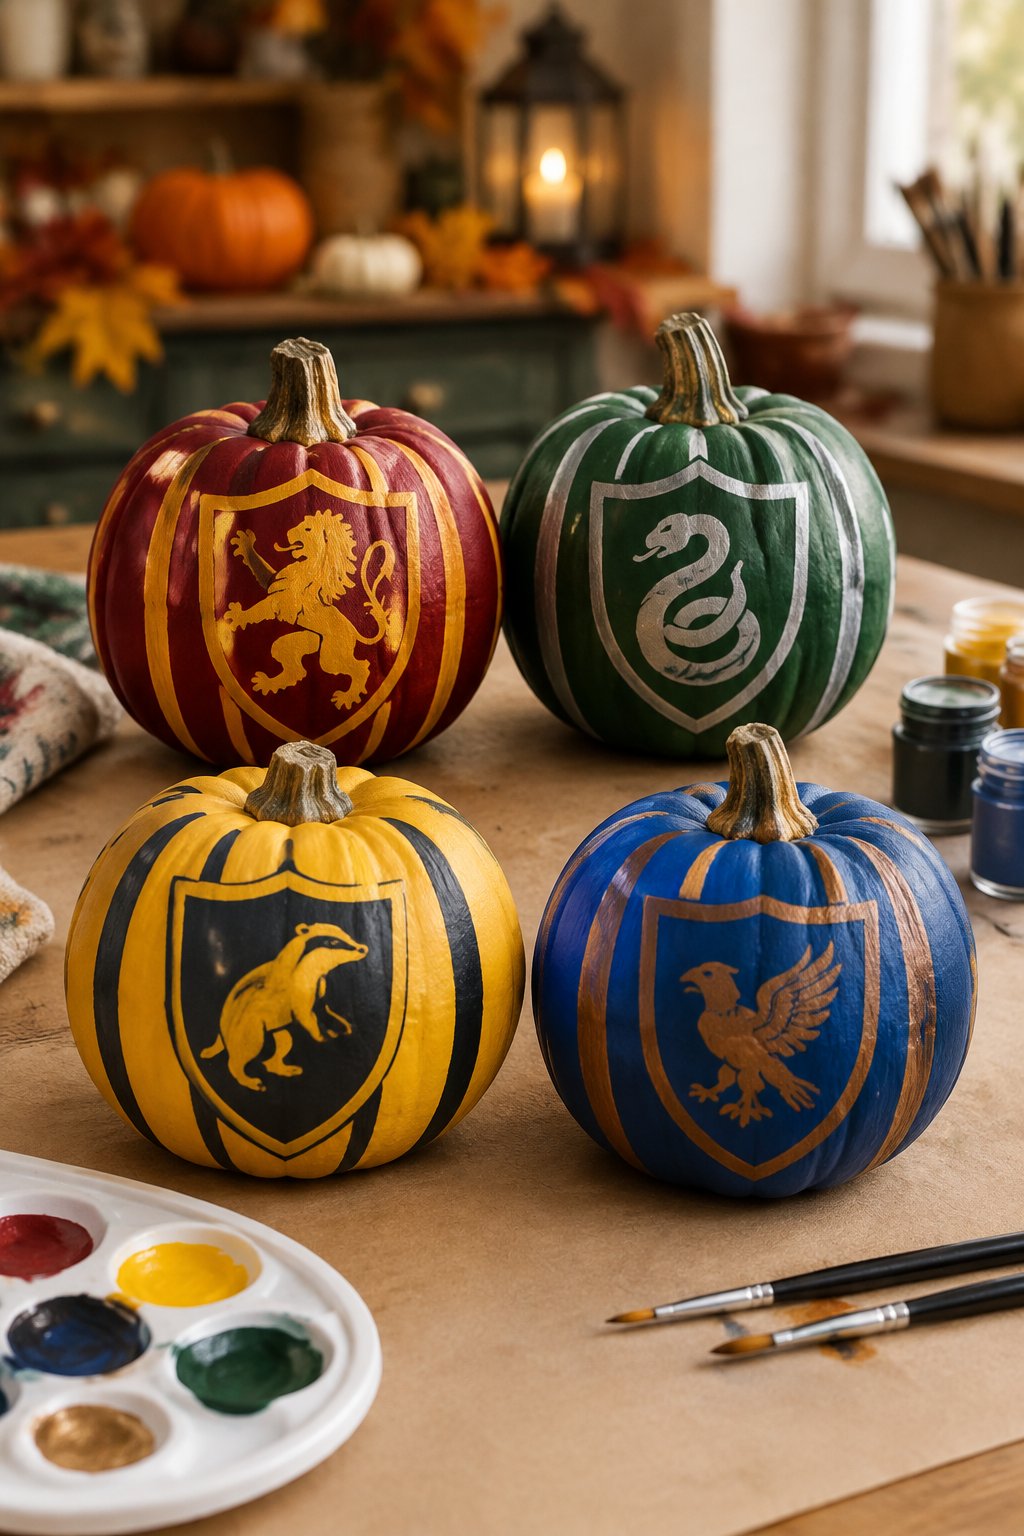
A green pumpkin shows off a simple shield outline in gold and crimson tones, resting among pinecones on a shelf. The shield shape adds a heraldic touch without needing tiny details.
Draw the shield outline with a paint pen for clean edges, then fill it in with a small brush. This design suits older kids who enjoy more structured shapes.
7. Wizard Robe Stripe Pattern
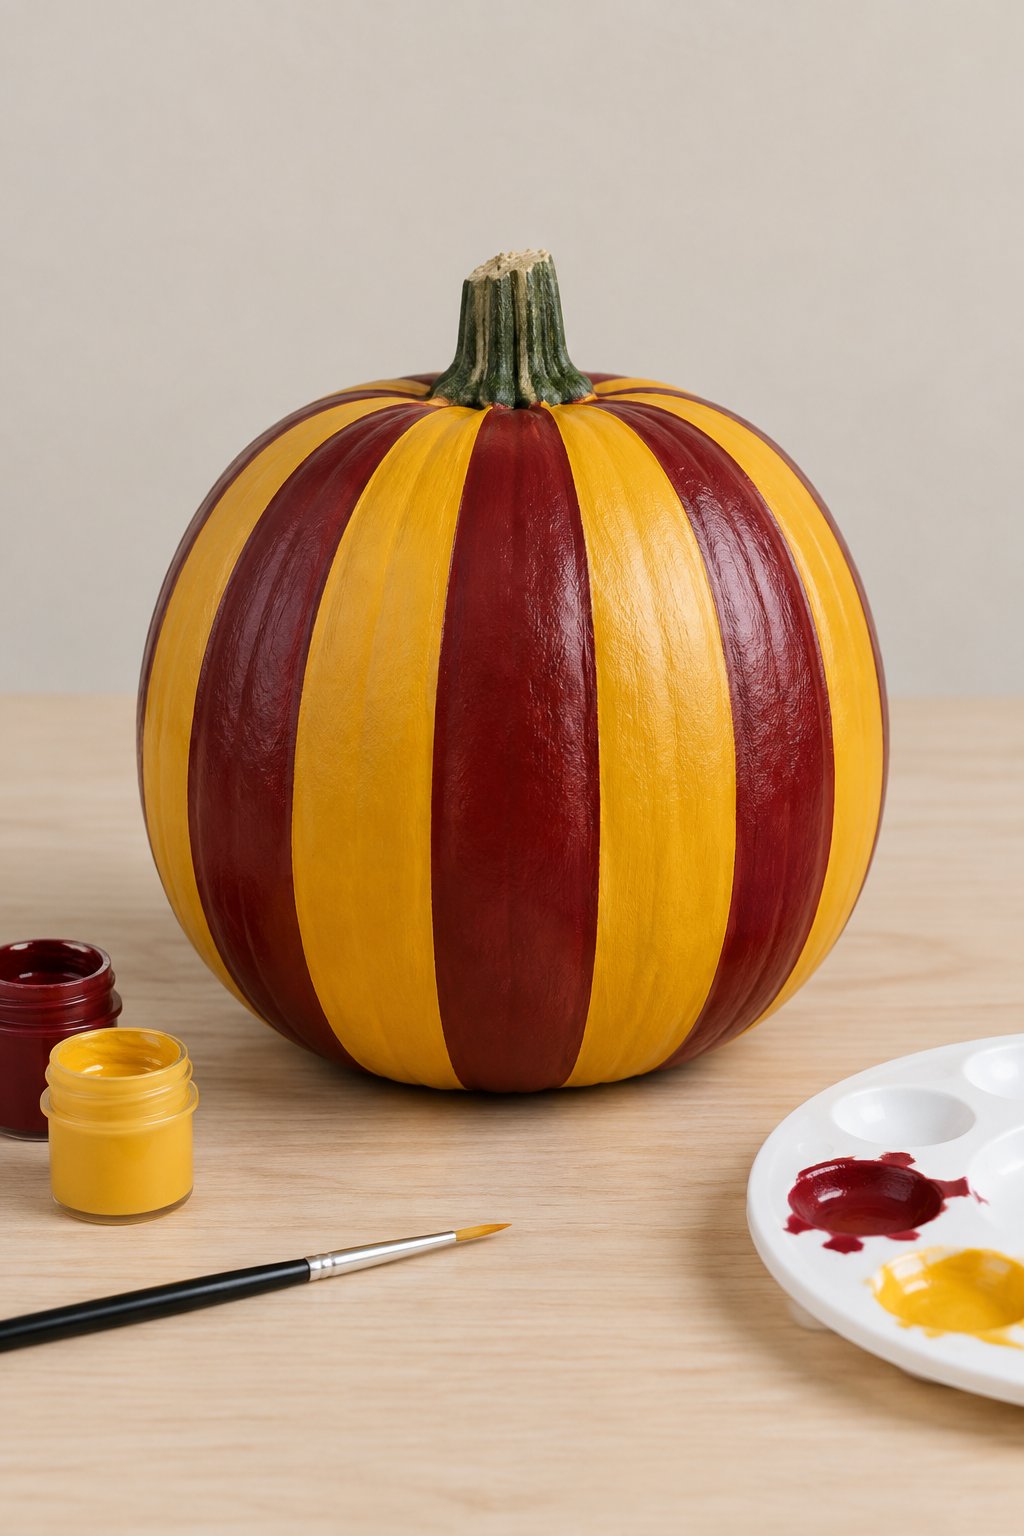
A stacked pumpkin duo is painted with flowing robe-like stripes in maroon and gold, arranged on a stone step. Stacking two pumpkins gives it a taller, robe-like silhouette.
Use a wide flat brush for the flowing stripe effect so the lines curve naturally like fabric folds. Stack the pumpkins with a dab of hot glue to keep them steady outdoors.
Hedwig and Owl Post Pumpkins
8. Snowy White Owl Face
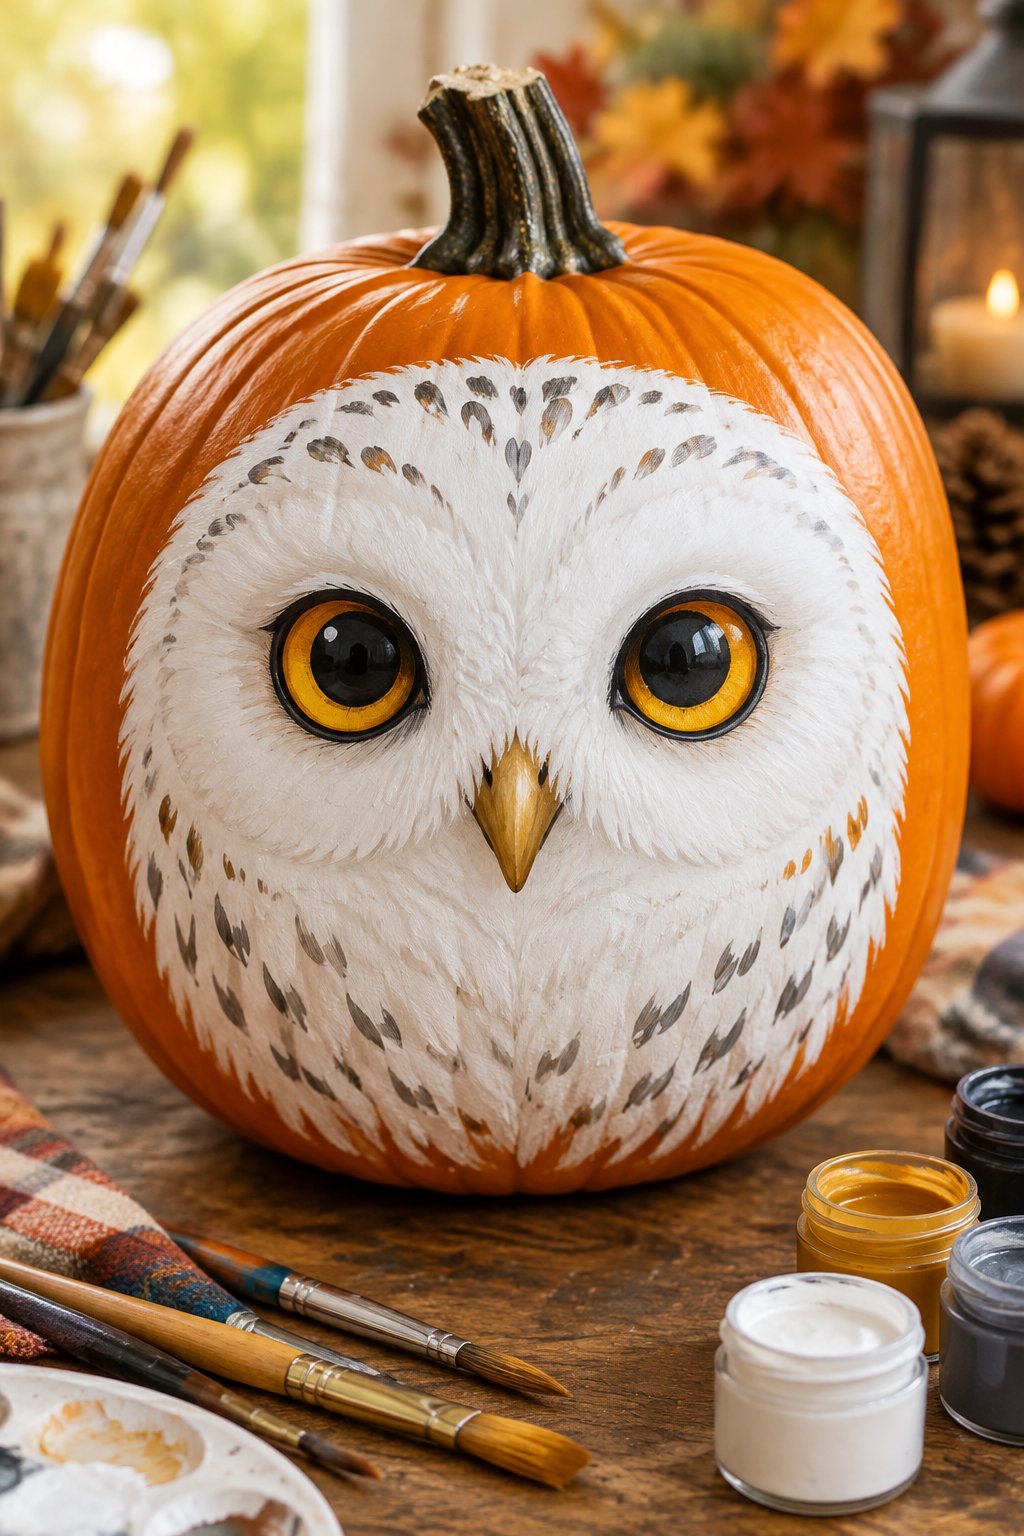
A white pumpkin becomes a round snowy owl face with big amber eyes and soft feather texture, perched on a windowsill. The pale pumpkin skin makes a natural canvas for the owl’s coloring.
Dab short brush strokes around the edges to mimic feathers before adding the round amber eyes last. This one is a favorite for families who love owls more than wizards.
9. Owl in Flight Silhouette
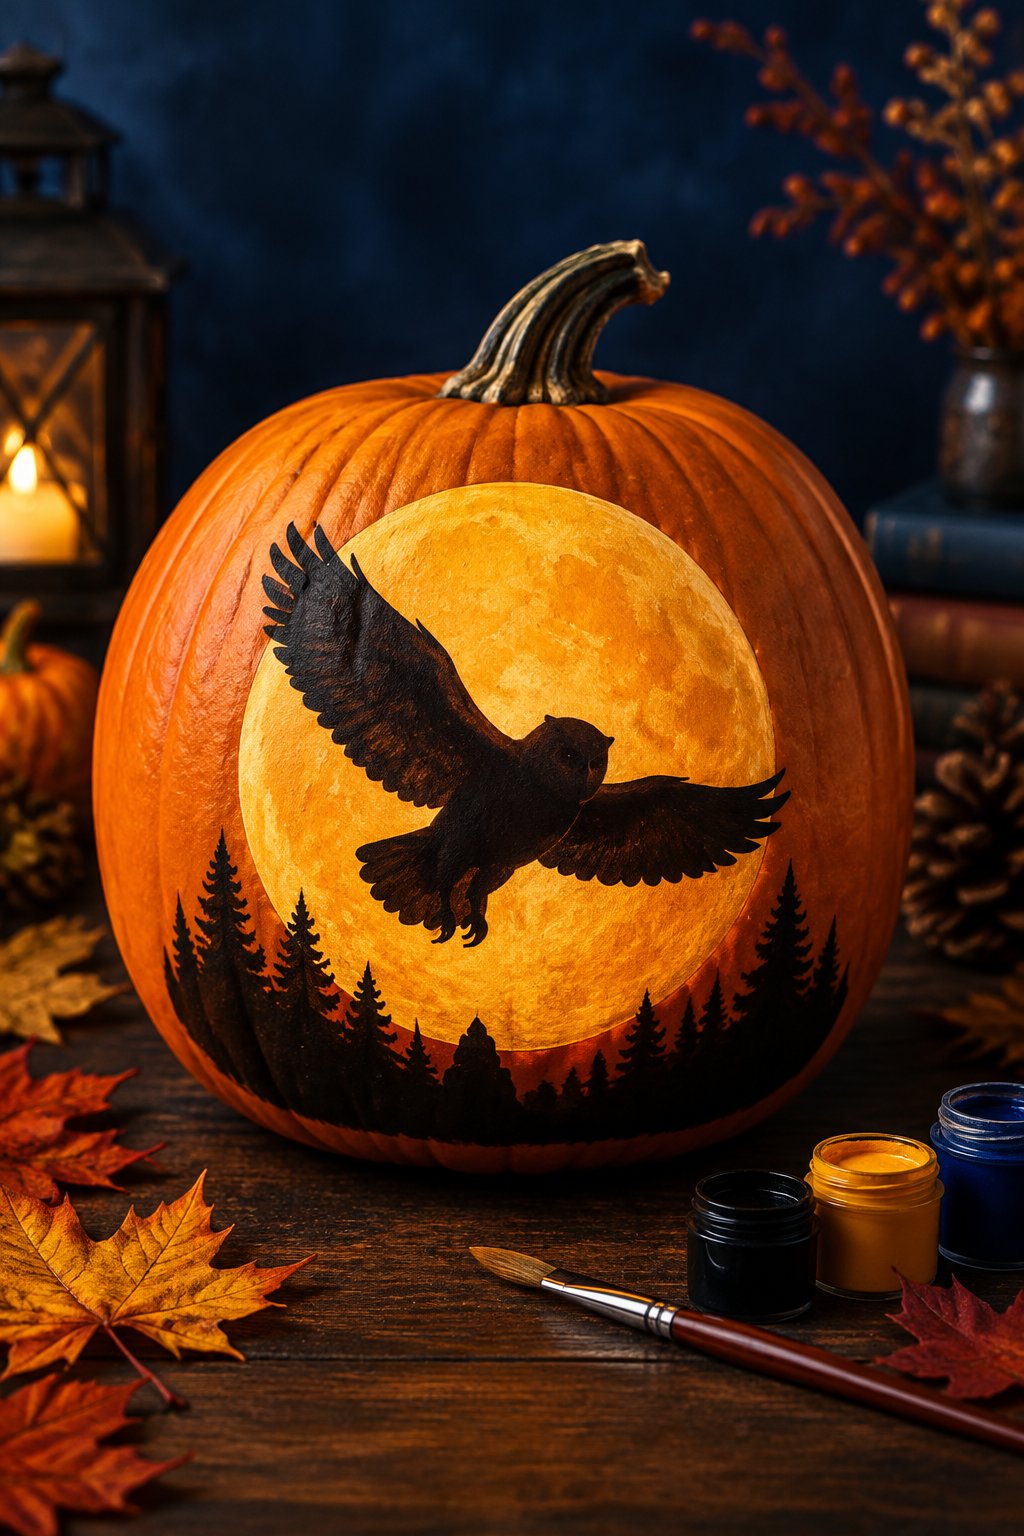
An orange pumpkin shows a white owl silhouette mid-flight against a dusky purple sky, set out on porch steps. The purple background gives it a dreamy evening feel.
Paint the purple sky background first and let it dry completely before adding the white owl shape on top. A stencil makes the owl silhouette easy for beginners to trace.
10. Perched Owl on Branch
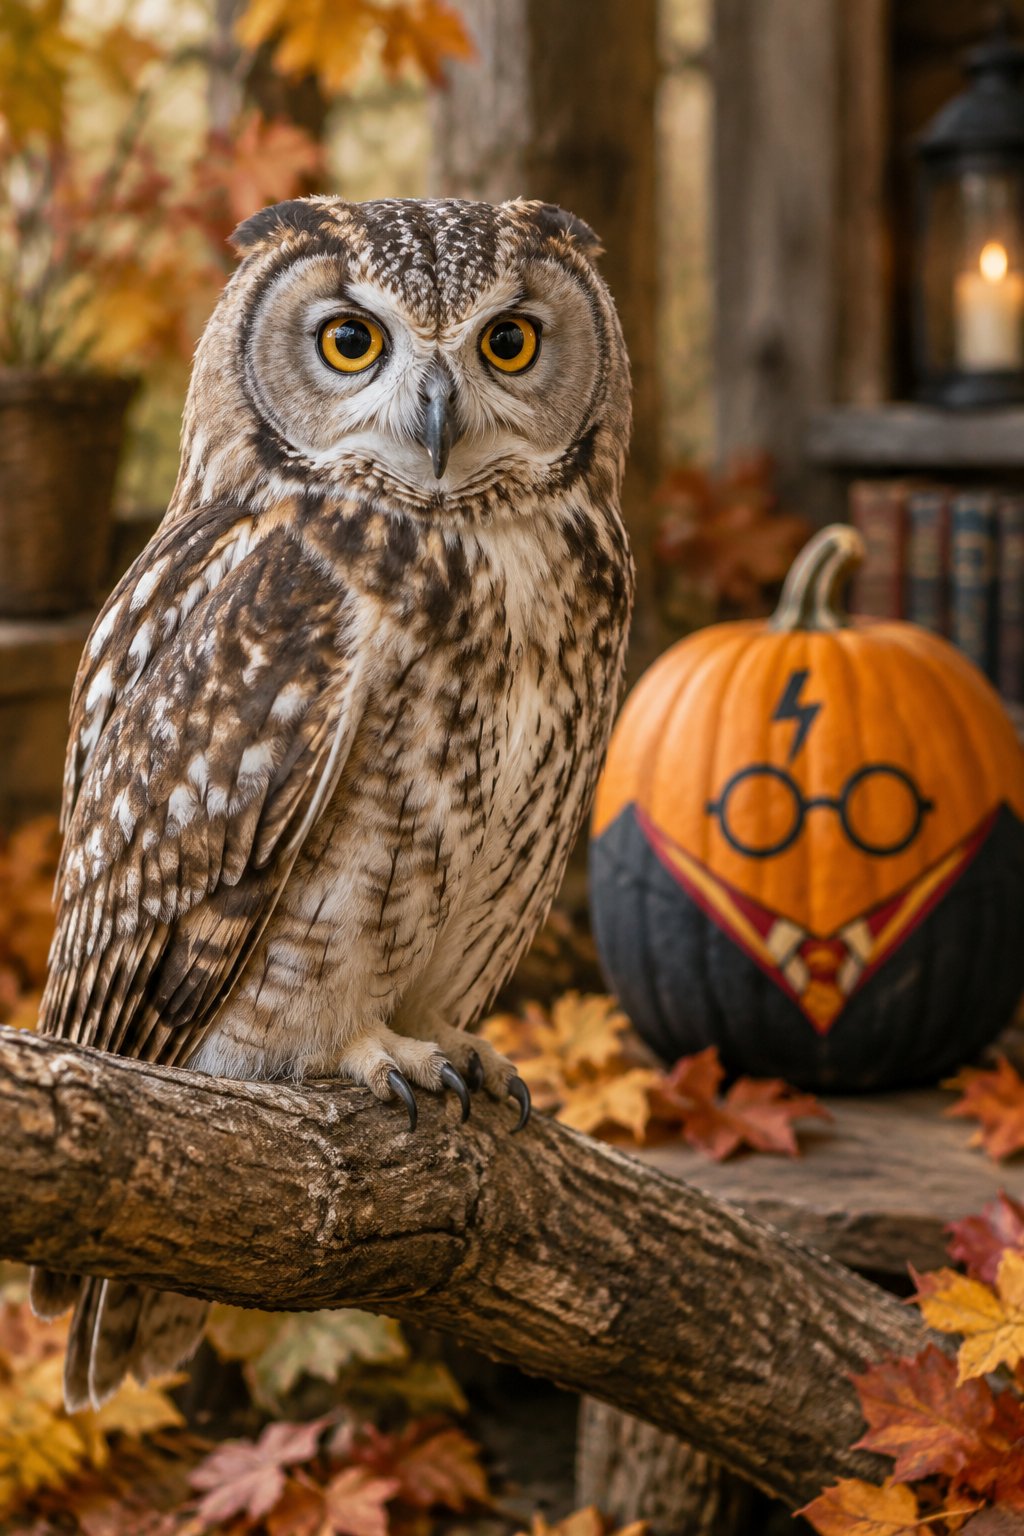
A mini white pumpkin is painted to look like a perched snowy owl sitting on a bare branch, displayed on a mantel. The compact shape makes it read like a tiny sculpture rather than a flat design.
Use a real twig glued to the base for the branch, then paint the owl details directly onto the pumpkin. This project pairs well with a simple nature-table display.
11. Owl Post Envelope Design
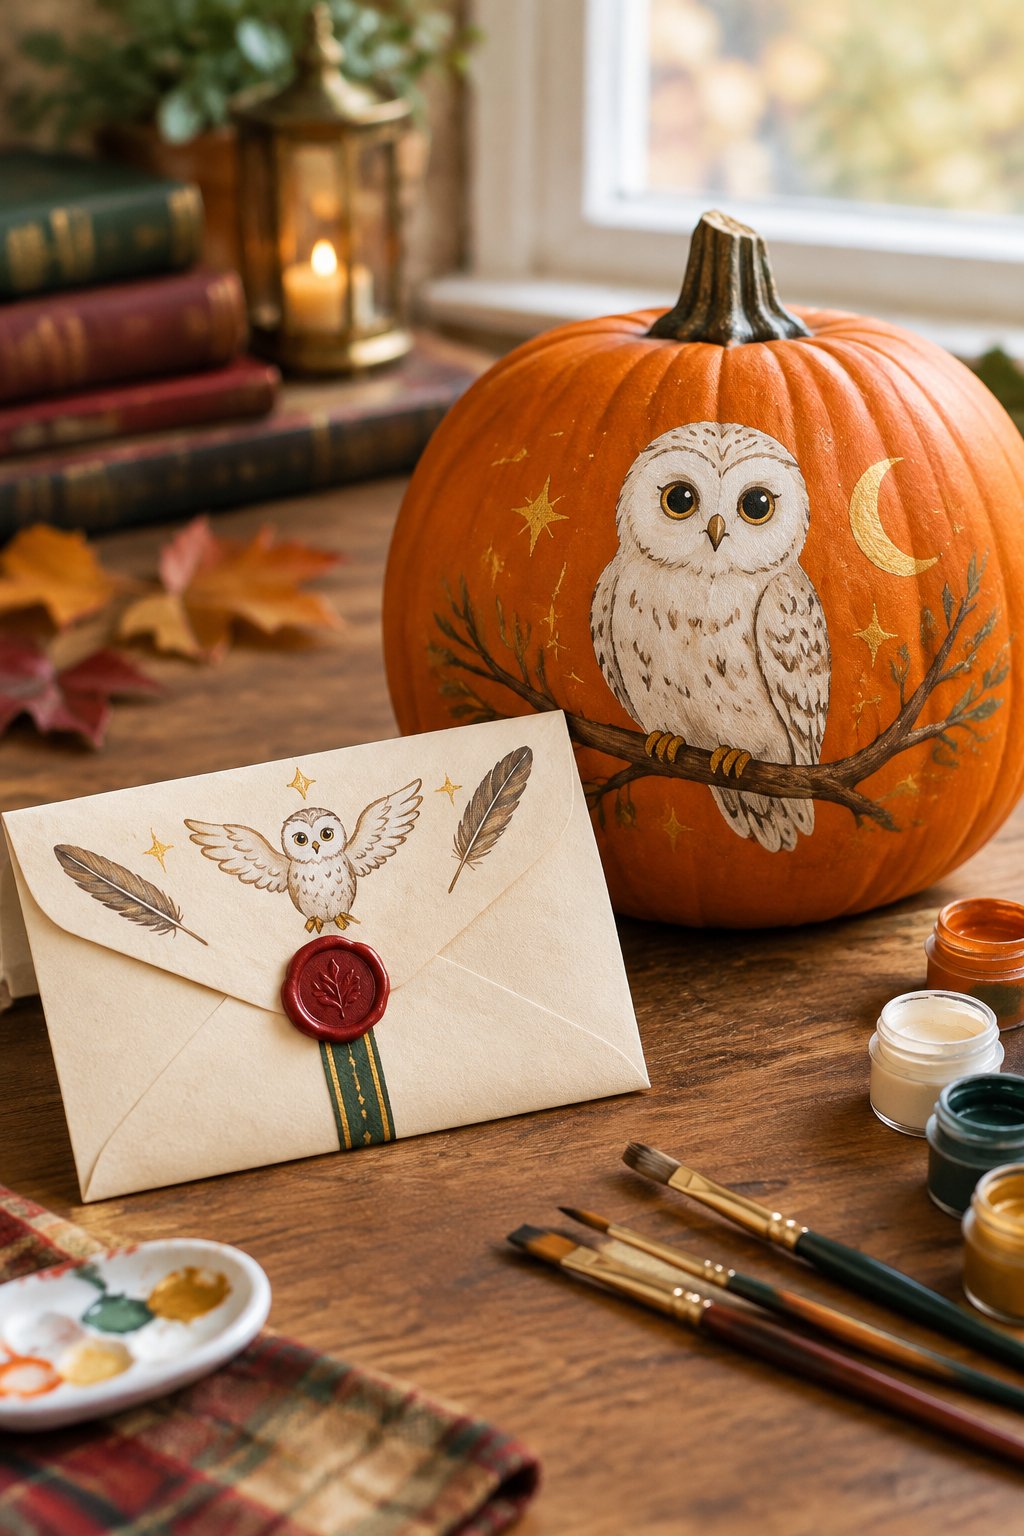
A green pumpkin features a small rolled scroll and feather quill design tucked beside a painted owl wing, sitting on a table. The scroll detail adds a storytelling touch to the design.
Paint the scroll in cream first, then add thin brown lines to look like rolled parchment edges. Older kids enjoy adding tiny painted “handwriting” squiggles for extra charm.
12. Feathered Wing Wrap
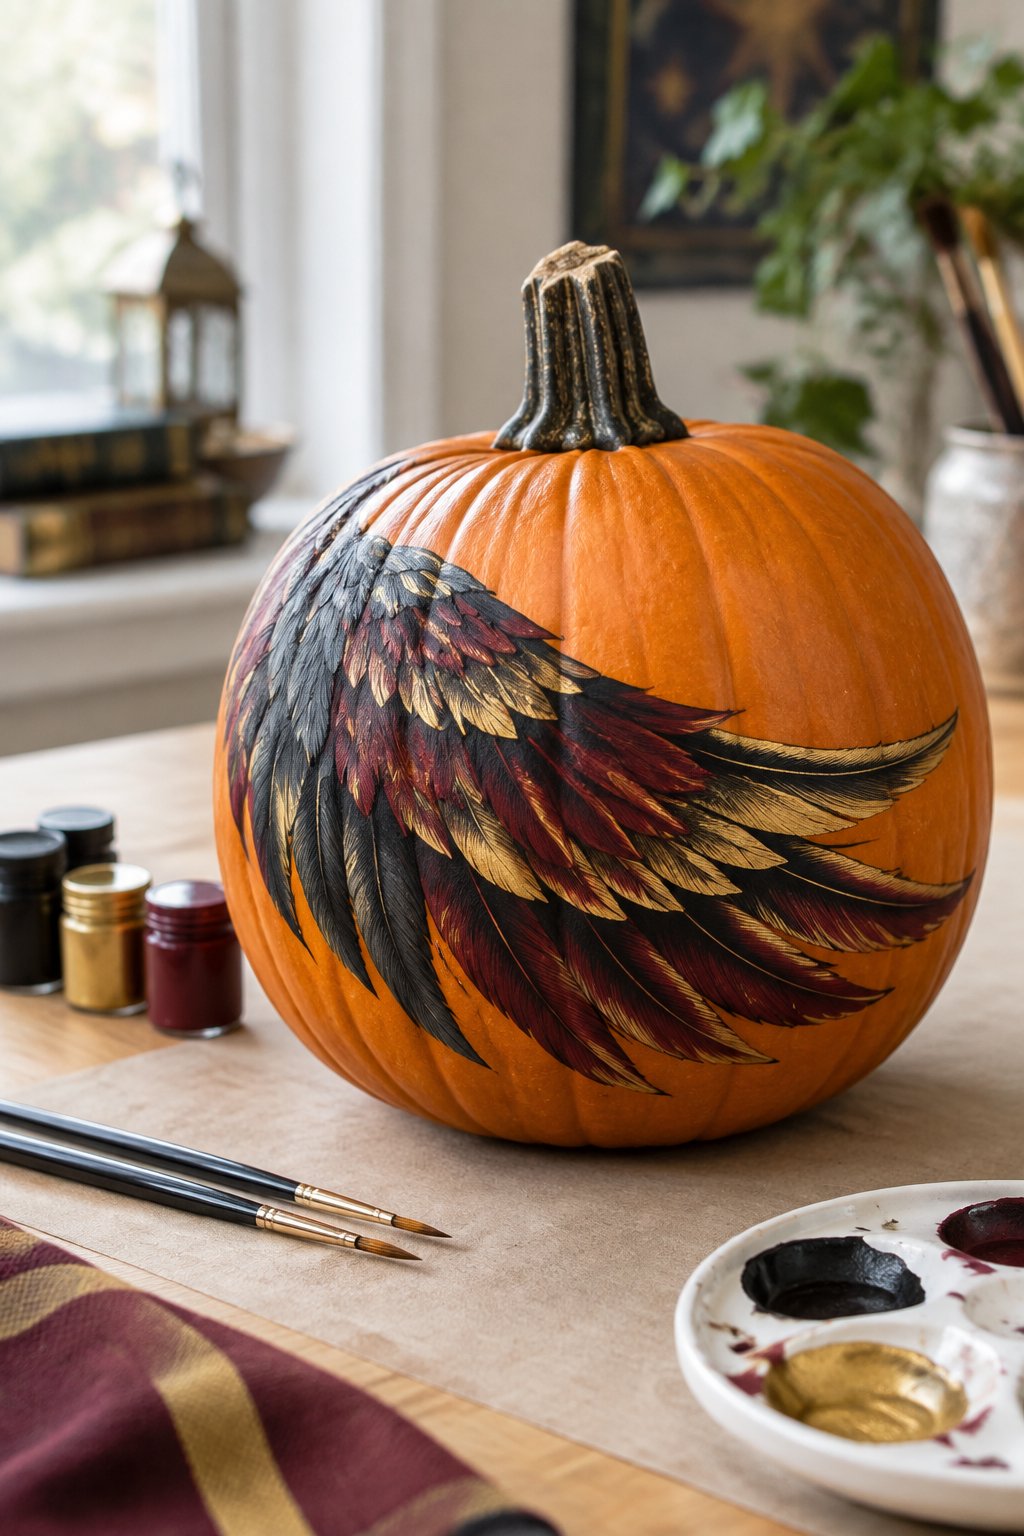
A tall pumpkin is wrapped in painted white and gray feather patterns that fan around its sides, set on a shelf with candles. The wraparound design covers the whole pumpkin for a dramatic look.
Layer feather shapes from the bottom up, overlapping slightly like real feathers do. A dry brush technique with light gray adds soft shading between the layers.
Golden Snitch and Quidditch Pumpkins
13. Golden Snitch Sphere
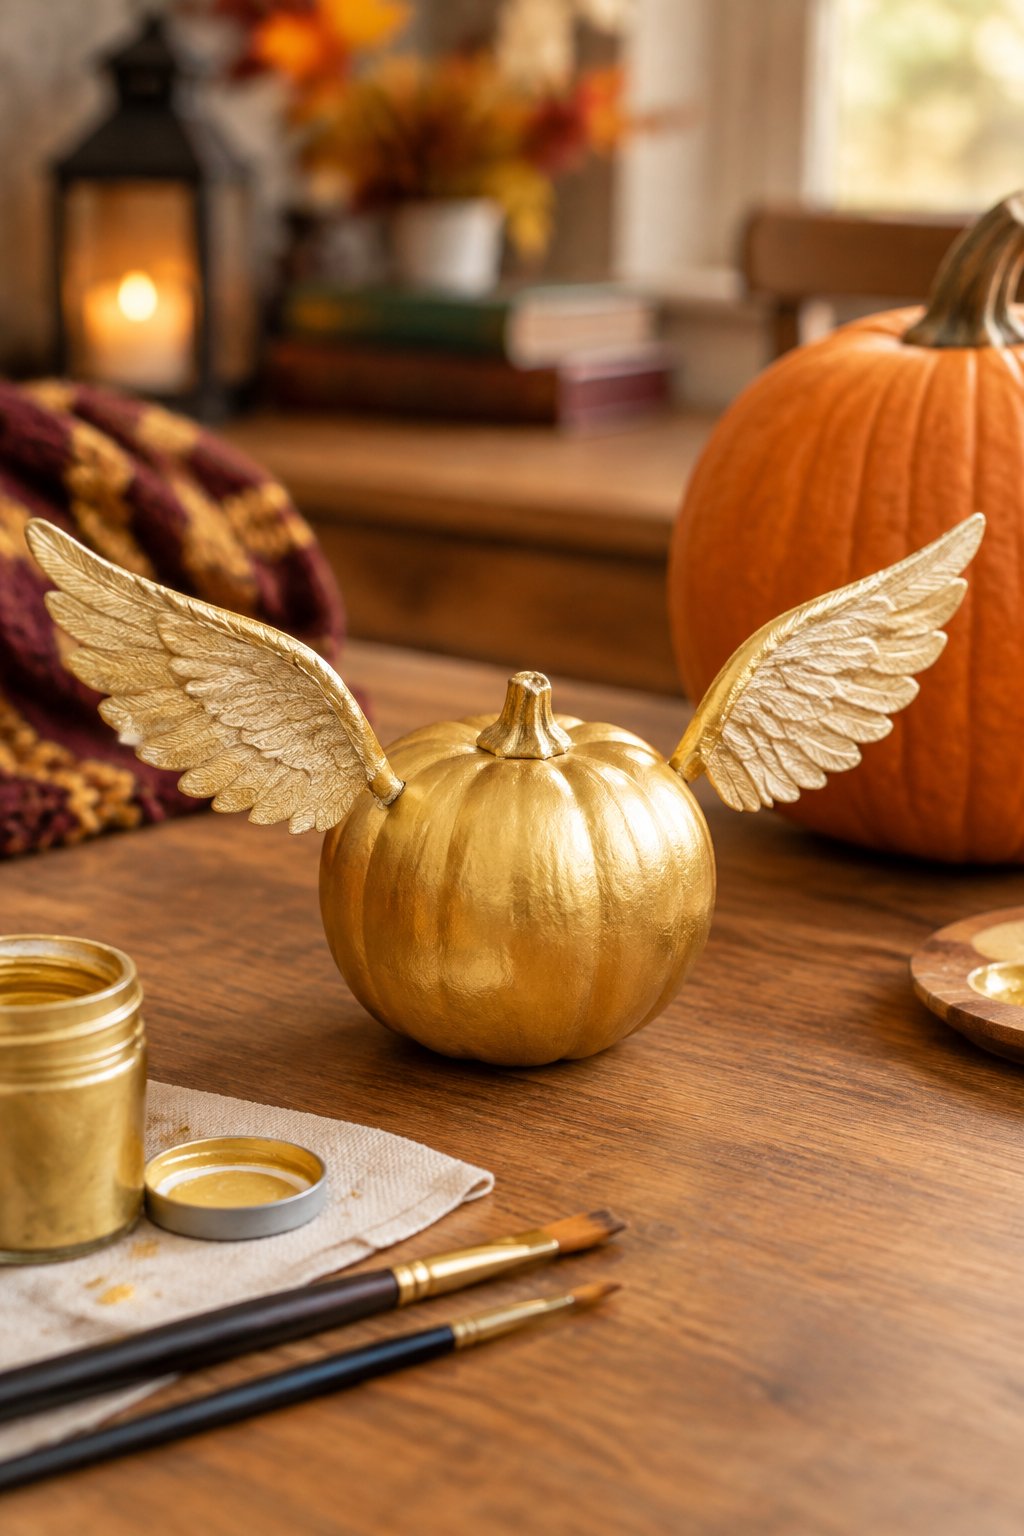
A small round pumpkin is painted entirely gold with delicate silver wing outlines on either side, balanced on a porch railing. Its round shape naturally mimics a small flying ball with wings.
Metallic gold spray paint gives the smoothest finish, then add silver wing outlines once it’s fully dry. This one looks great grouped with other round mini pumpkins.
14. Quidditch Broom Stripe
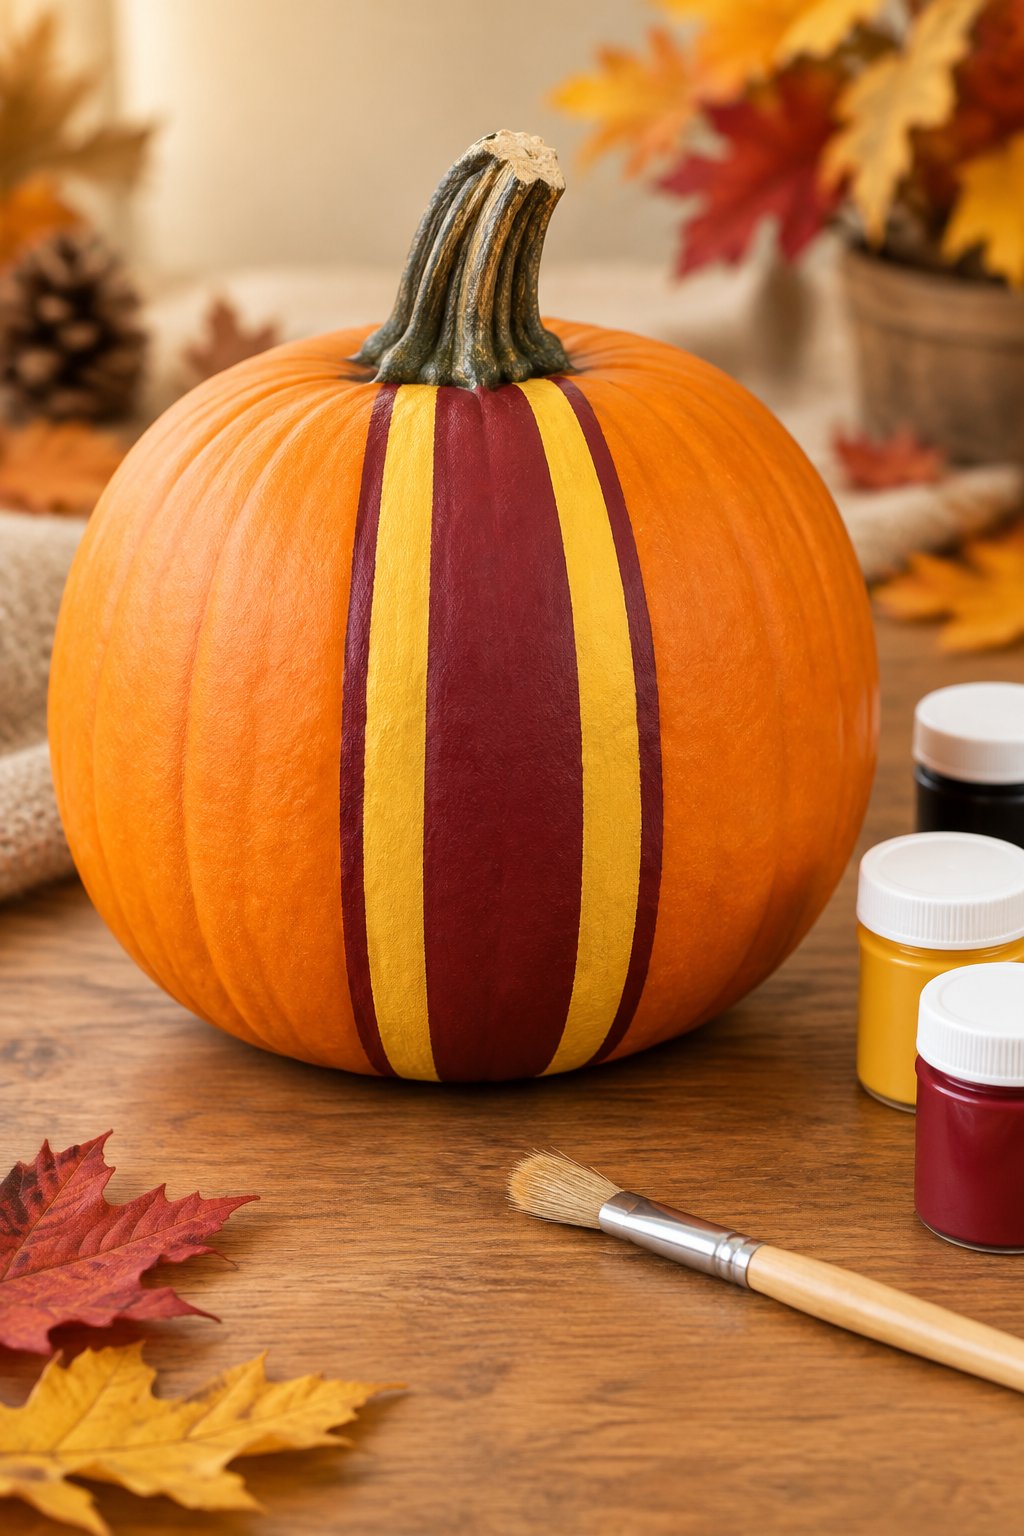
A tall orange pumpkin shows a single diagonal broomstick with trailing golden sparkles, displayed on a hay bale. The diagonal line gives the whole pumpkin a sense of motion.
Paint the broomstick with a thin brush first, then flick small dots of gold paint along the trail for the sparkle effect. A toothbrush works well for splattering tiny sparkle dots.
15. Winged Gold Cluster
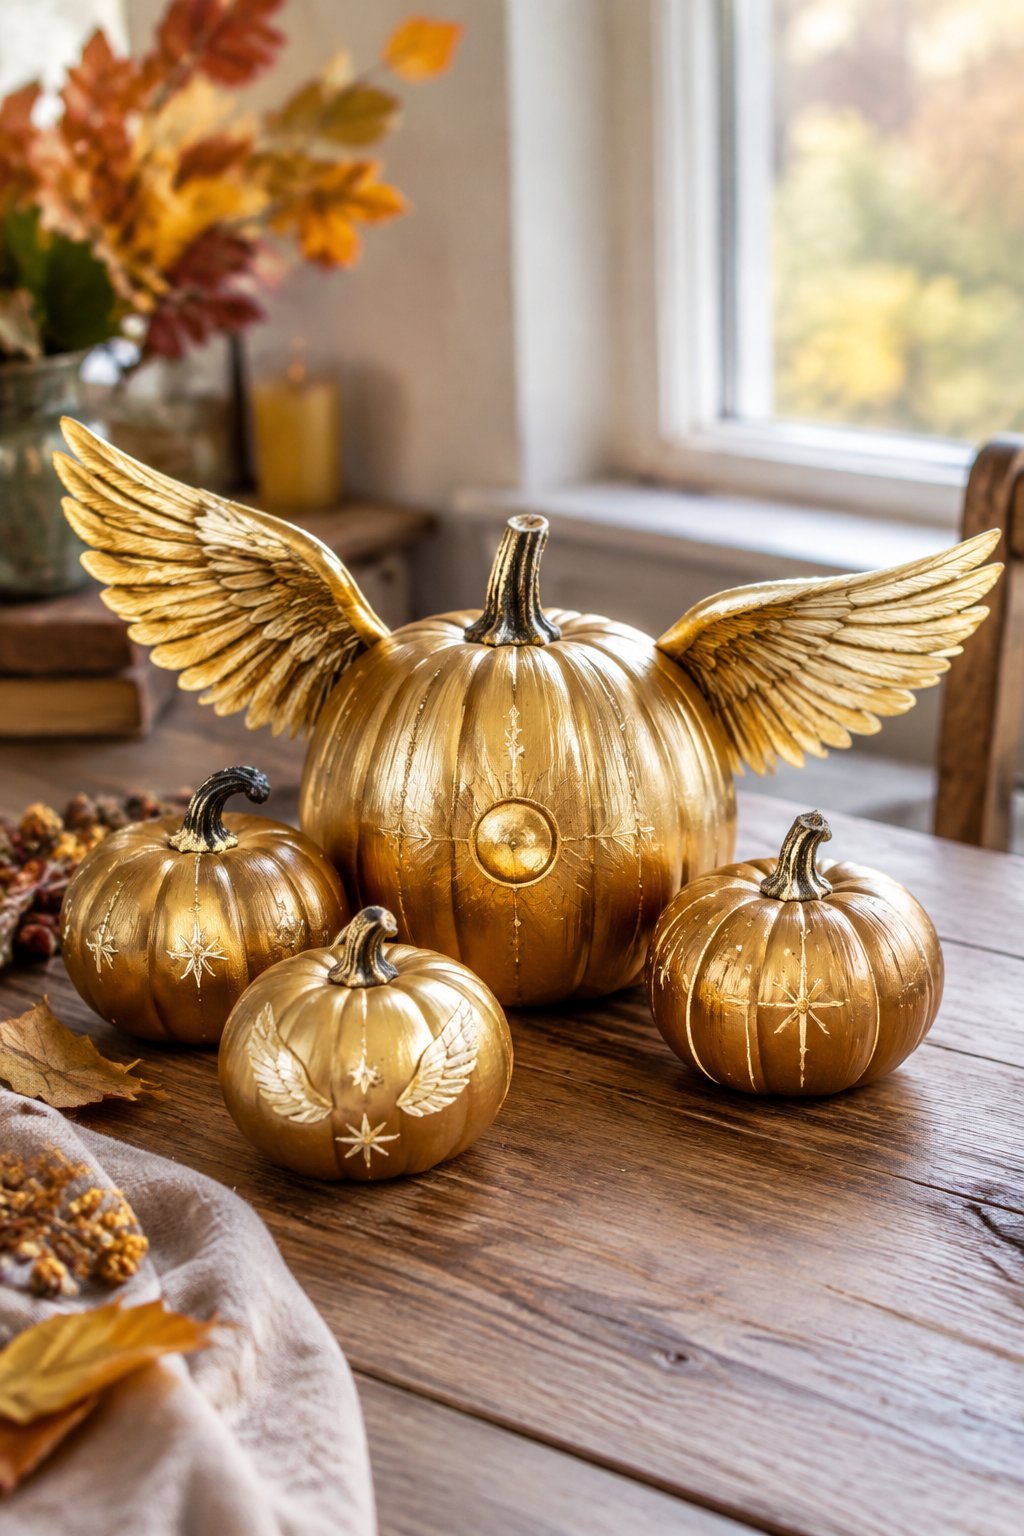
Three mini pumpkins are painted gold with tiny painted silver wings, clustered together on a windowsill. Grouping several small pumpkins together makes a bigger visual impact than one alone.
Paint all three pumpkins the same gold base coat, then vary the wing placement slightly on each one for a natural cluster look. This is an easy project to split among siblings.
16. Quaffle Red Sphere
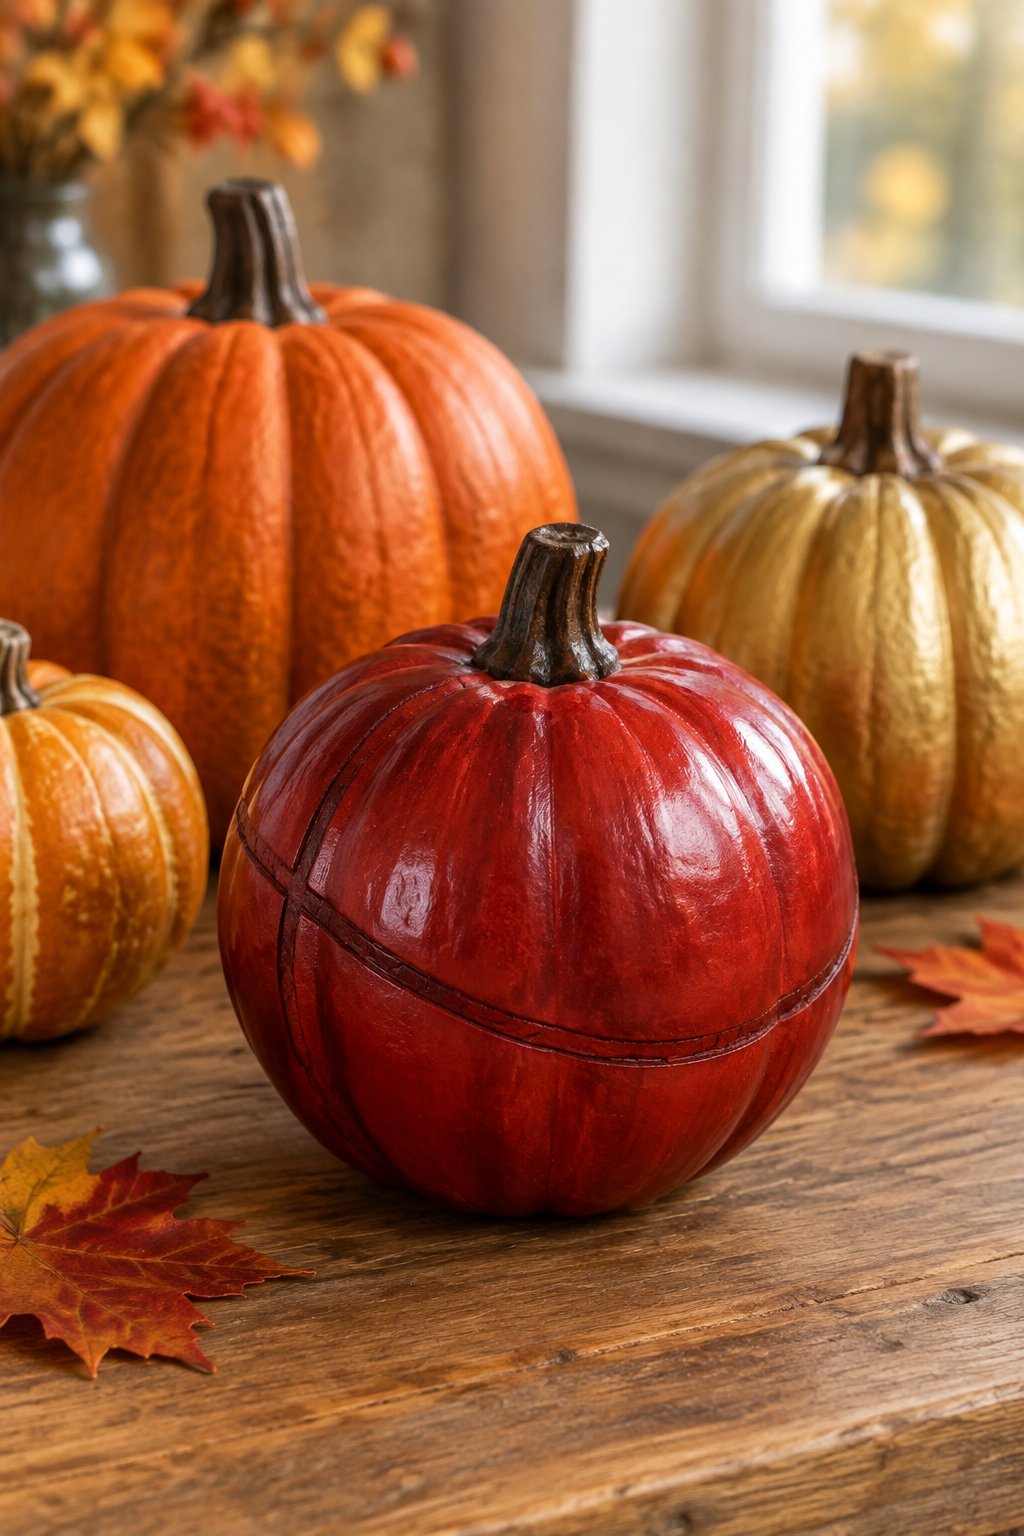
A round orange pumpkin is painted glossy red with a faint stitched-ball texture pattern, set beside a broom prop on the steps. The glossy finish makes it look like a polished sports ball.
A glossy top coat sealer after the red paint dries gives it that shiny, ball-like sheen. Add the stitch marks last with a fine black paint pen for texture.
17. Stadium Banner Stripes
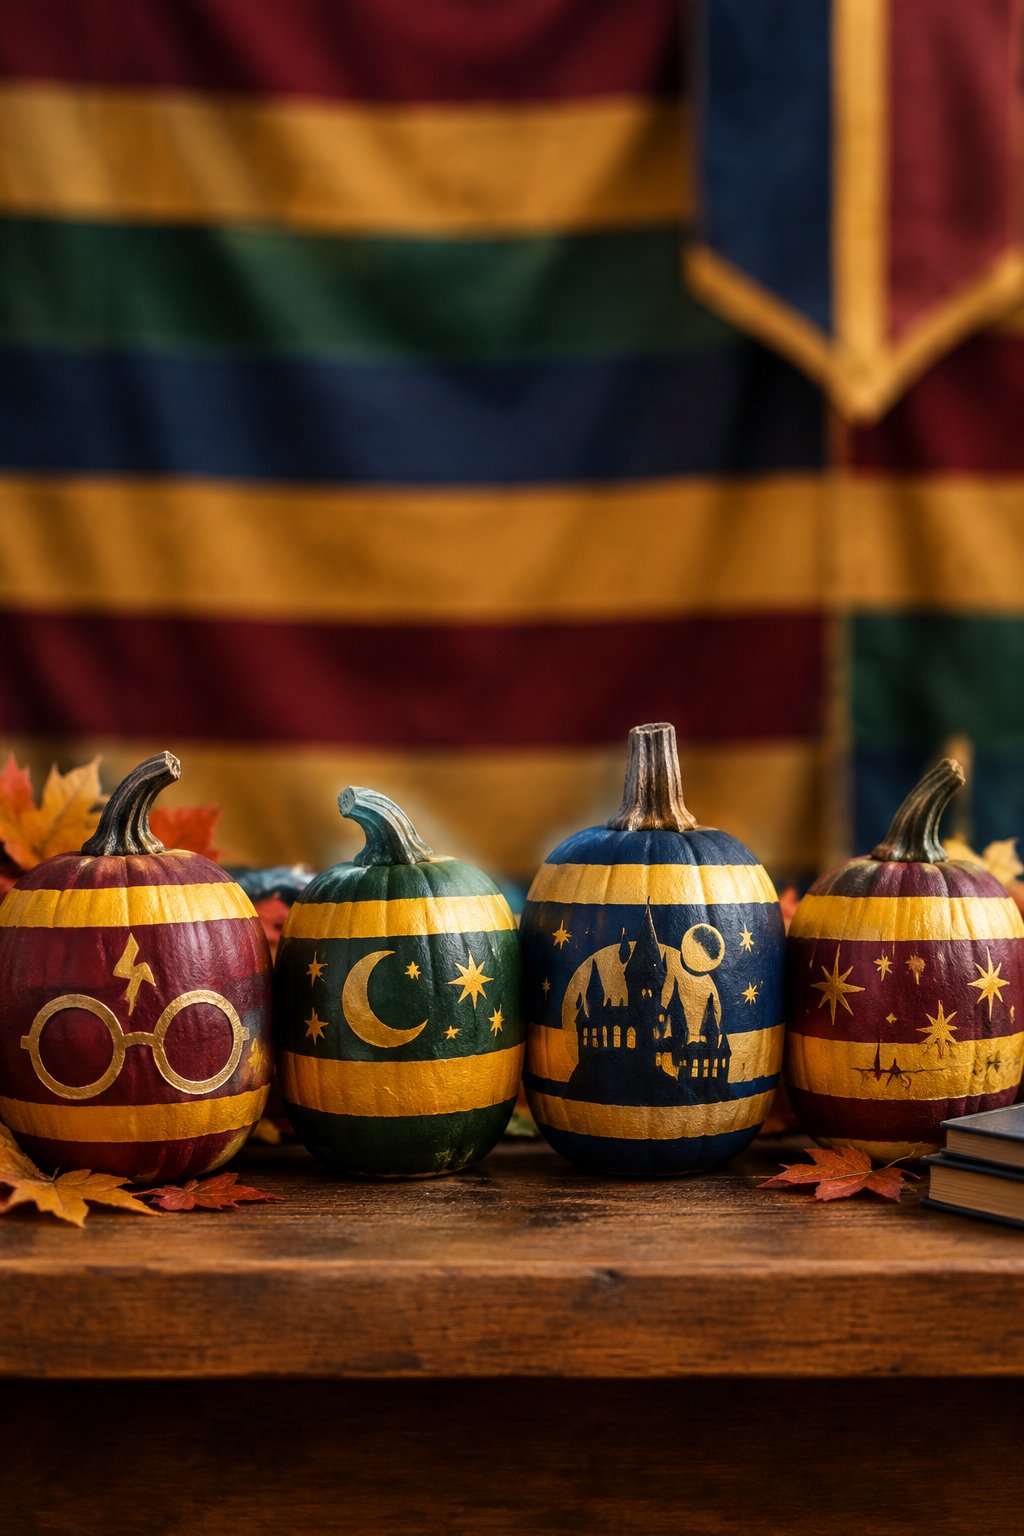
A white pumpkin is painted with narrow team-color banner stripes in gold and maroon, arranged on a garden table. The narrow stripes give it a festive, celebratory feel.
Use thin strips of painter’s tape spaced evenly for crisp, narrow stripe lines. Pair a few of these together for a cheerful pumpkin display that feels like game day.
18. Flying Sparkle Trail
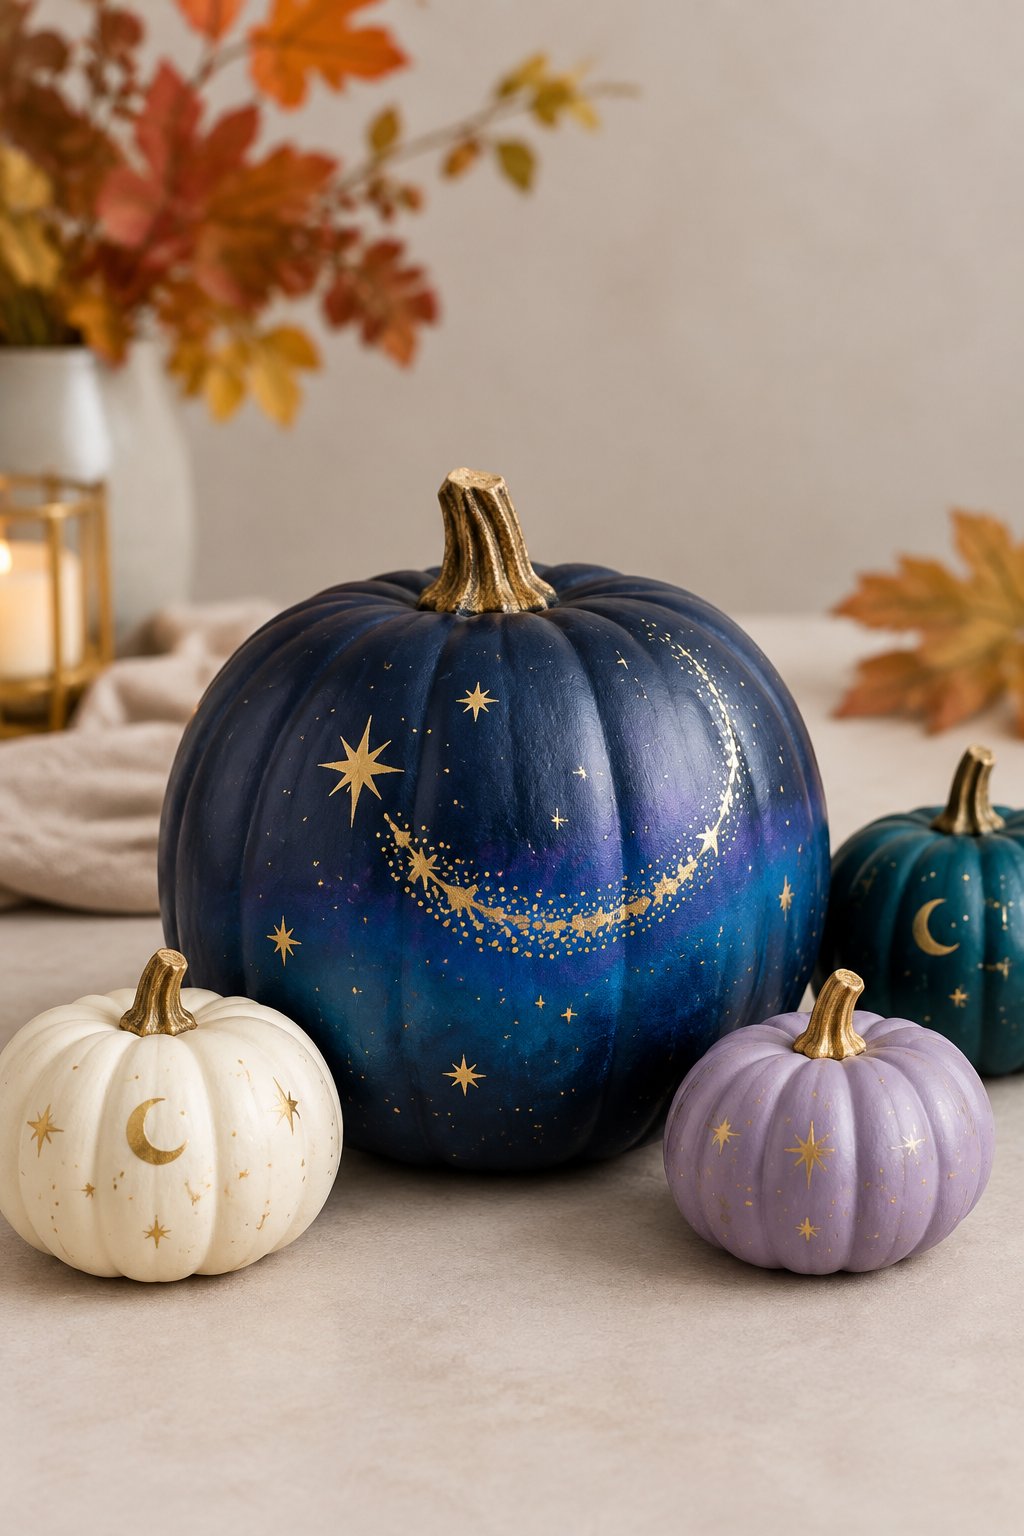
A tall green pumpkin shows a gold sparkle trail swirling upward from its base, set on a mantel with fairy lights. The upward swirl draws the eye from bottom to top.
Paint the swirl path lightly in pencil first, then fill it with gold dots that get smaller as they rise. Placing it near fairy lights makes the sparkle trail glow even more at night.
19. Golden Wing Pair
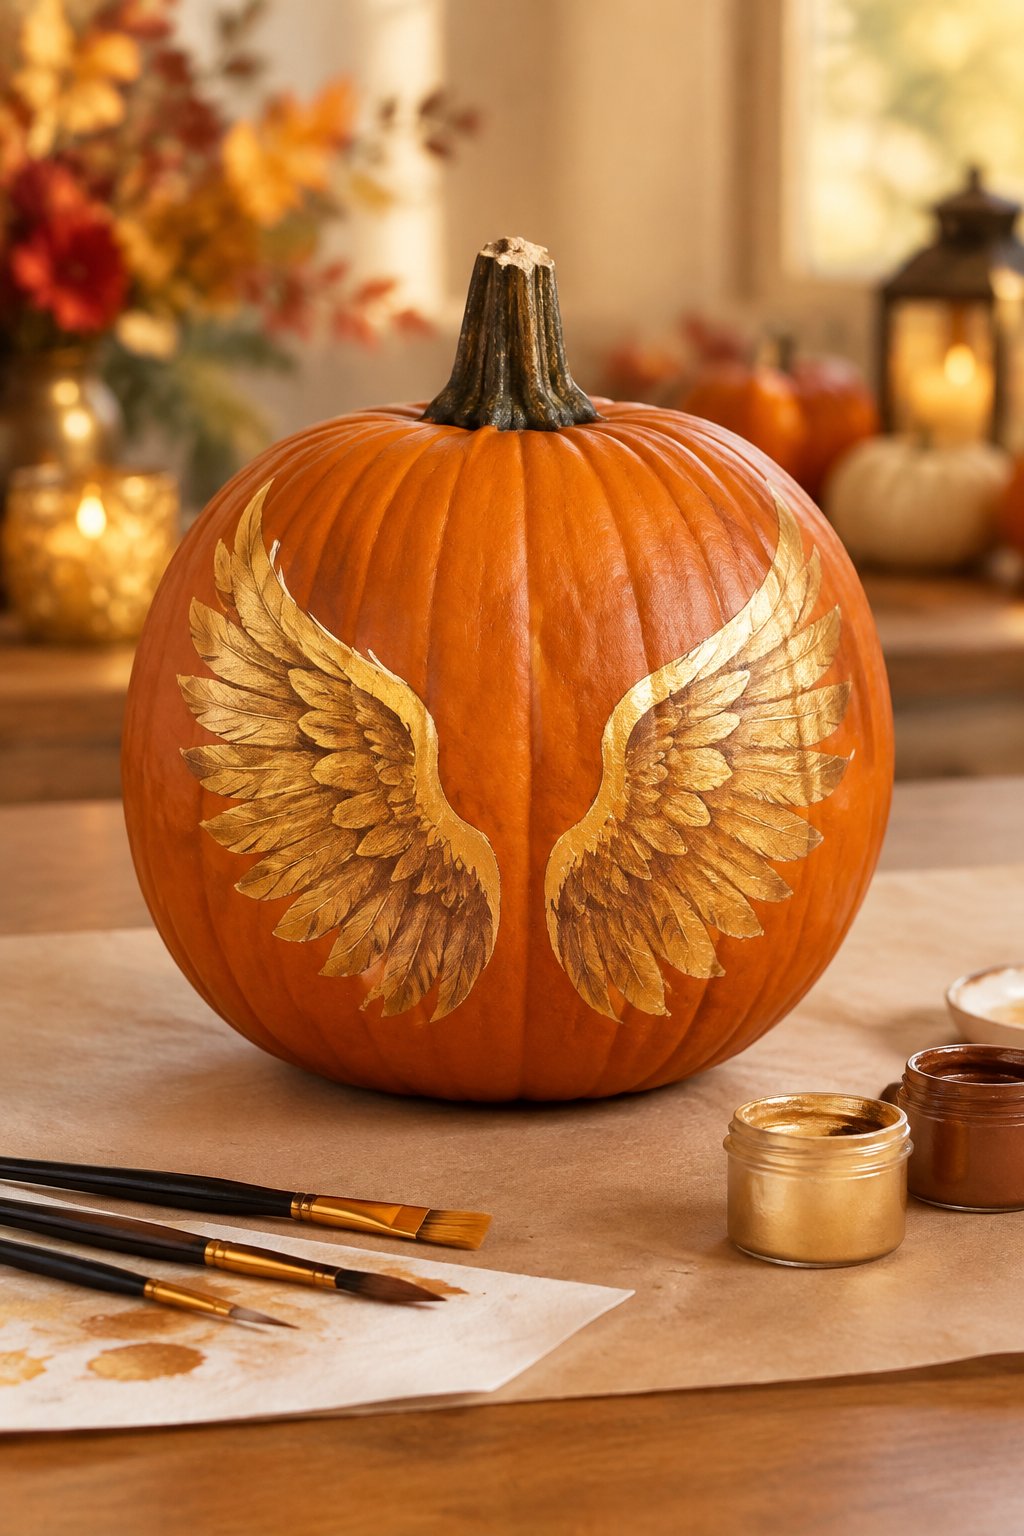
A squat orange pumpkin shows two large delicate golden wings unfurling from its sides, displayed on a porch step. The wide wingspan makes this a real statement piece.
Sketch the wing shapes with chalk first since chalk wipes away easily if you need to adjust the curve. Thin gold paint lines for feather details finish the look nicely.
Sorting Hat and Wizard Pumpkins
20. Pointed Sorting Hat Shape
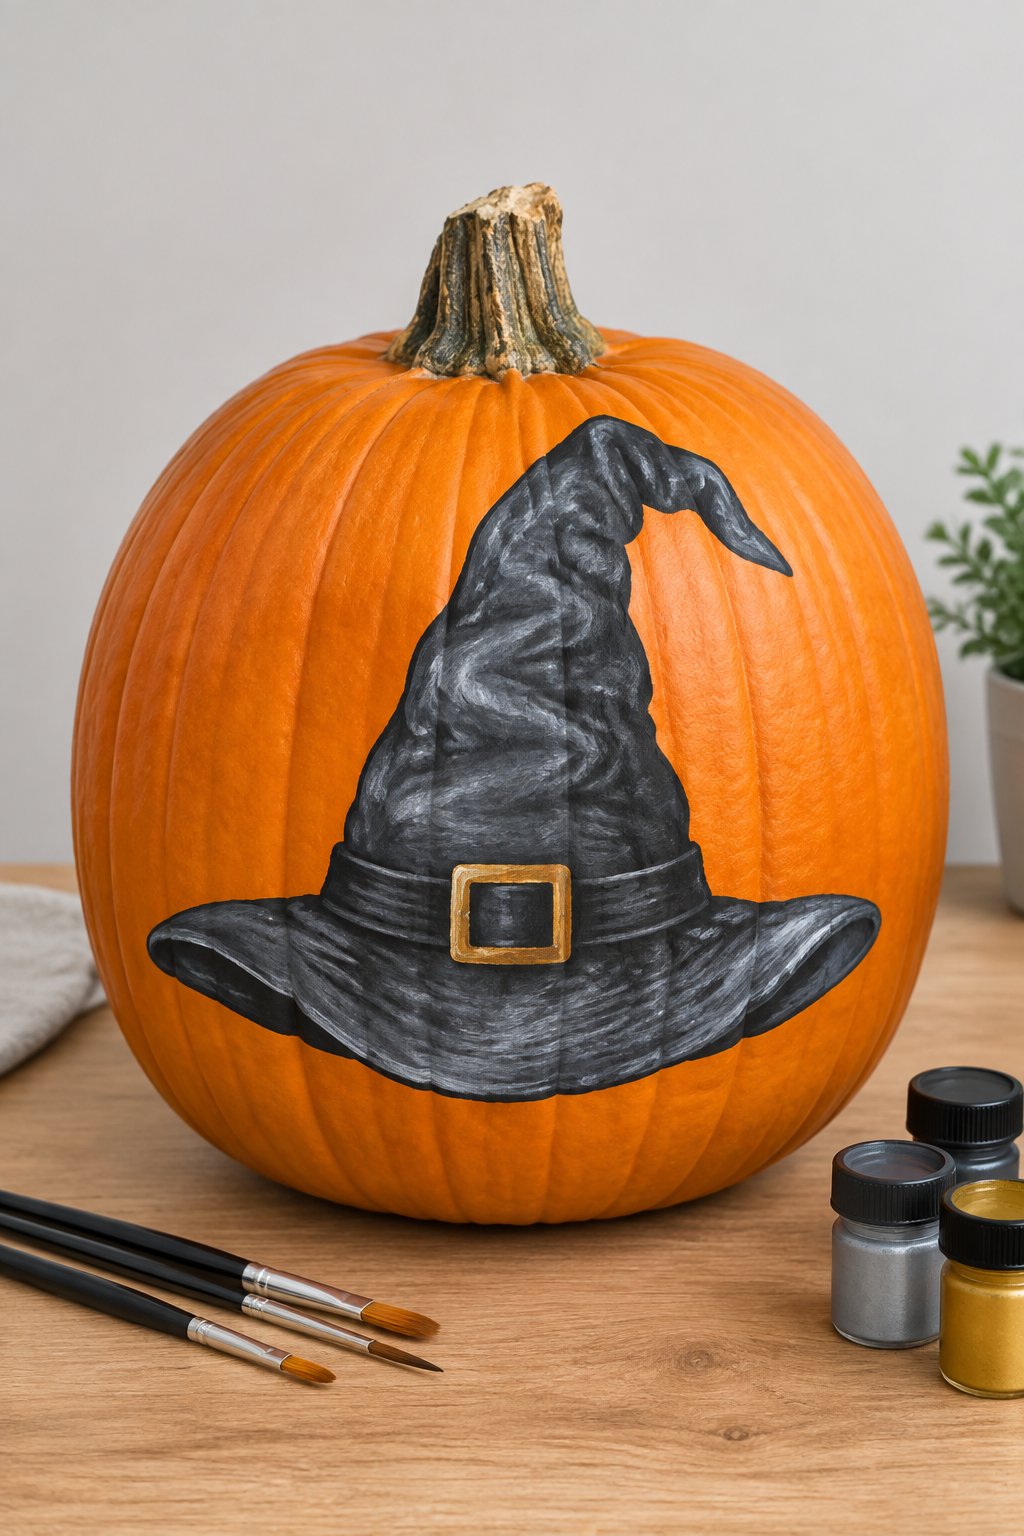
A tall dark brown pumpkin is painted with a folded, wrinkled pointed-hat texture and a thin gold buckle band, standing on porch steps. The wrinkled texture makes it look soft like real fabric.
Dab a slightly darker brown into the wrinkle lines with a dry brush for shadow depth. This design works best on a naturally tall or oddly shaped pumpkin.
21. Round Glasses and Scar
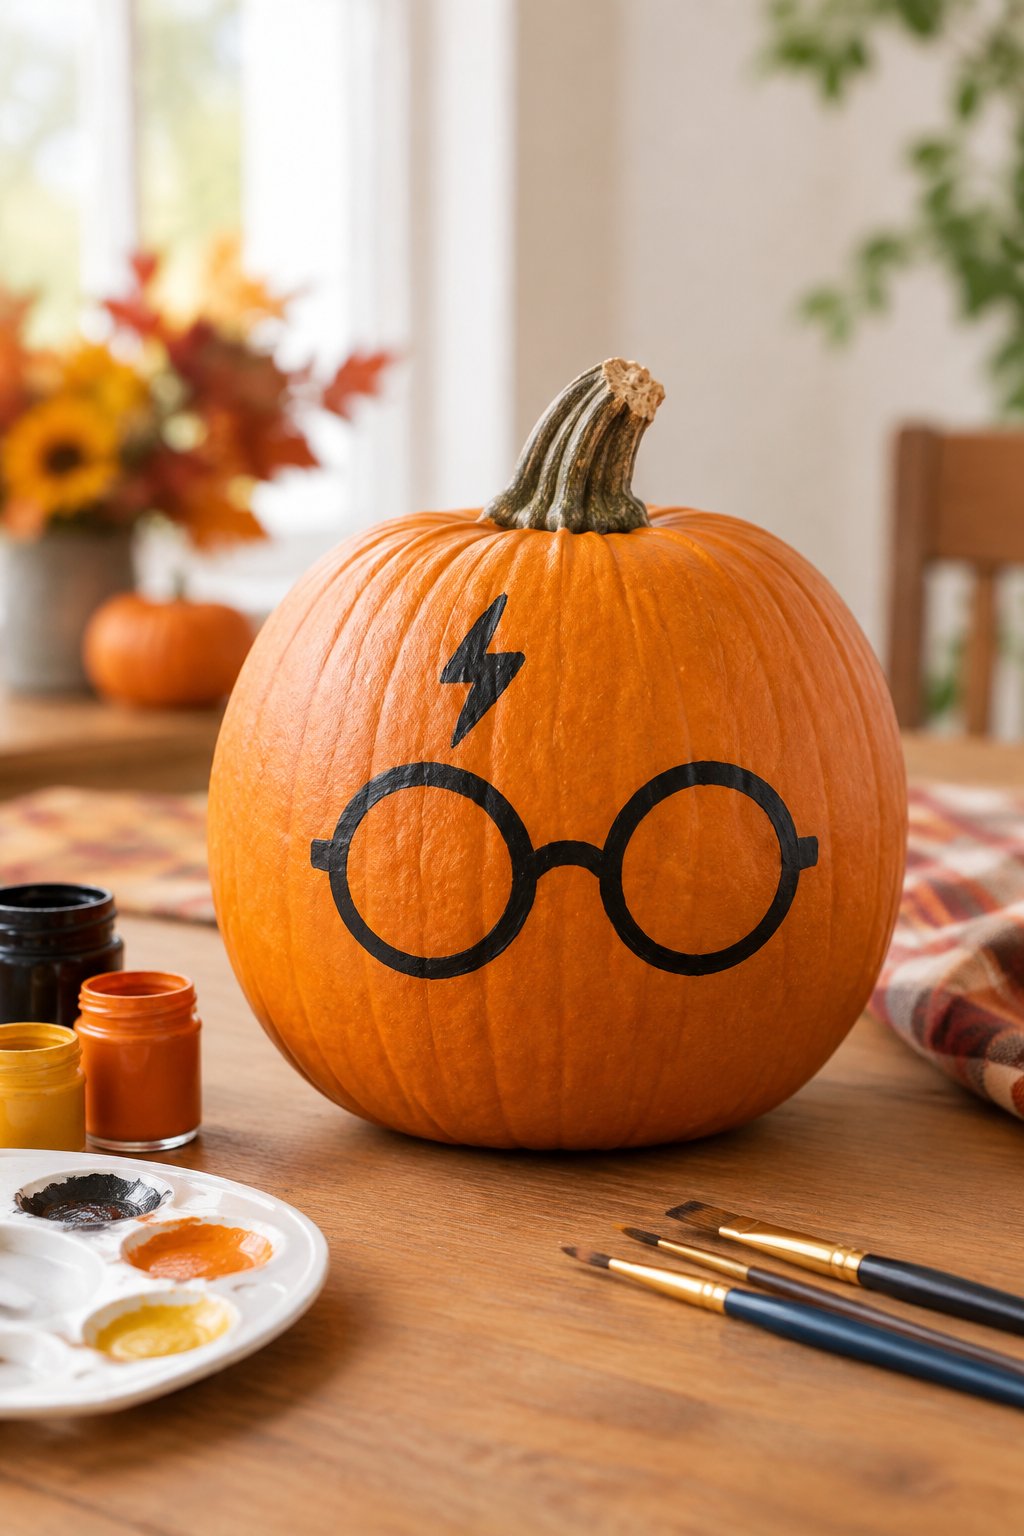
An orange pumpkin is painted with round black-framed glasses and a small lightning bolt mark on its forehead, set on a windowsill. It’s an instantly recognizable design that needs very little detail.
A paint pen makes the glasses frames and lightning bolt simple to draw in one steady line. This is one of the fastest designs on the list, great for a last-minute craft night.
22. Starry Wizard Robe
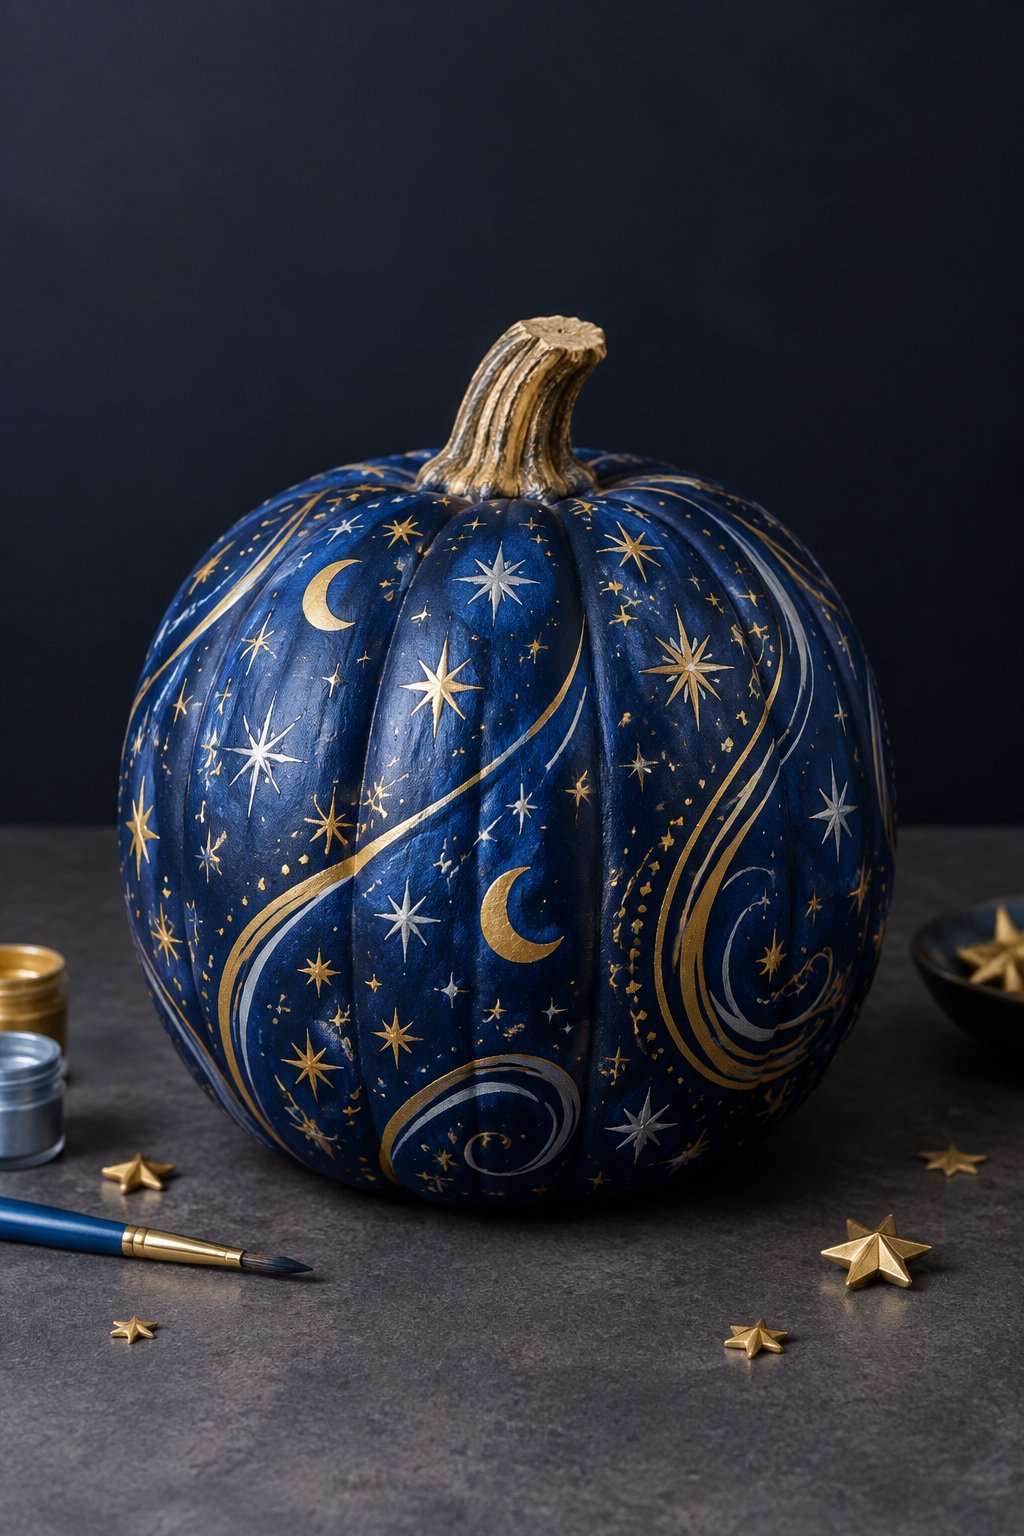
A tall purple-tinted pumpkin is scattered with tiny gold stars and a crescent moon, displayed on a shelf. The purple tint gives it a dreamy, nighttime robe feel.
Mix a little blue into purple paint for the base coat, then dot on gold stars using the end of a paintbrush handle. A small crescent moon painted off to one side balances the design nicely.
23. Wand and Sparkle Tip
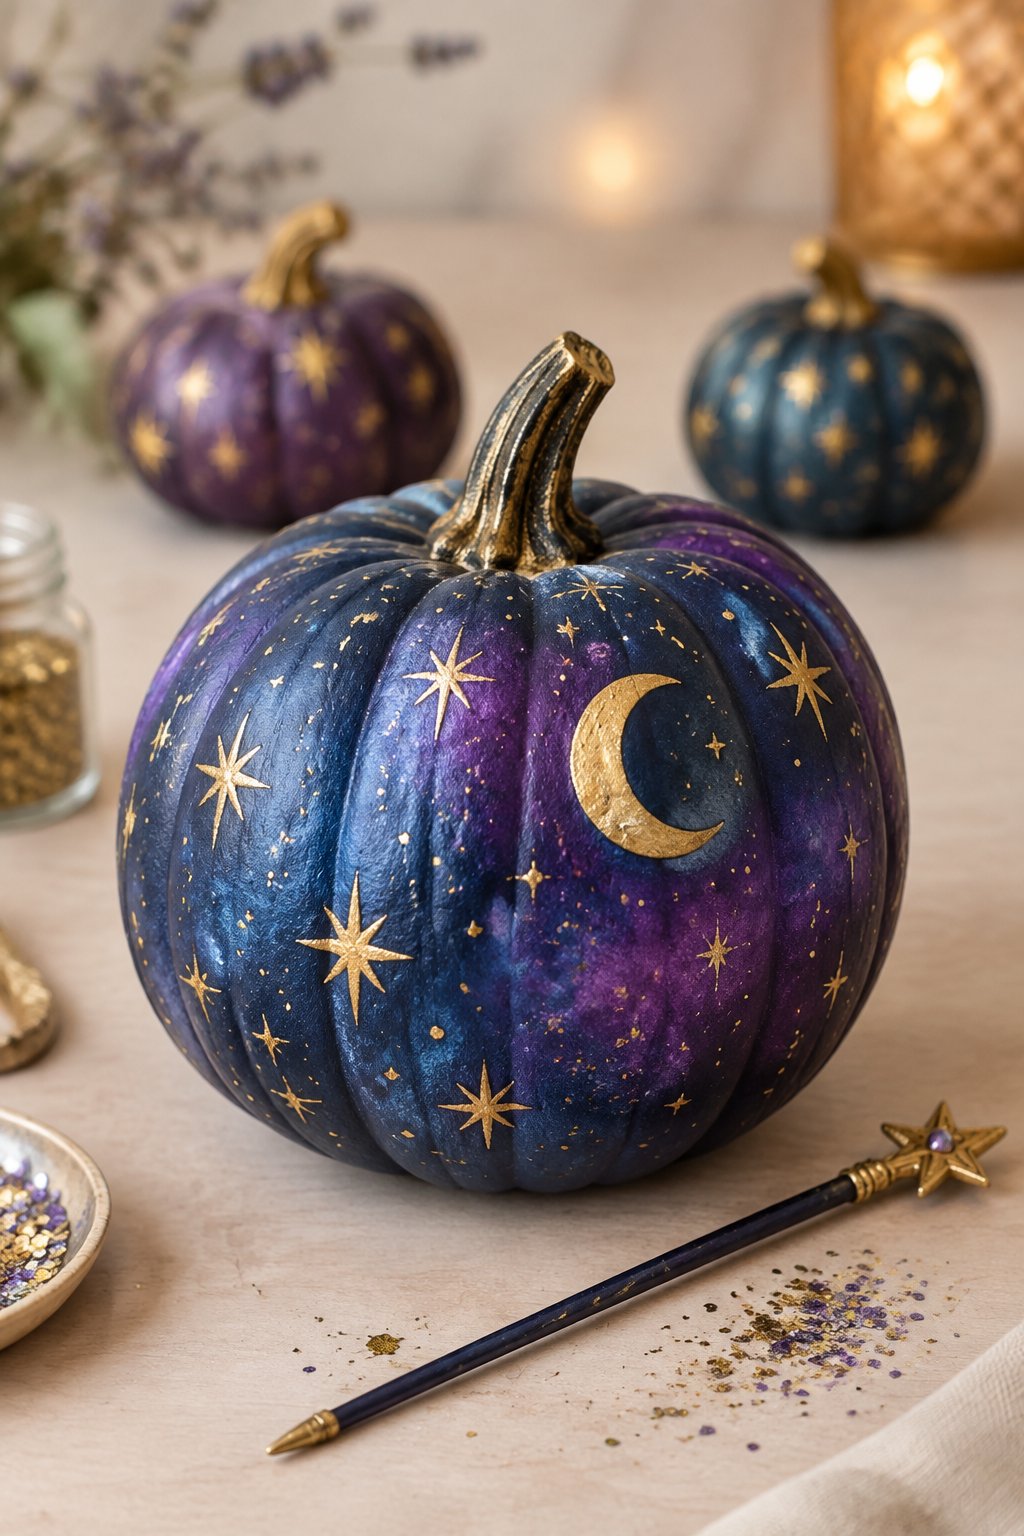
A mini white pumpkin shows a slender wand shape with a burst of tiny gold sparkles at its tip, set on a table. The simple wand line makes this design easy to fit on a small surface.
Paint the wand in warm brown first, then add the gold sparkle burst once it’s dry using a fine detail brush. This size works great as a party favor pumpkin for each guest.
24. Patched Wizard Hat Duo
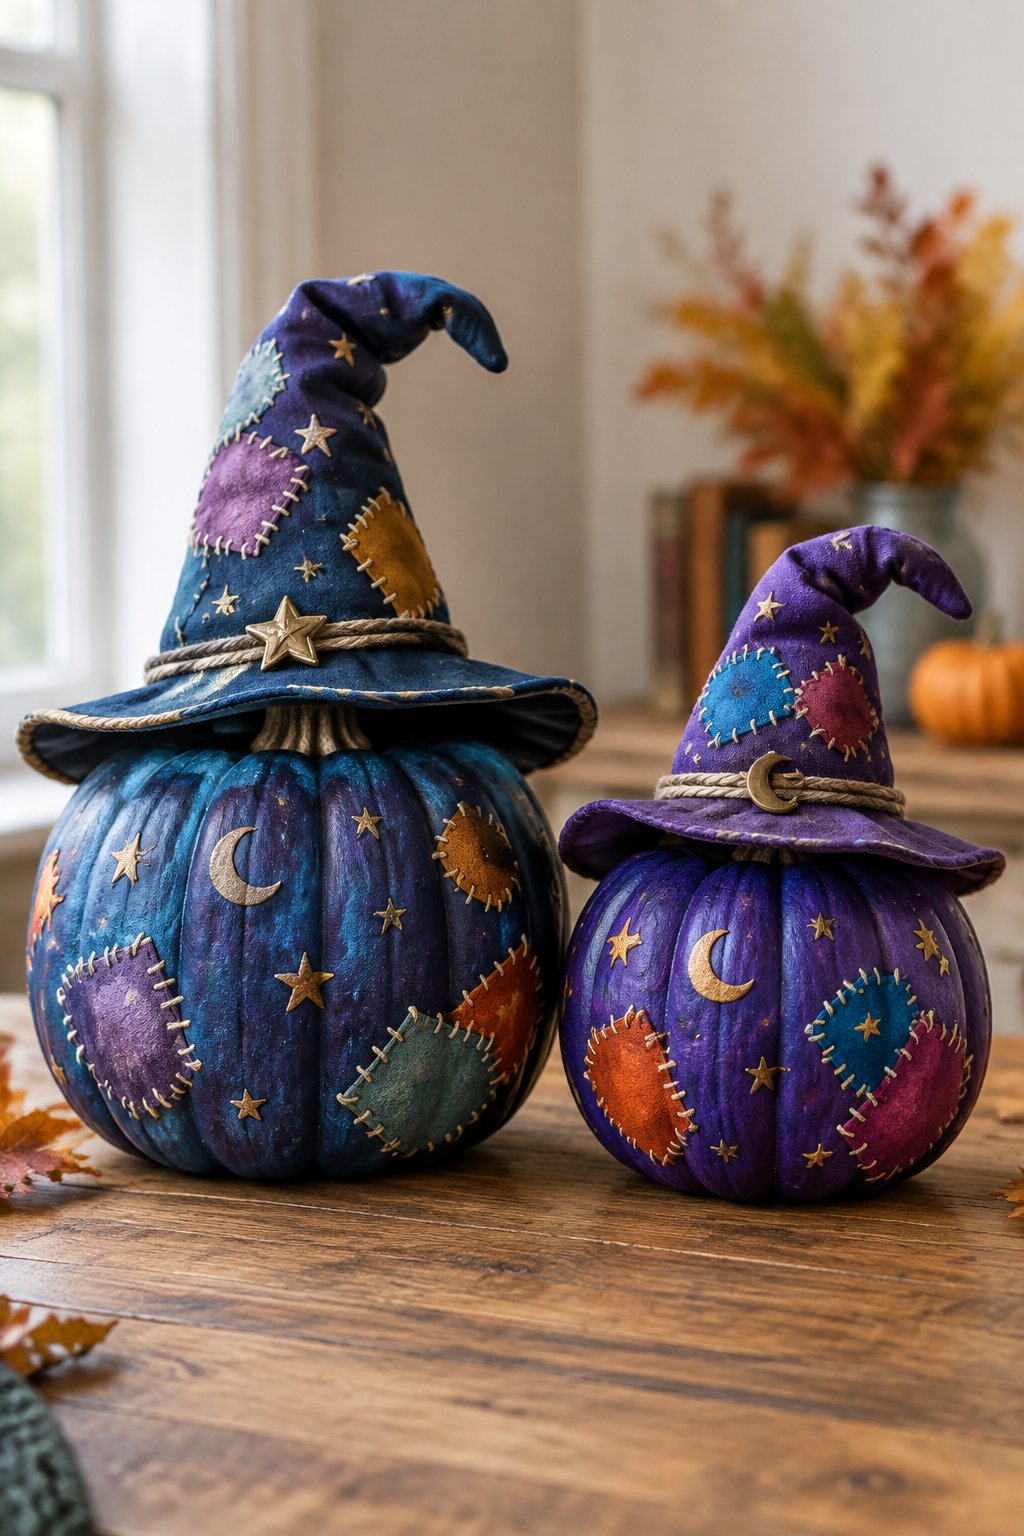
Two stacked pumpkins are painted together to look like a patched pointed wizard hat, resting on a hay bale. Stacking them creates the natural cone shape of a tall hat.
Paint a few mismatched patch shapes in different browns for a well-worn, cozy look. Secure the stacked pumpkins with a wooden skewer through the centers before painting for stability.
25. Half Moon Spectacles
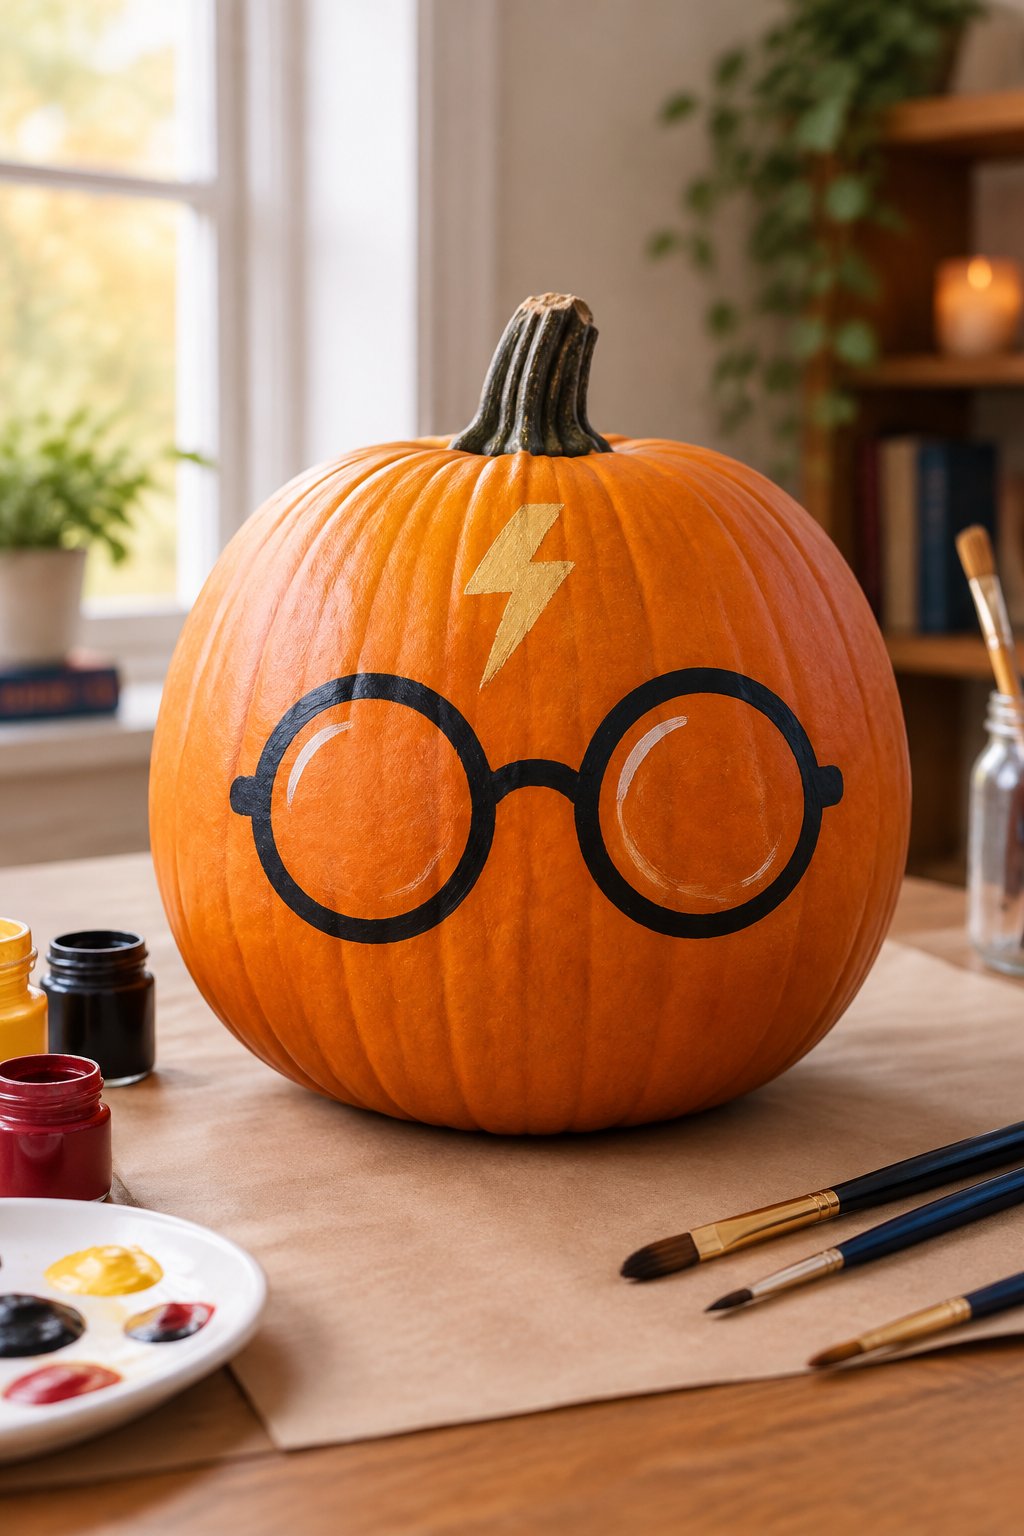
A small green pumpkin is painted with oversized round spectacles and swirling silver stardust, set beside a lantern on a mantel. The oversized frames give it a wise, whimsical look.
Use a compass or a small round lid to trace perfect circles for the spectacle frames. Swirl silver paint lightly around the edges with a dry brush for a dusty stardust effect.
Hogwarts Express Pumpkins
26. Platform Number Circle
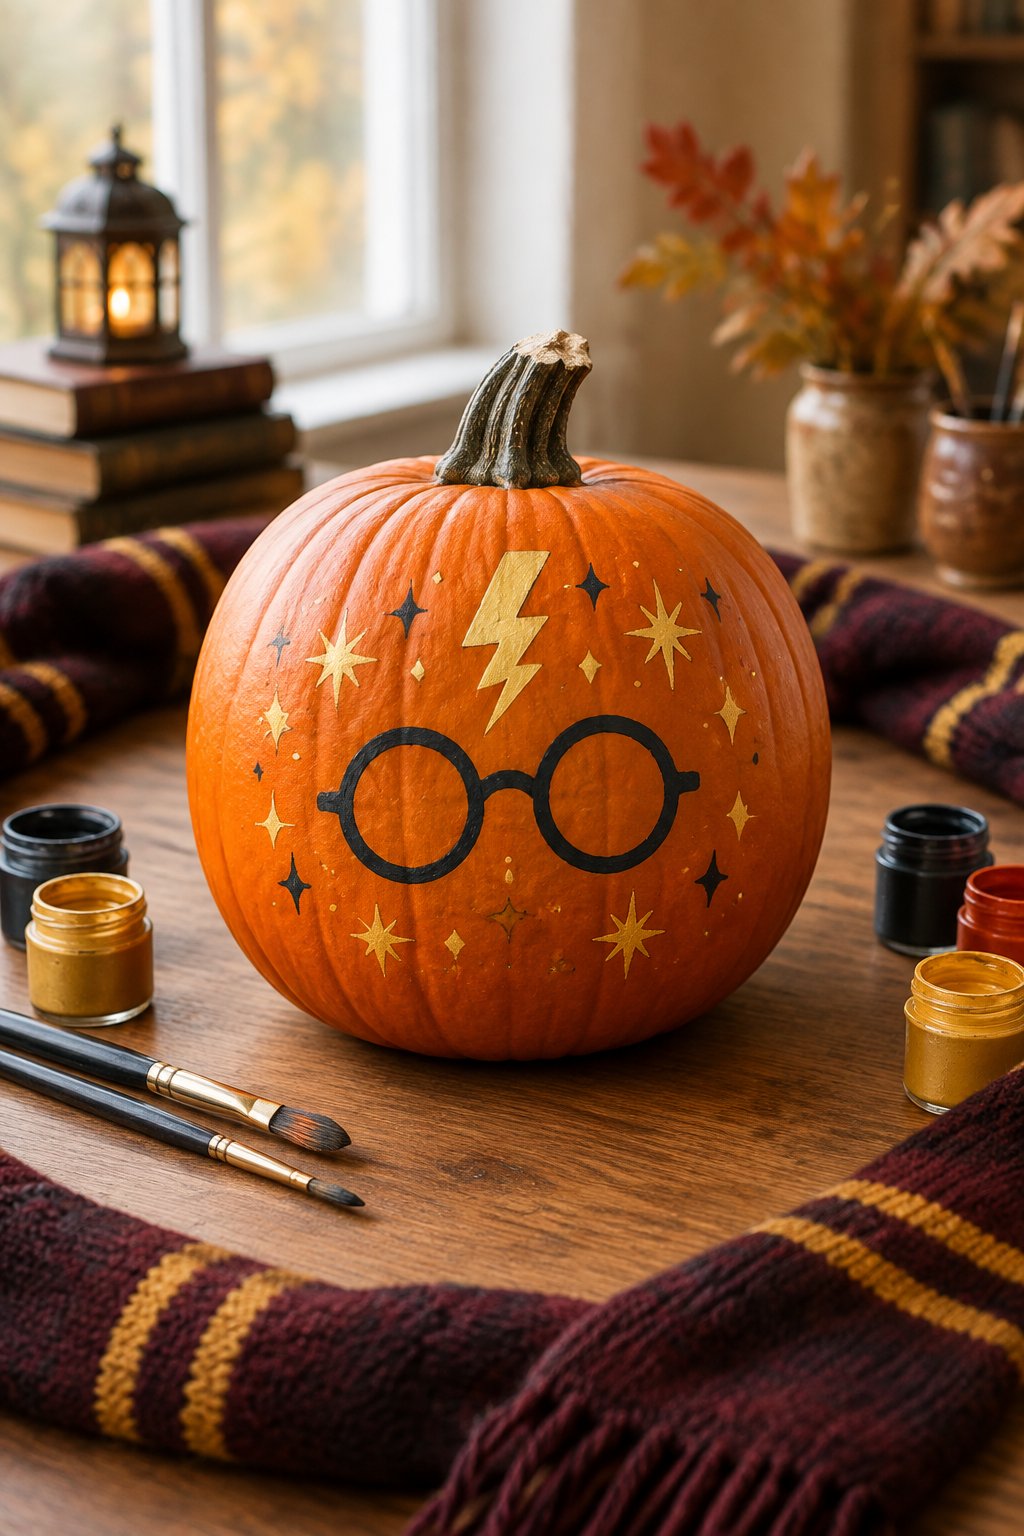
A white pumpkin is painted with a plain gold circle and a small painted arrow signpost shape beside it, sitting on a windowsill. The clean circle shape keeps this design simple and tidy.
Trace a plate or bowl to get a perfectly round gold circle before filling it in. This design pairs nicely as a companion piece next to a train-themed pumpkin.
27. Train Window Row
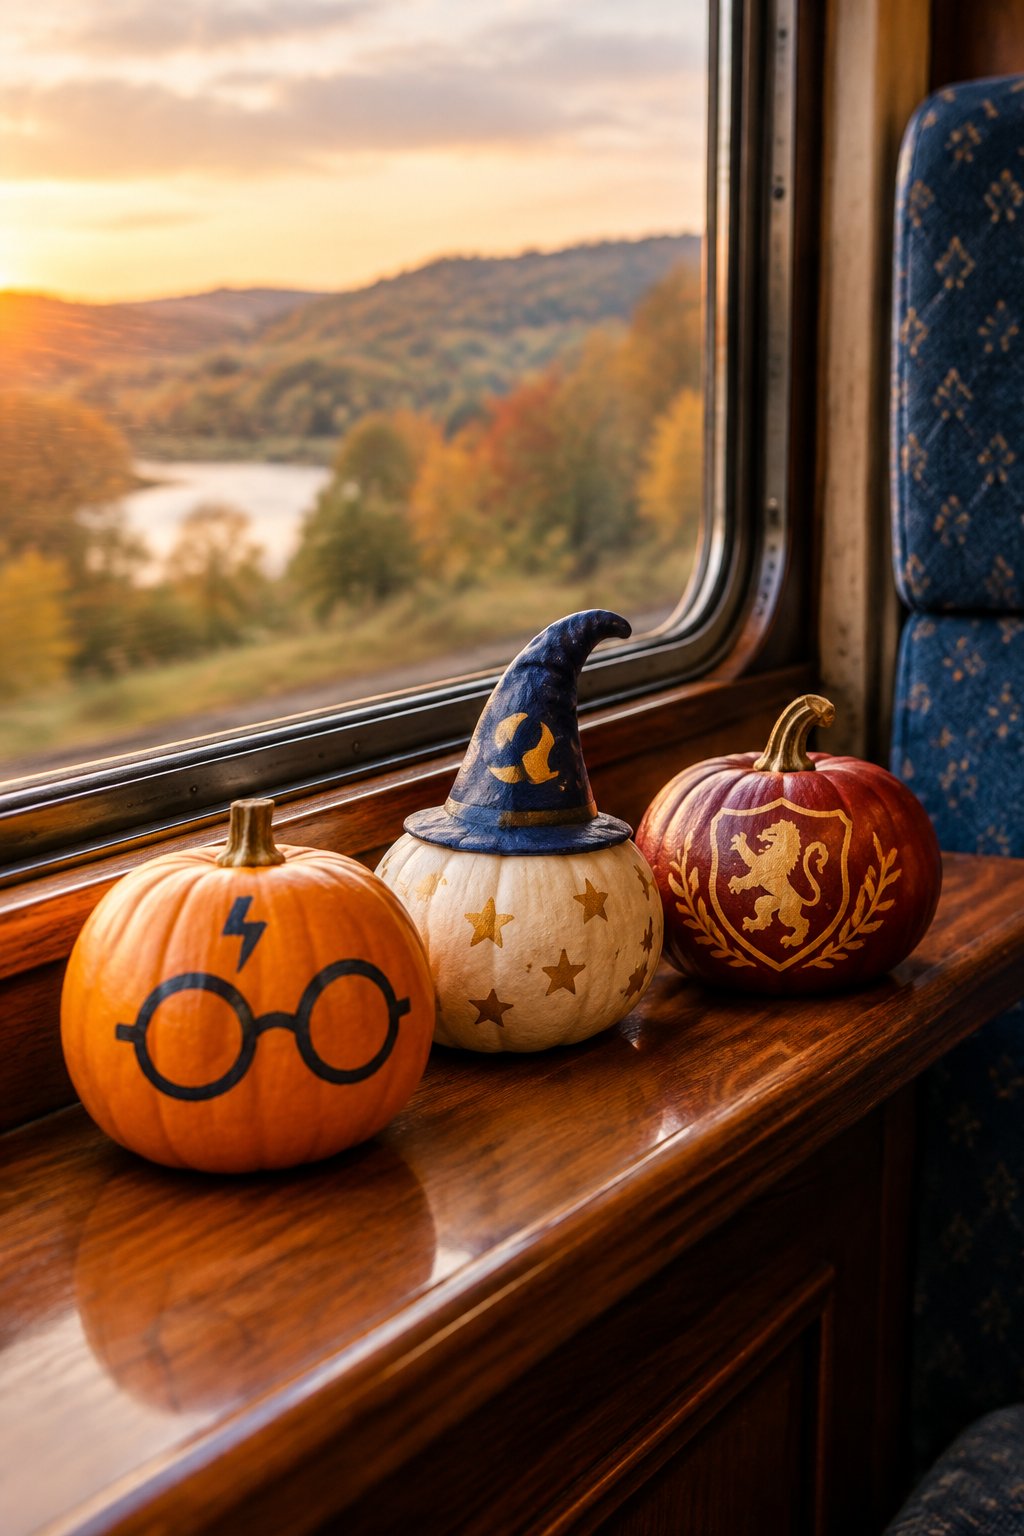
A tall scarlet pumpkin is painted with a row of small golden window squares along its middle, displayed on a stone step. The repeated window shapes give it a fun train-car look.
Use painter’s tape to keep each window square even in size and spacing. A thin black outline around each gold square makes the windows pop against the scarlet base.
28. Steam Puff Trail
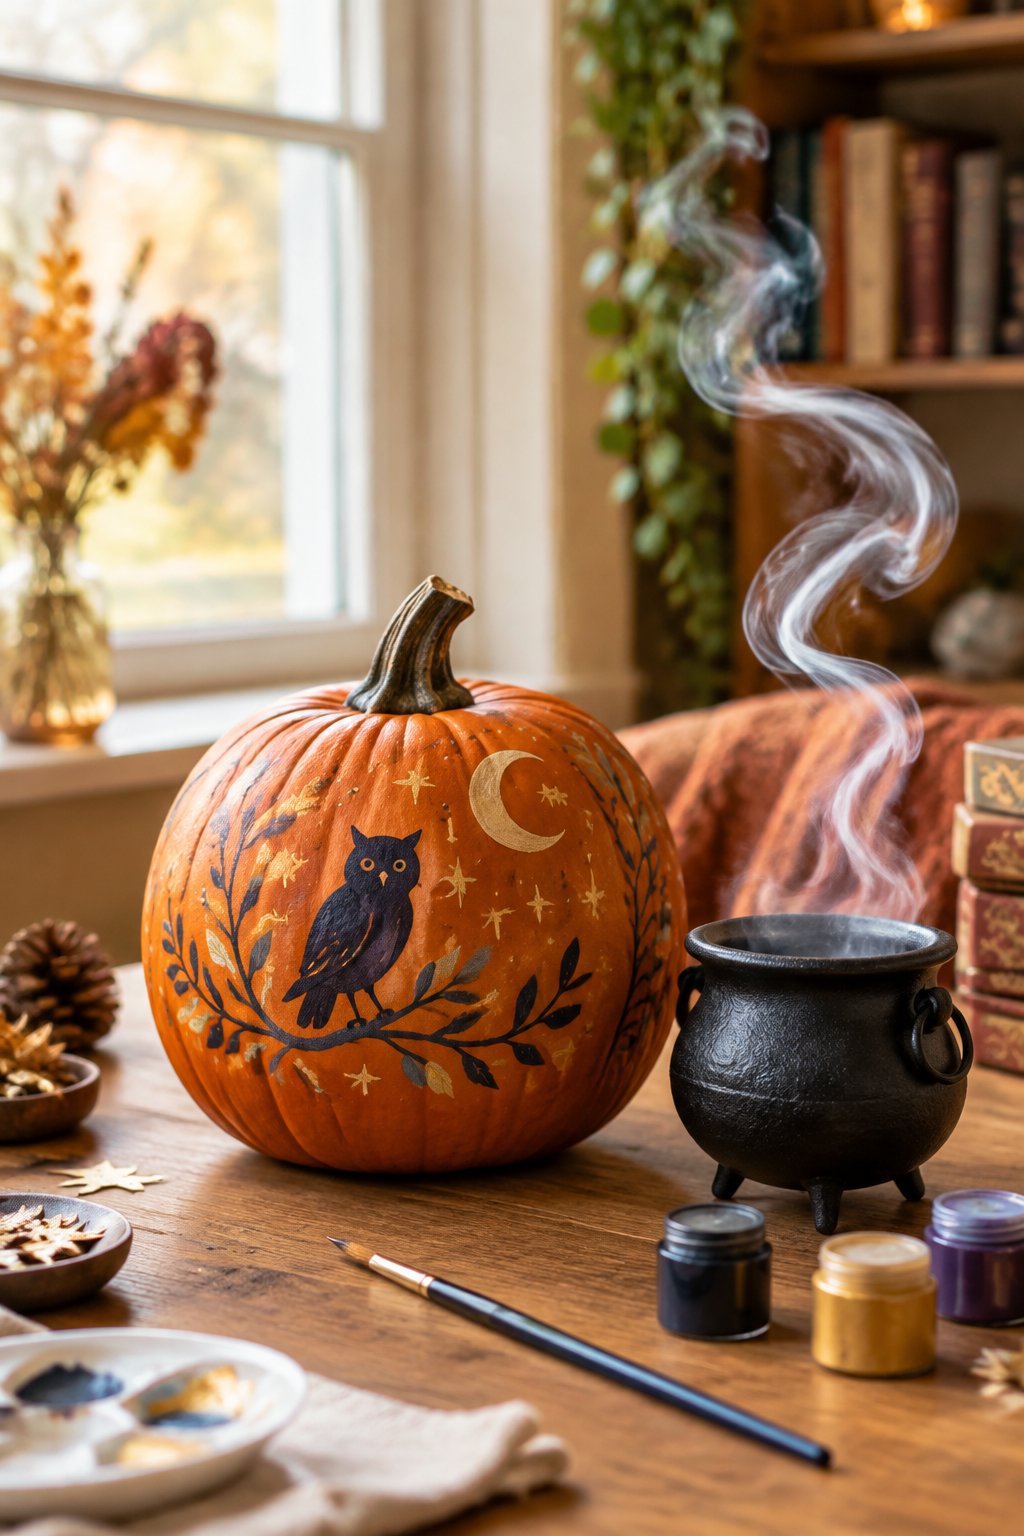
A mini orange pumpkin shows soft curling white steam puffs trailing from a small stack shape, set on a shelf. The curling puffs give it a gentle, cozy motion.
Dab white paint with a sponge in loose curling shapes for a soft, cloud-like texture. This mini design pairs well grouped with other train-themed pumpkins for a full scene.
29. Luggage Trunk Stripes
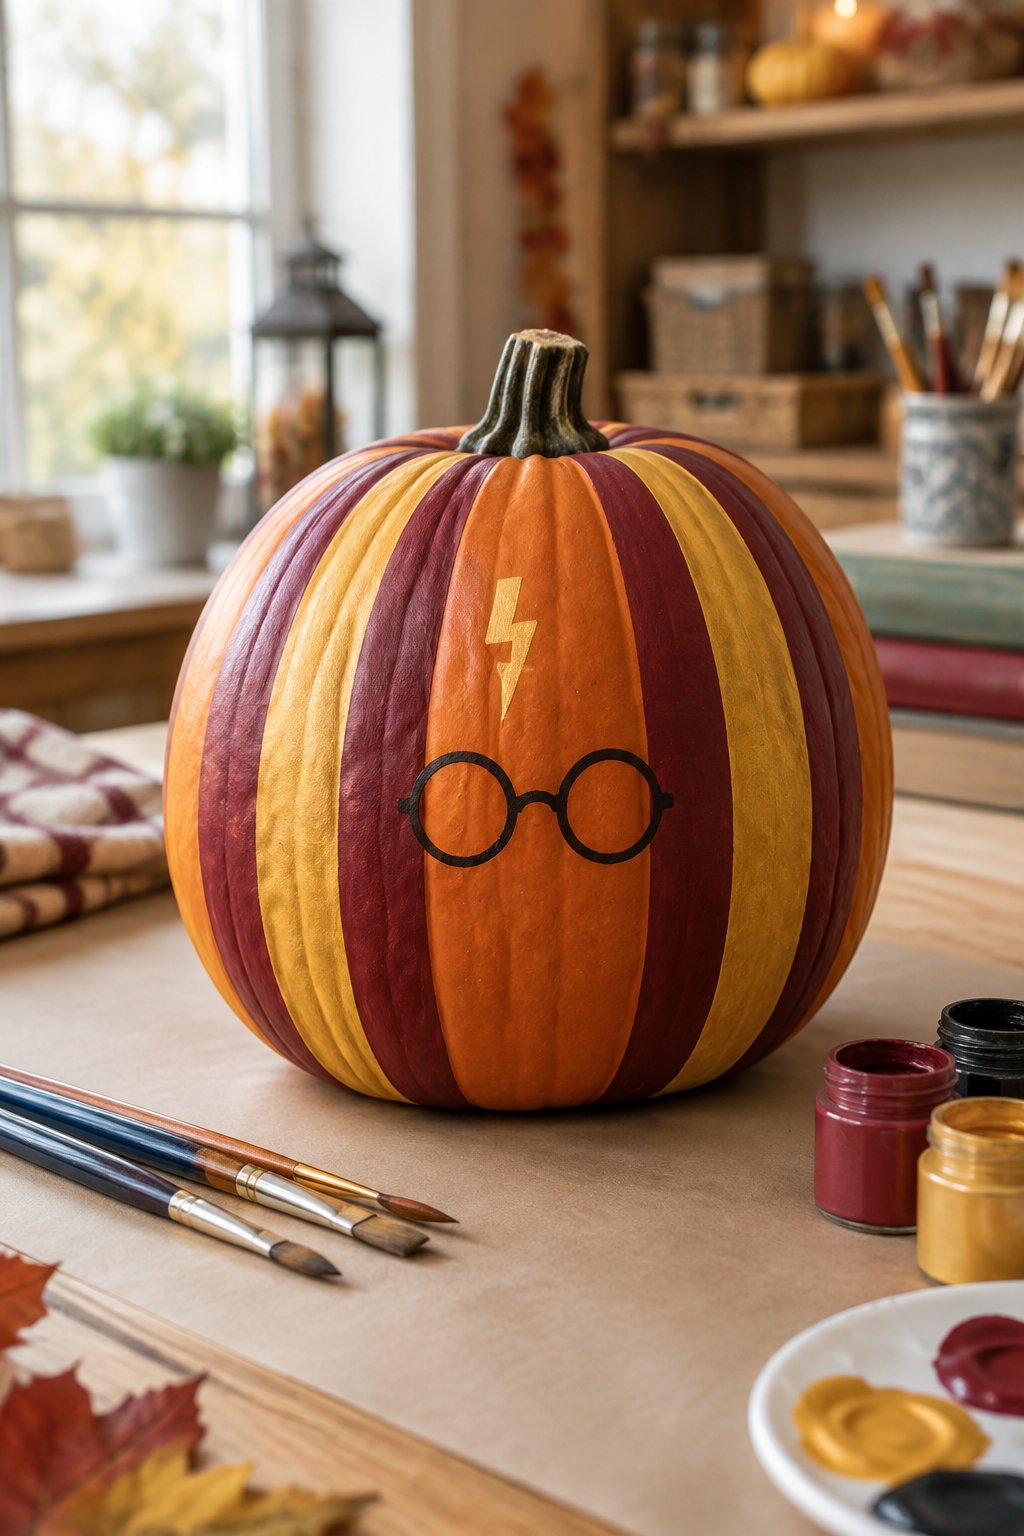
A squat brown pumpkin is painted with buckled trunk-style stripes and a small brass-look latch, arranged on a garden table. The buckle details make it look like a miniature travel trunk.
Paint the brass latch with metallic gold paint for a realistic shine against the brown base. Add thin black stripes to mimic the leather straps found on old-fashioned trunks.
30. Ticket and Feather Quill
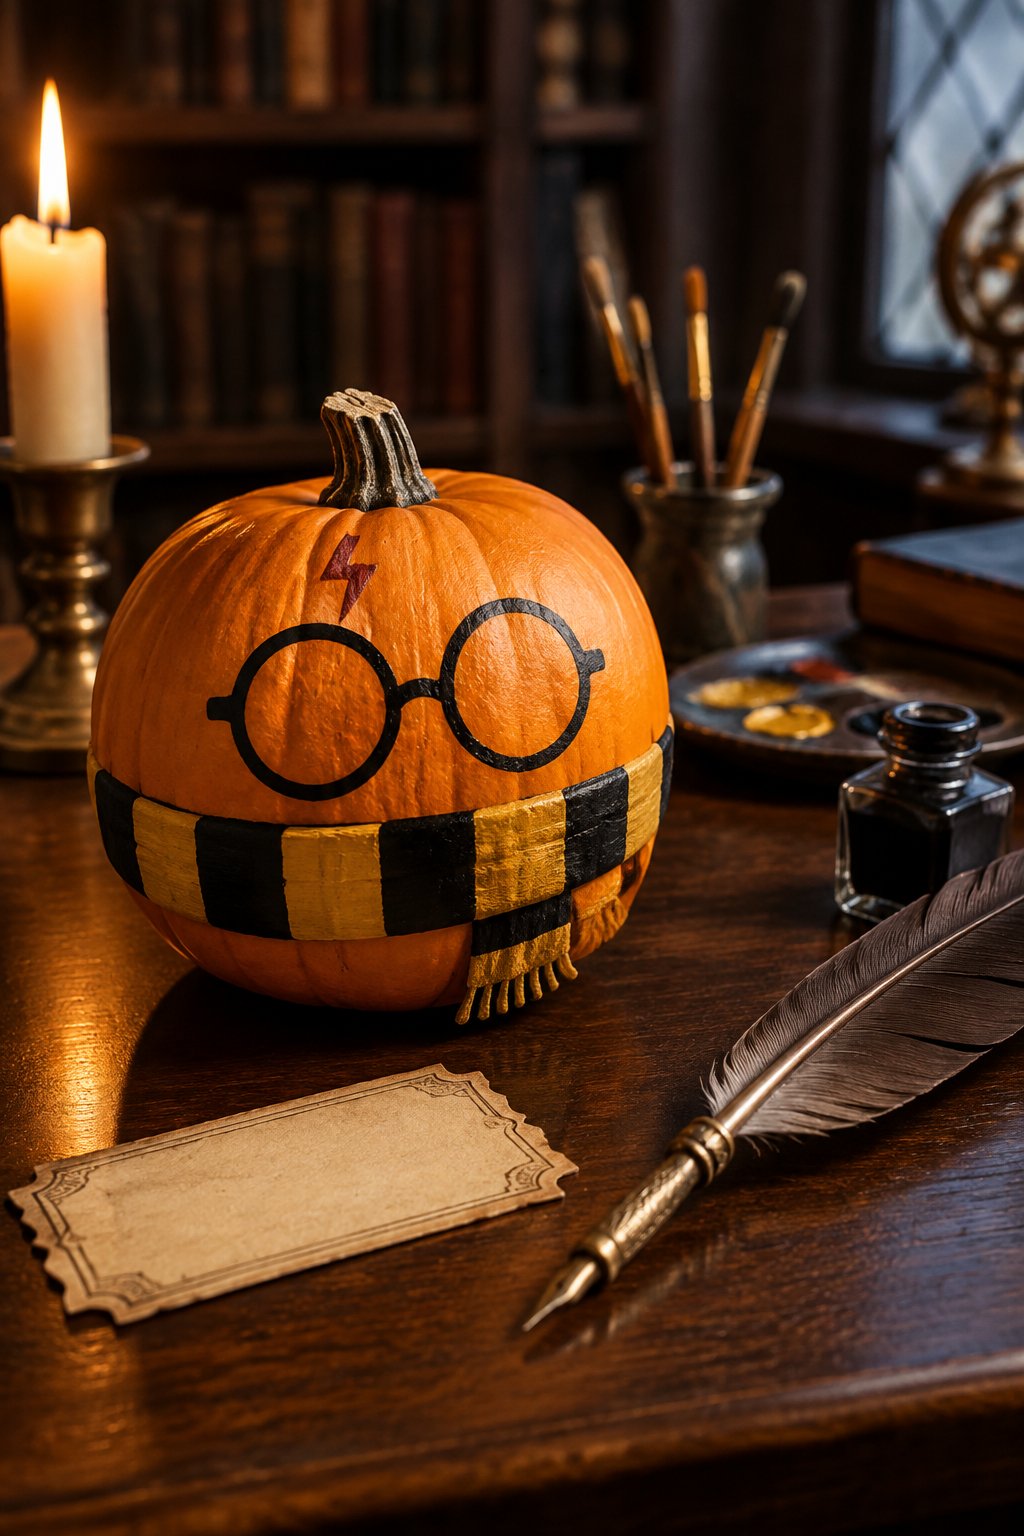
A green pumpkin is painted with a tiny ticket stub shape and a feather quill resting across it, set on a mantel. The layered design tells a little story right on the pumpkin’s surface.
Paint the ticket stub in cream with a torn edge line, then add the quill in a contrasting brown on top. A fine paint pen works well for adding tiny ticket number details.
31. Scarlet Wheel Detail
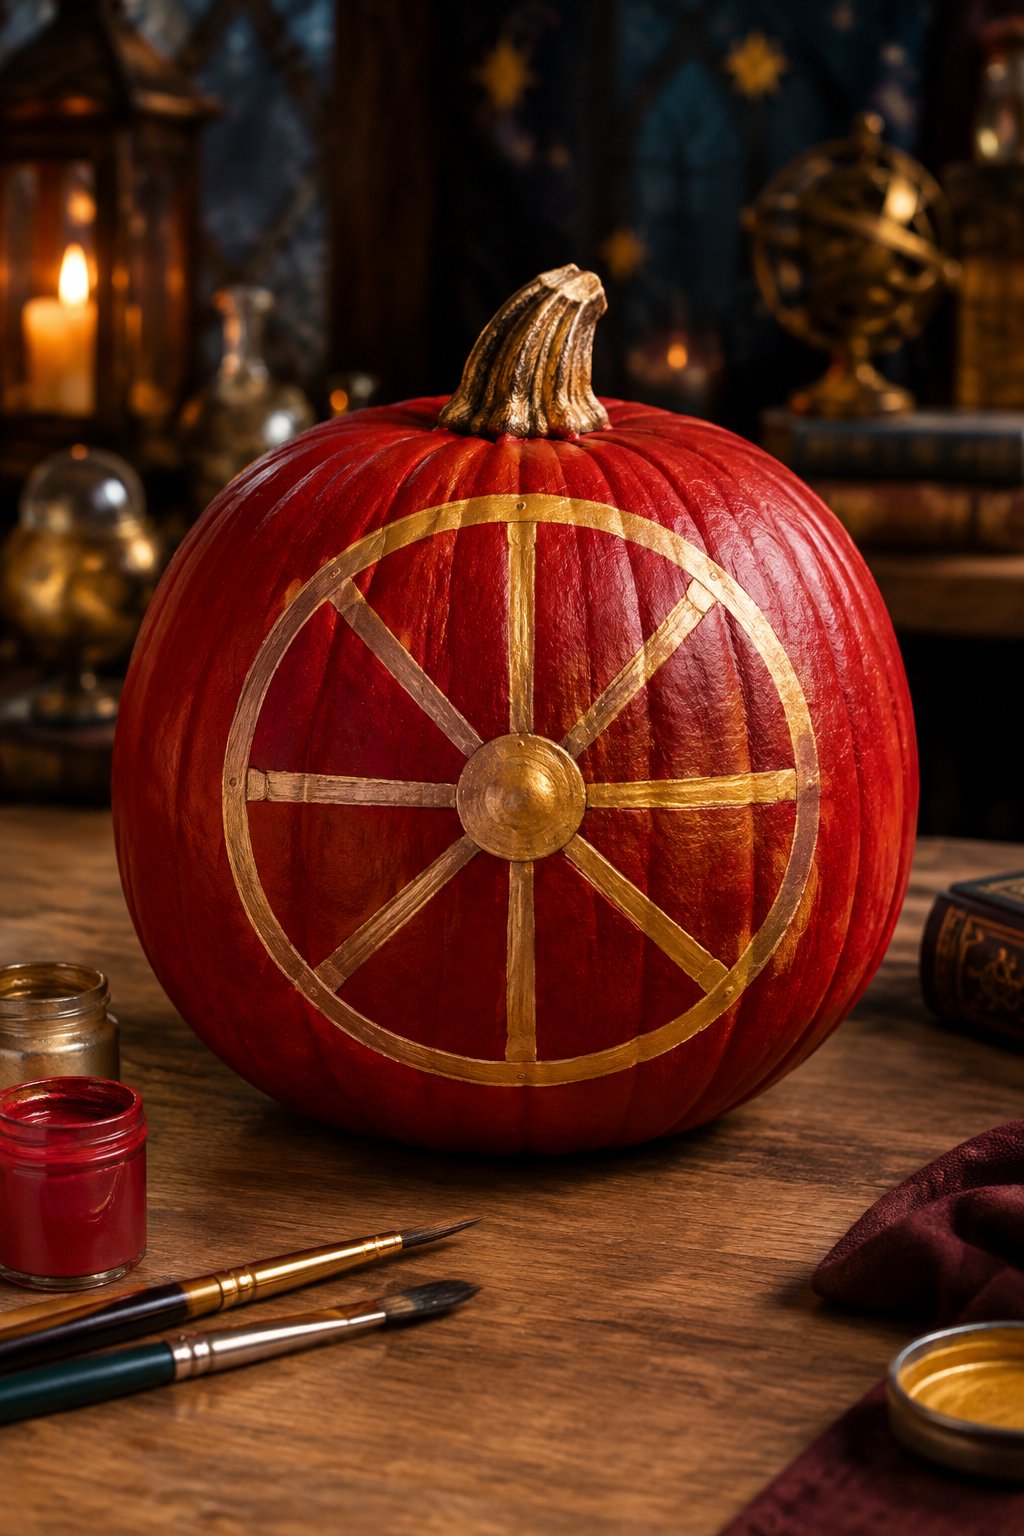
A tall red pumpkin is painted with round black wheel shapes along its base and gold trim above, standing on porch steps. The wheels at the base give it a moving, train-like feel.
Paint the wheels last so the round shapes stay crisp against the dry red base coat. Adding thin gold trim lines above the wheels ties the whole design together.
Magical Creatures and Friends Pumpkins
32. Gentle Giant Beard
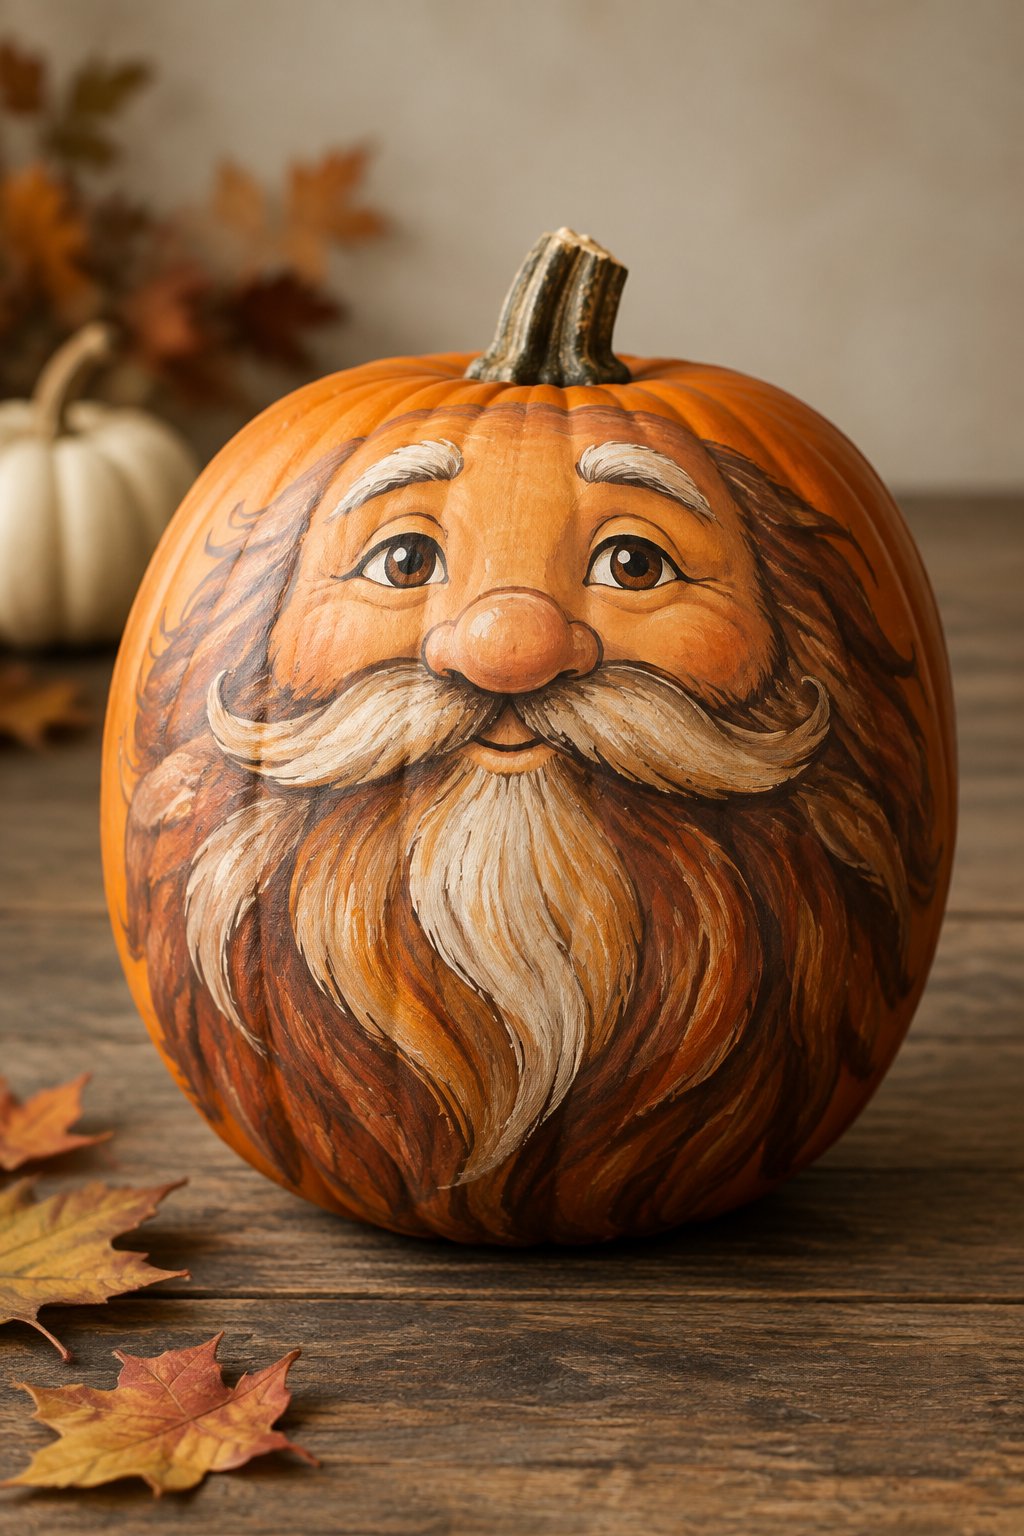
A tall brown-toned pumpkin is painted with a bushy tangled beard texture and warm rosy cheeks, displayed on a hay bale. The tangled texture gives it a warm, friendly character.
Use a stippling brush technique for the beard to create a curly, textured look. Add rosy cheeks last with a small dab of pink blended softly into the brown base.
33. Cozy Hut Scene
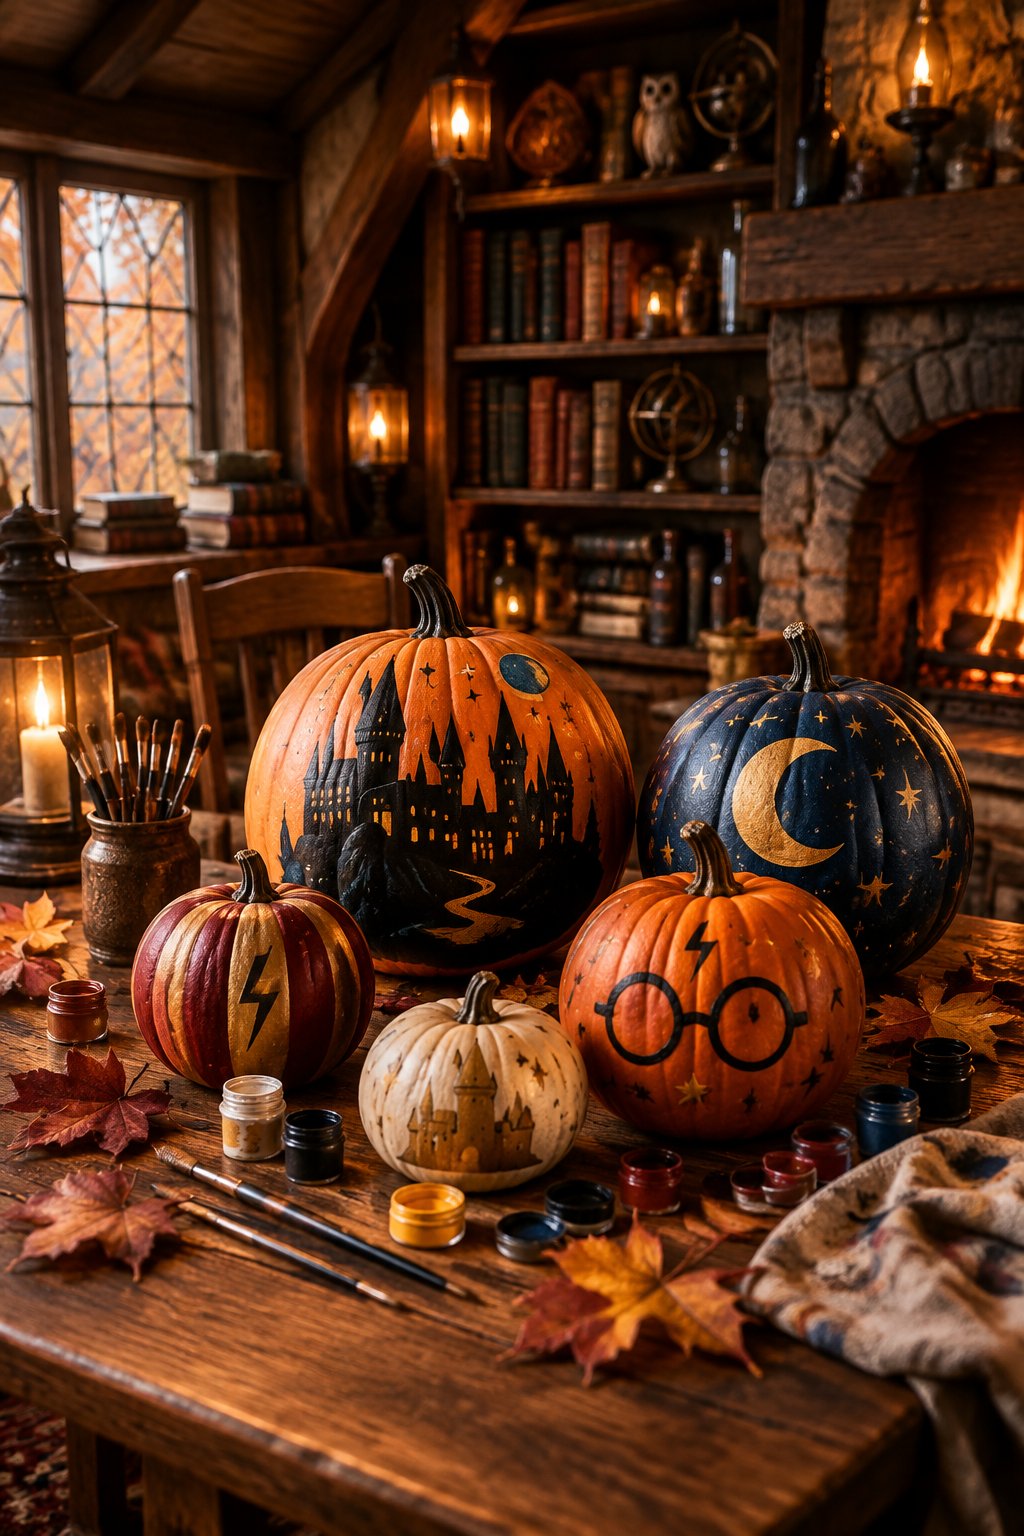
A green pumpkin is painted with a tiny cozy stone hut, round door, and curling chimney smoke, set on a garden table. The small scene makes the whole pumpkin feel like a storybook page.
Paint the hut walls in gray stone texture using a dry brush technique for a bumpy stone effect. A curling line of white smoke rising from the chimney finishes the cozy scene.
34. Striped Scarf Wrap
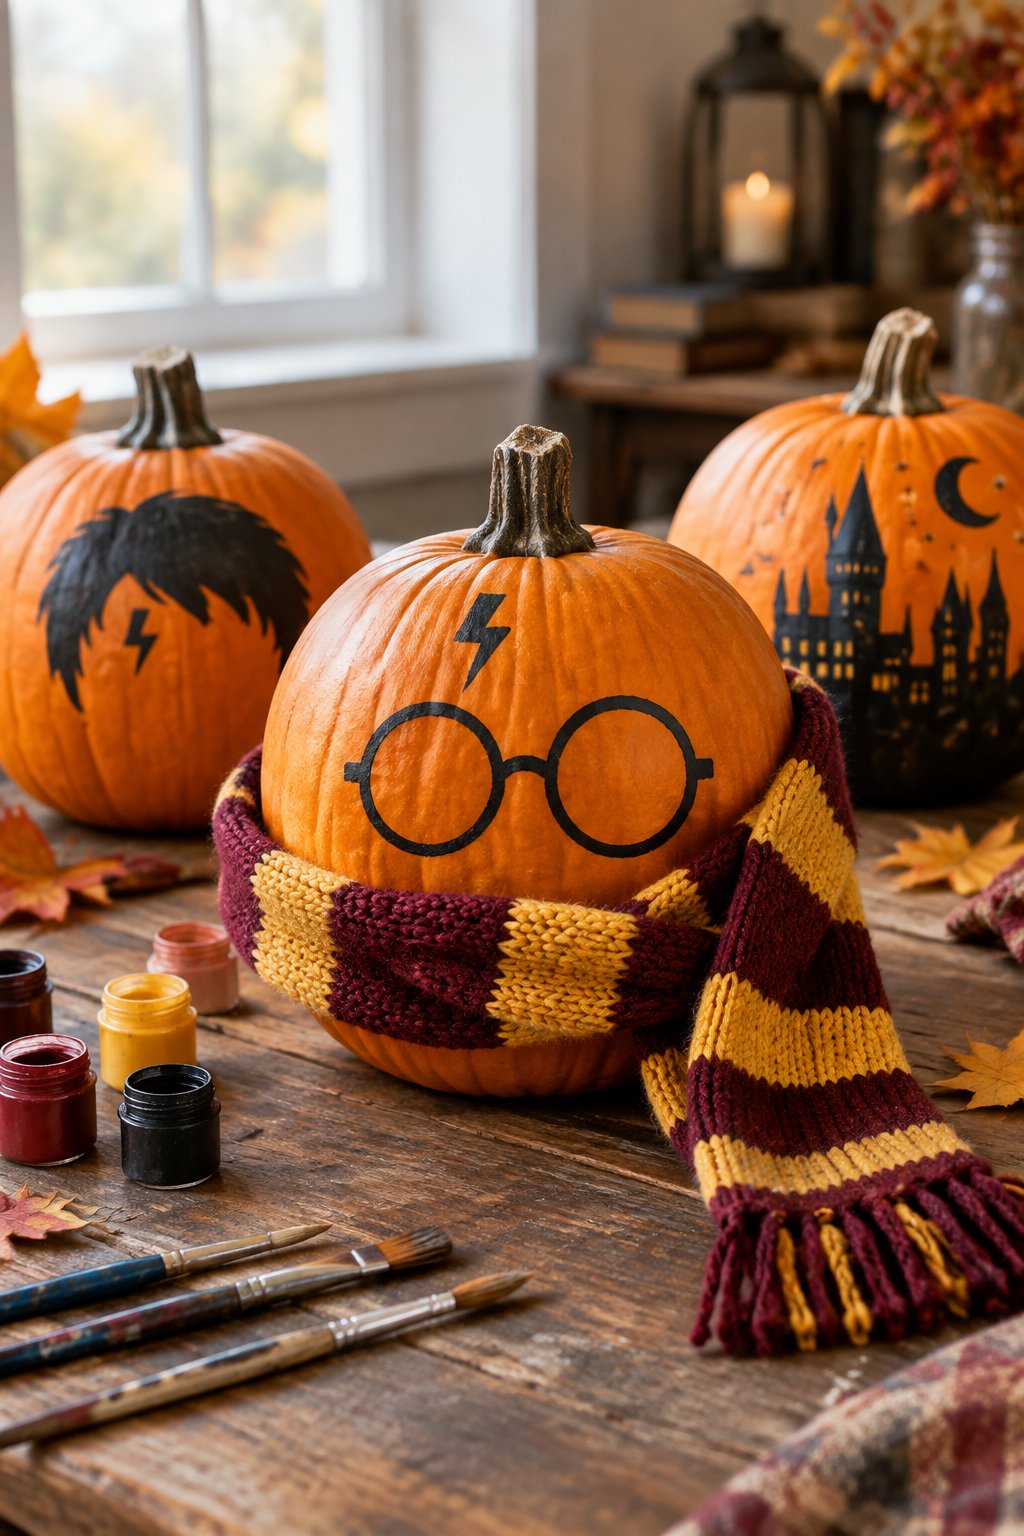
A mini pumpkin is painted to look wrapped in a long striped scarf in maroon and gold tones, set on a mantel. The wraparound stripes make it look genuinely bundled up for fall.
Paint the scarf stripes following the curve of the pumpkin for a realistic wrapped effect. Add a few painted fringe lines at the bottom edge to complete the scarf look.
35. Moth Winged Companion
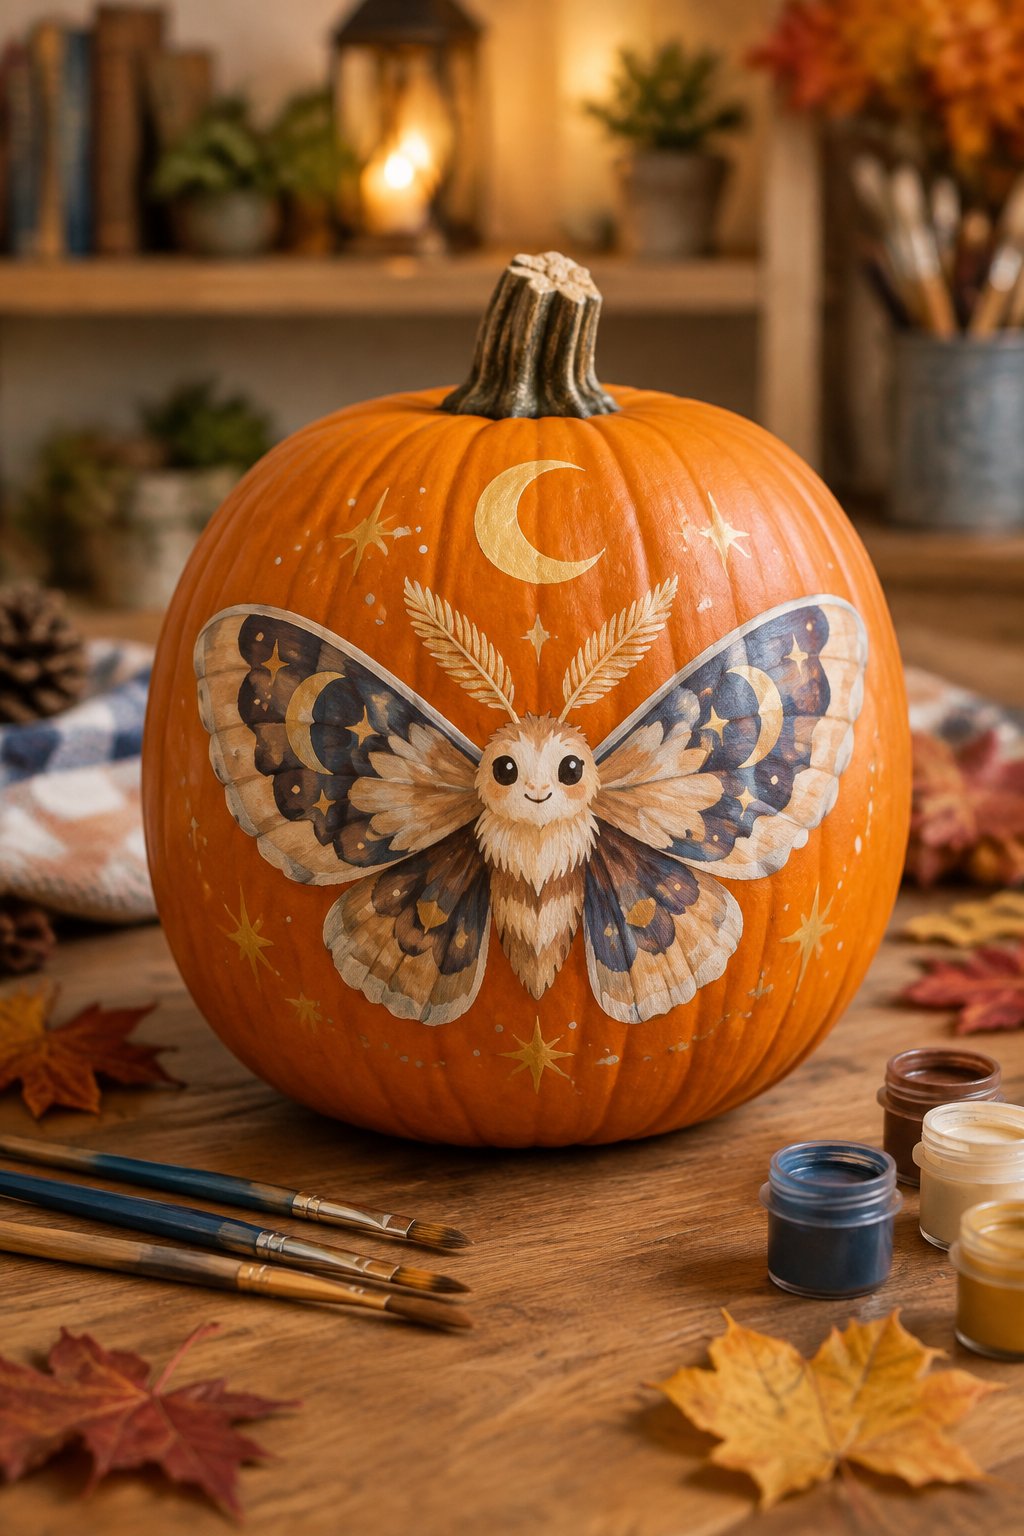
A tall pumpkin is painted with soft dusty-blue moth wings and gentle antenna curls, set on porch steps at dusk. The muted blue tone gives it a soft, autumn evening feel.
Blend dusty blue with a touch of gray for a muted, powdery wing color. Thin curling lines for the antennae finish the design with a delicate touch.
36. Firelit Cabin Glow
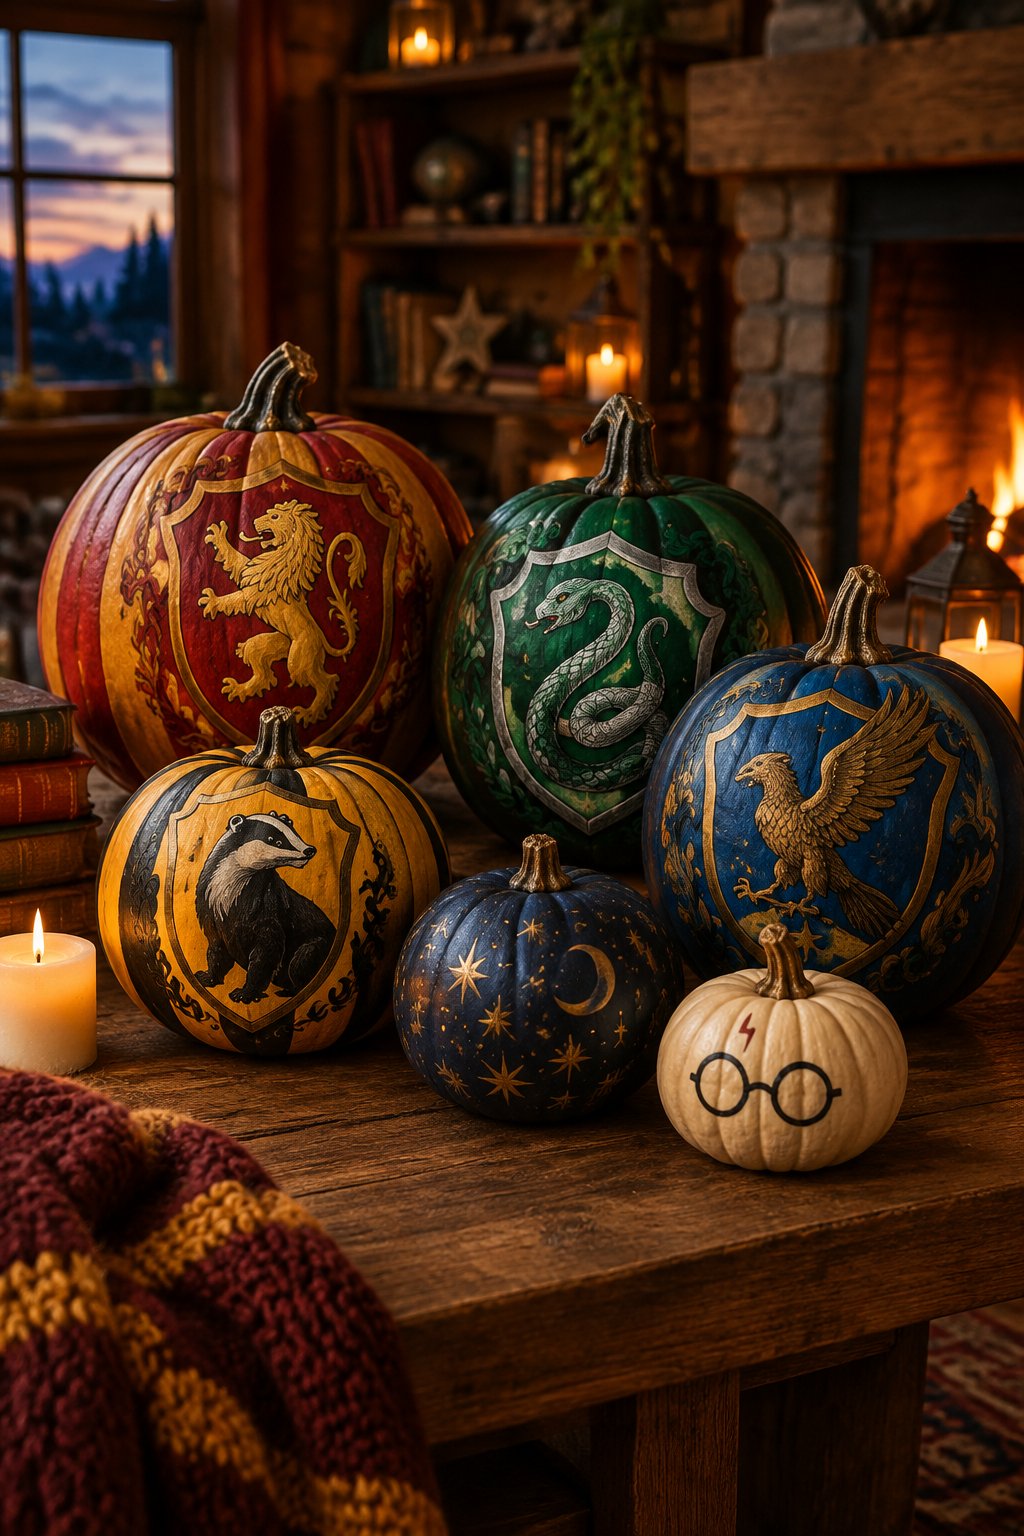
A squat orange pumpkin is painted with a warm glowing round window and cabin outline, displayed beside a lantern on a table. The glowing window makes it look lit from within even without a candle.
Paint the window in warm yellow with soft orange edges blended outward for a glowing effect. Setting it near a real lantern at night makes the painted glow look even more magical.