40 Bat Painted Pumpkin: Cute Ideas for a Spooky Porch
This post may contain affiliate links. Please see my full disclosure for more information.
A bat painted pumpkin turns a plain porch pumpkin into a piece of Halloween art in about twenty minutes. Grab some black acrylic craft paint and a basic brush, and you can go from simple silhouette to a whole flock of fluttering wings without ever picking up a carving knife.
Painting skips the mess of pumpkin guts and lasts far longer than a carved jack-o’-lantern, which tends to shrivel within a week. Whether you want a single cute bat or a swirling trail of them circling the stem, these 40 ideas give you a design for every skill level and every corner of your home.
Cute Bat Silhouette Pumpkins
1. Single Bat Silhouette
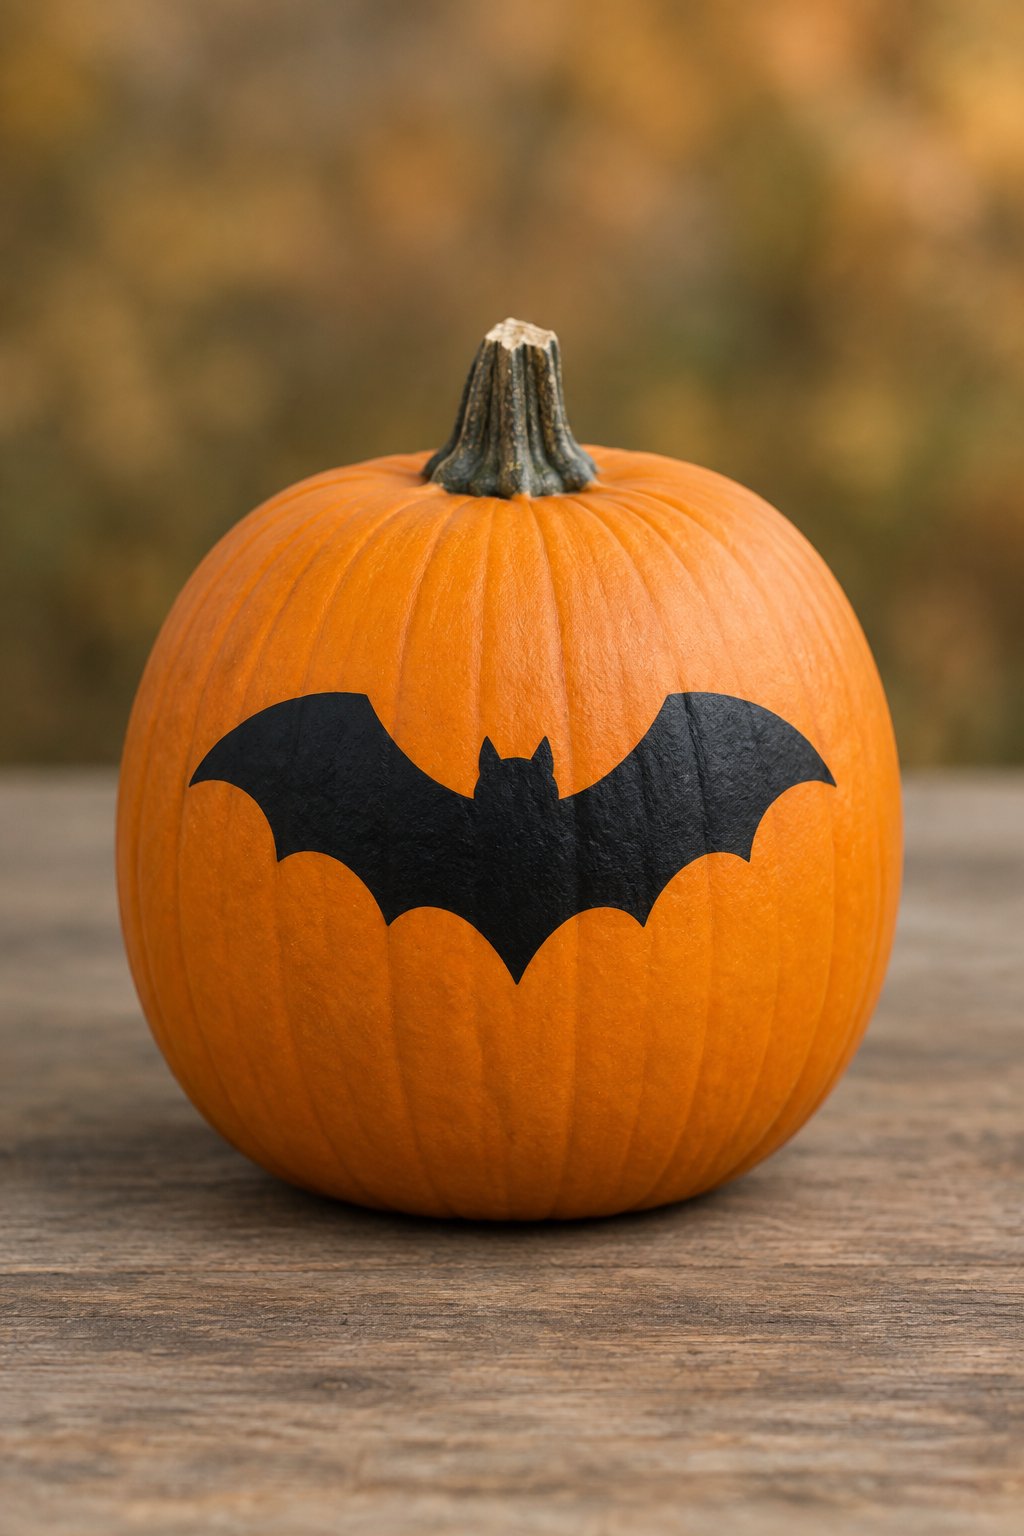
A classic orange pumpkin sits on a porch step with one simple black bat painted dead center on its front. The silhouette has smooth, rounded wings and no extra detail, making it clean and easy to spot from the sidewalk.
Trace a bat shape onto paper first, cut it out, and trace around it with a pencil before filling it in with black acrylic paint. This design is perfect for beginners or kids painting their first pumpkin.
2. Trio of Flying Bats
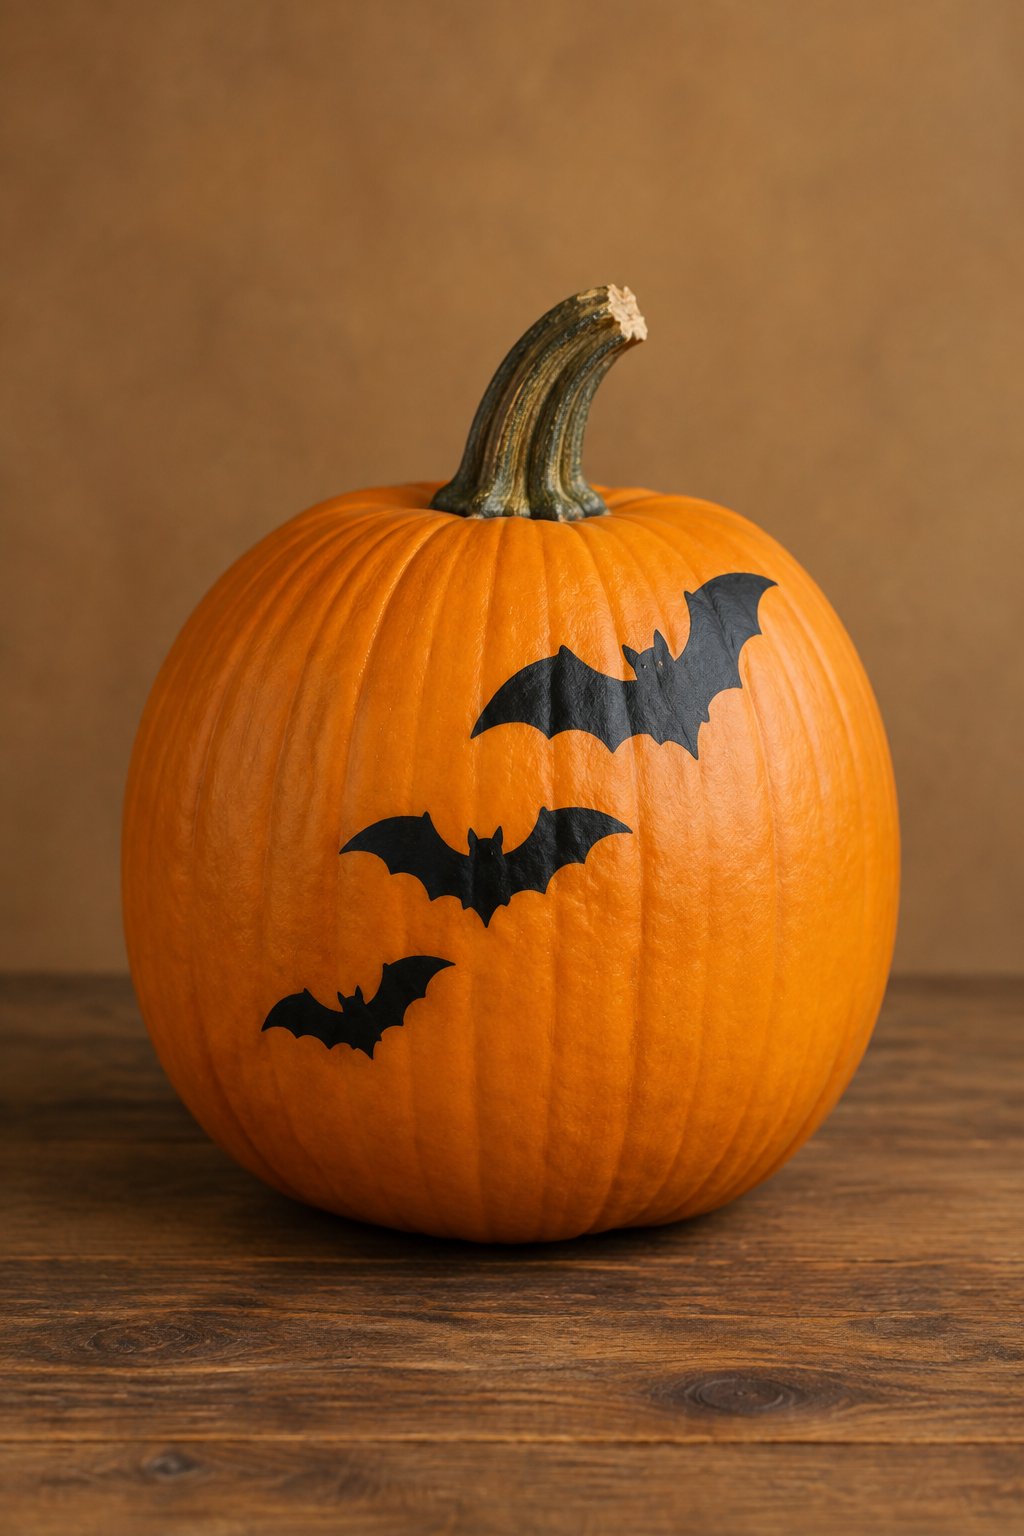
Three small black bat silhouettes trail upward in a gentle arc across a crisp white pumpkin. The staggered sizes give the design a sense of motion, like the bats are lifting off toward the stem.
Paint the largest bat first, then add two smaller ones above it using a thinner brush. Let each layer dry fully before adding the next so the shapes stay crisp.
3. Bat Silhouette Band
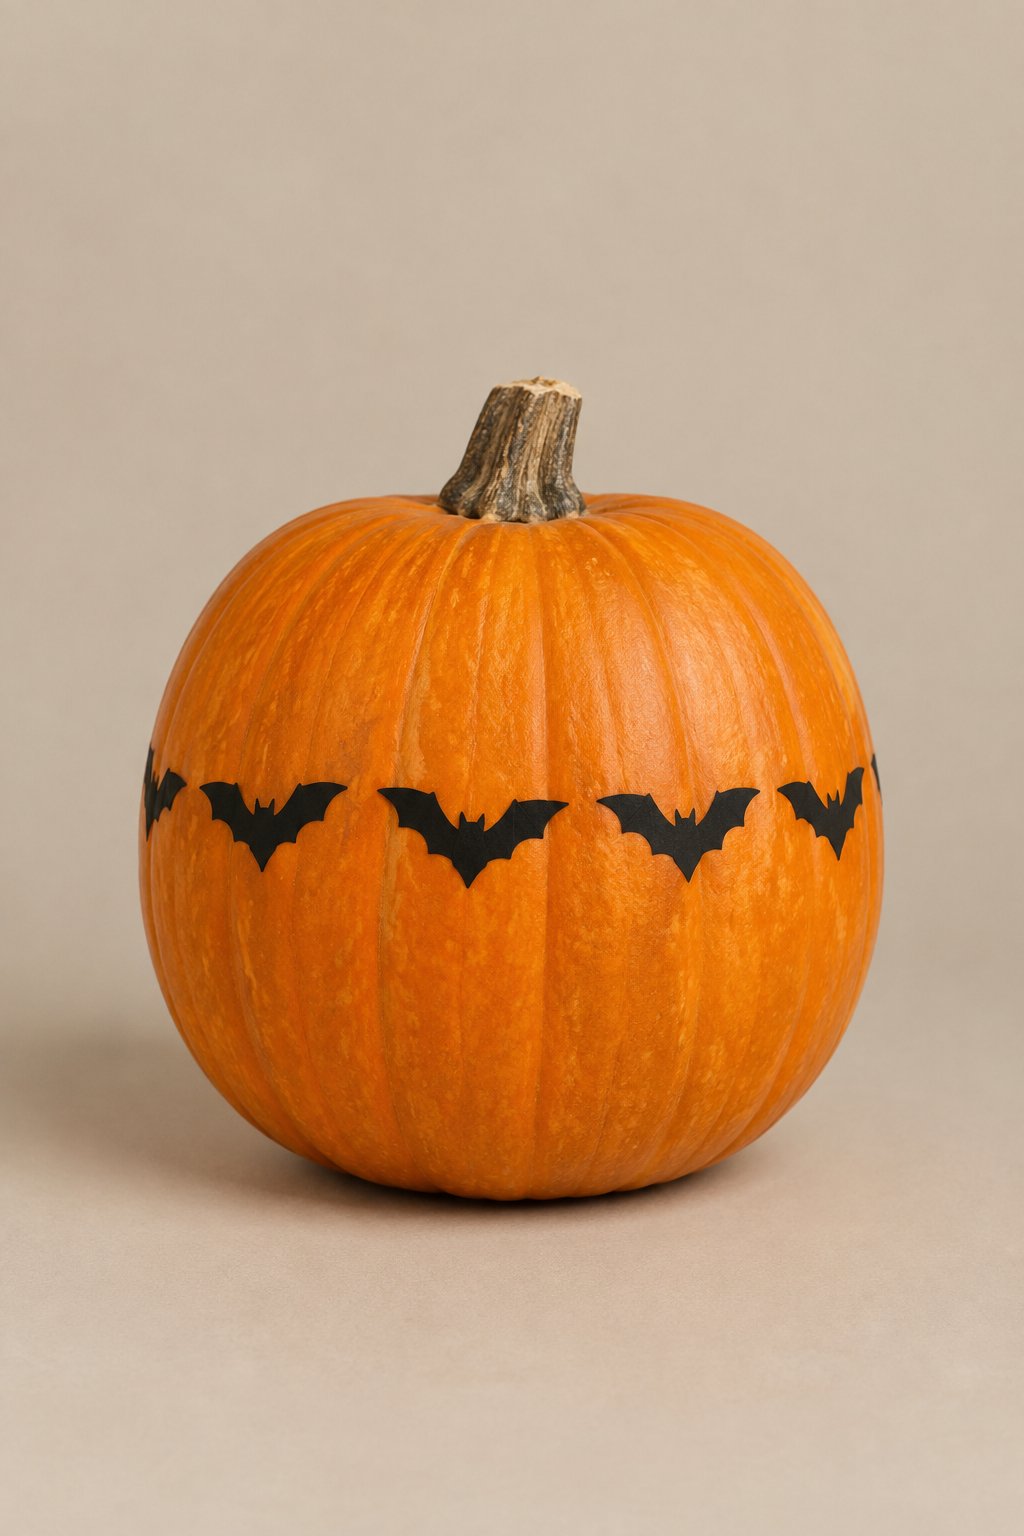
A tall orange pumpkin wears a horizontal band of tiny bat silhouettes wrapped around its middle, like a ribbon of bats circling the belly. The repeating pattern gives it a neat, almost wallpaper-style look.
Use painter’s tape as a guide to keep the band straight before painting each bat by hand. A small round brush works best for keeping the tiny wings uniform in size.
4. Scattered Bat Shapes
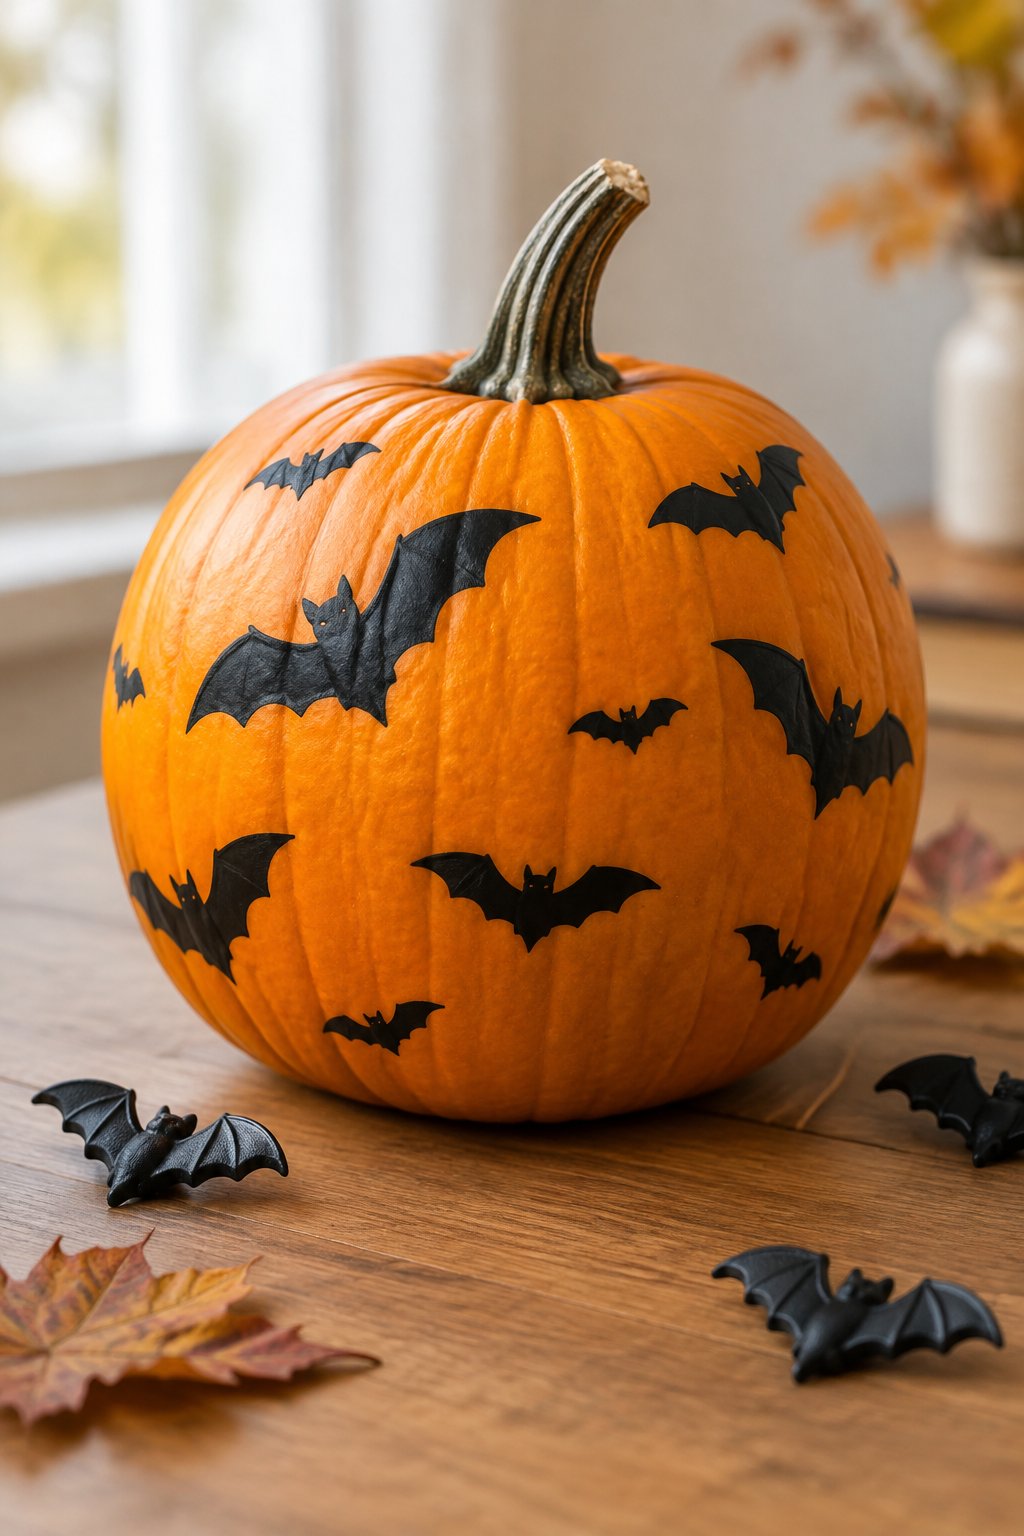
This round orange pumpkin has several black bat silhouettes scattered randomly across its surface, sitting among a few extra bat decorations for a full Halloween vignette. The mismatched sizes and angles make the design feel playful and casual.
Dot bats in different spots without measuring or planning too much, since the randomness is the charm here. This is a fun, low-pressure project for kids who want to paint freely.
5. Bat Silhouette Circle
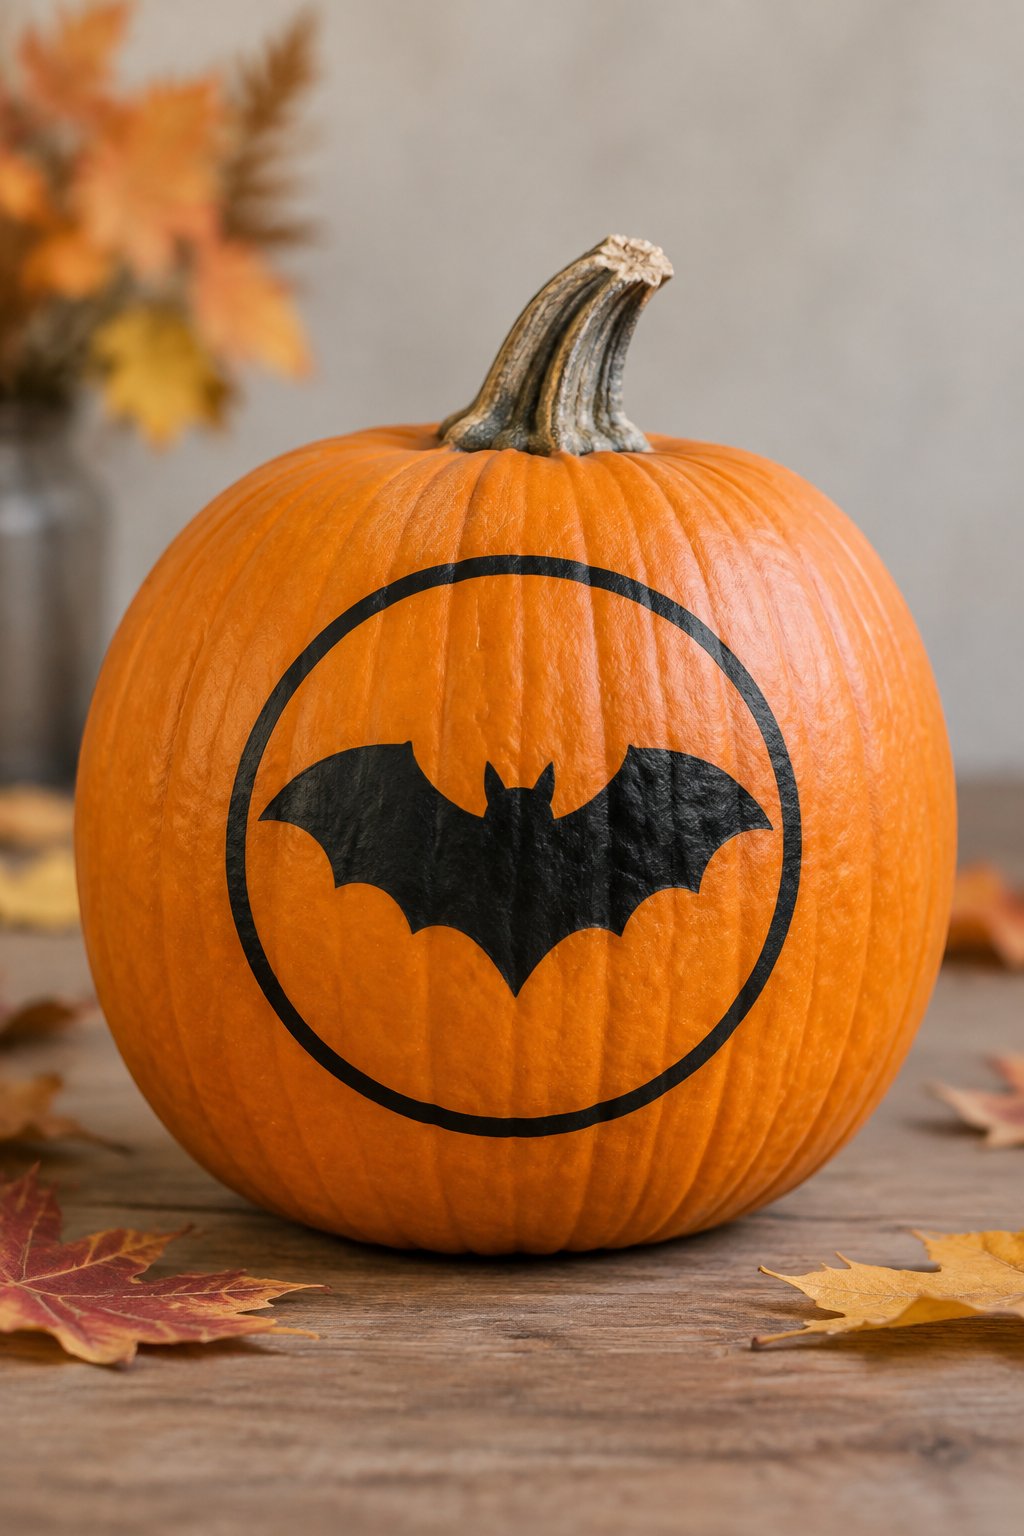
A soft cream pumpkin features black bat silhouettes arranged in a gentle circle around the stem, forming a wreath-like ring at the top. The pale background makes the black shapes pop even more than they would on orange.
Start your bats near the stem and work outward in a loop, spacing them evenly with a pencil mark first. This design suits pumpkins with a wide, flat top for the best circle shape.
6. Corner Bat Cluster
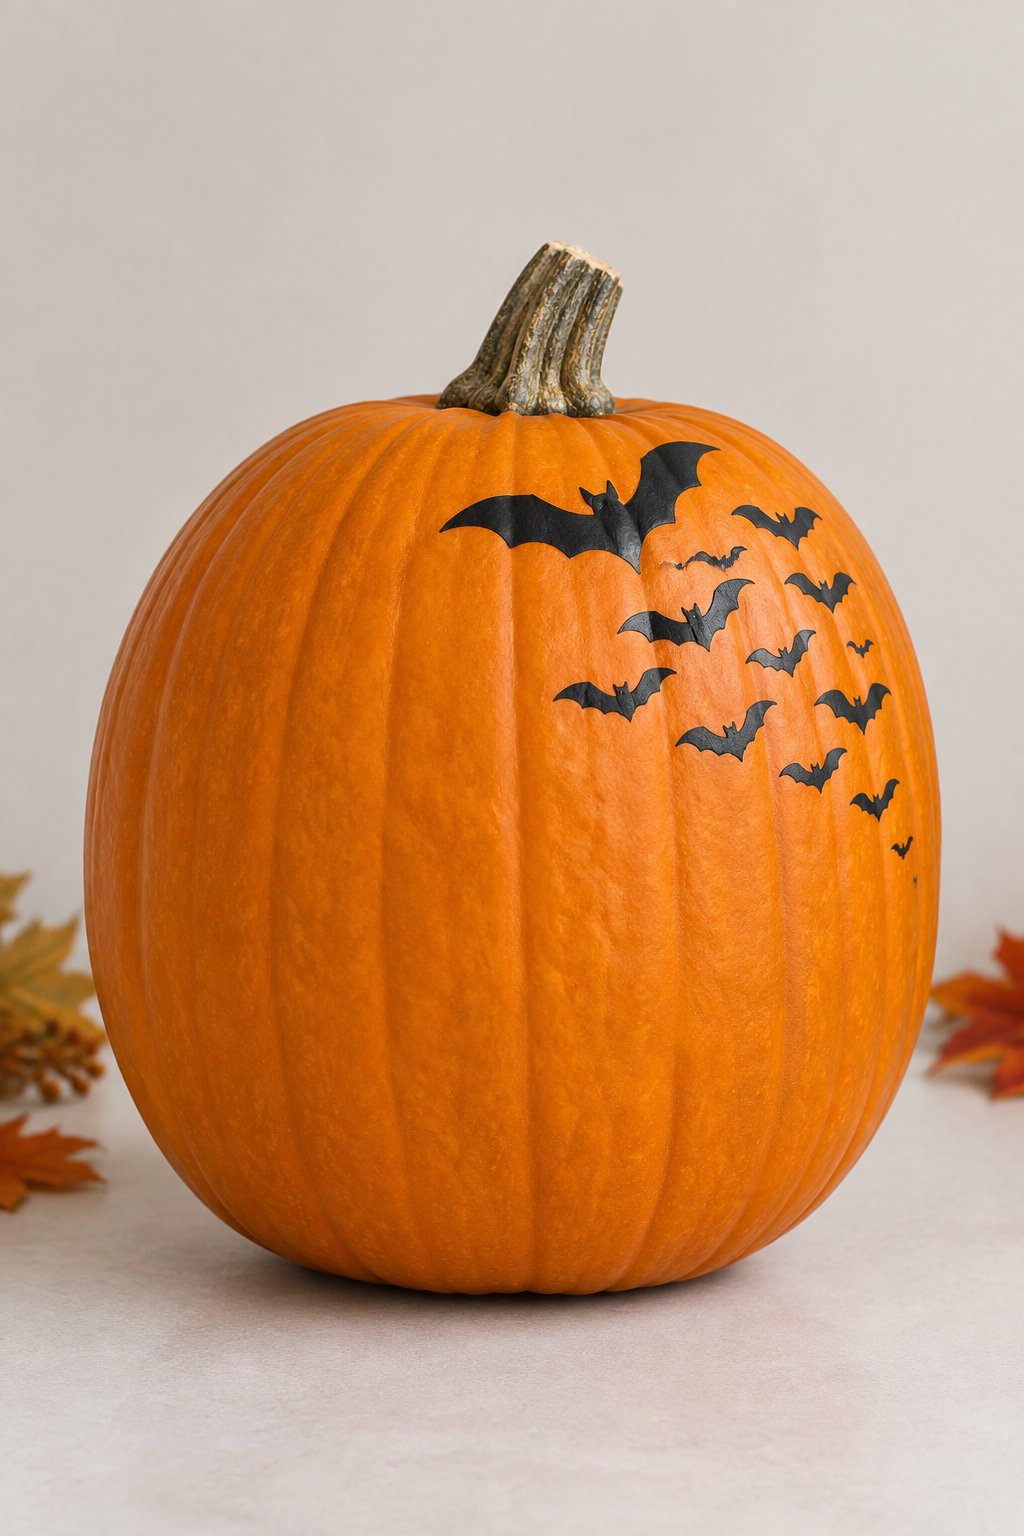
A small cluster of bat silhouettes tucks into one corner of this orange pumpkin, leaving the rest of the surface bare and simple. The uneven grouping makes it look like the bats just landed there for a rest.
Paint three or four bats close together at different angles to build the cluster. It’s a great option if you want a design that doesn’t take up the whole pumpkin.
7. Mini Bat Silhouette Set
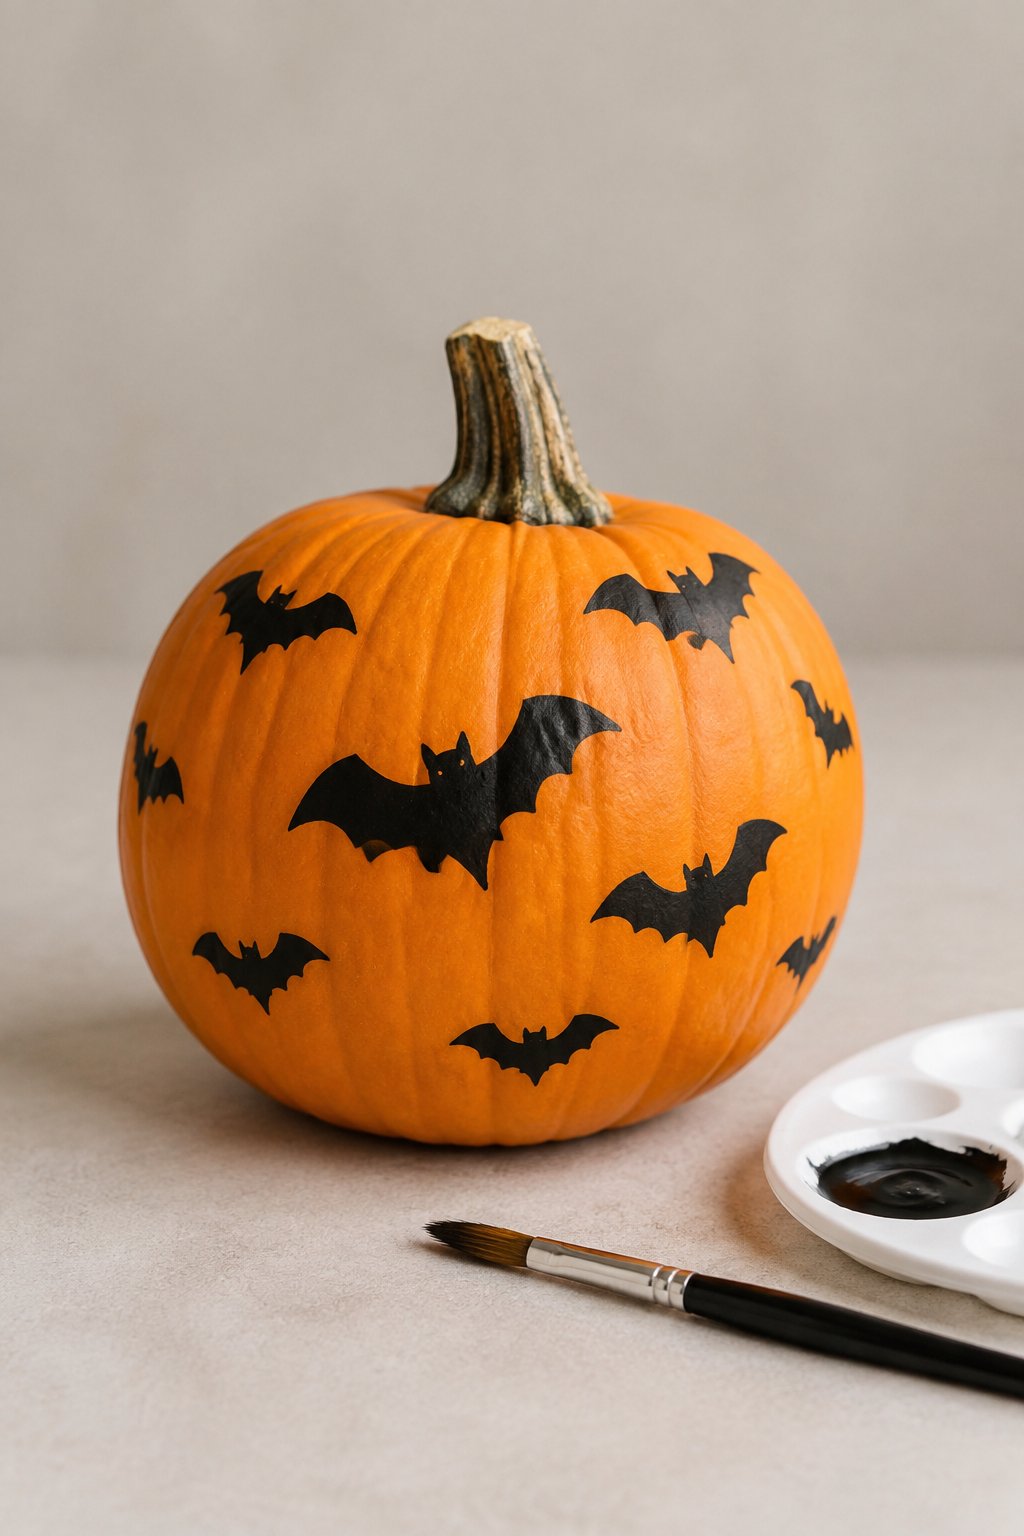
Three mini pumpkins line up on a wooden tray, each one painted with a single simple bat silhouette. Keeping the design consistent across all three gives the set a coordinated, tidy look.
Mini pumpkins dry faster than big ones, so this set is great for an afternoon craft session. Line them up on a windowsill or entry table once the paint sets.
Cute Bat Face Pumpkins
8. Smiling Bat Face
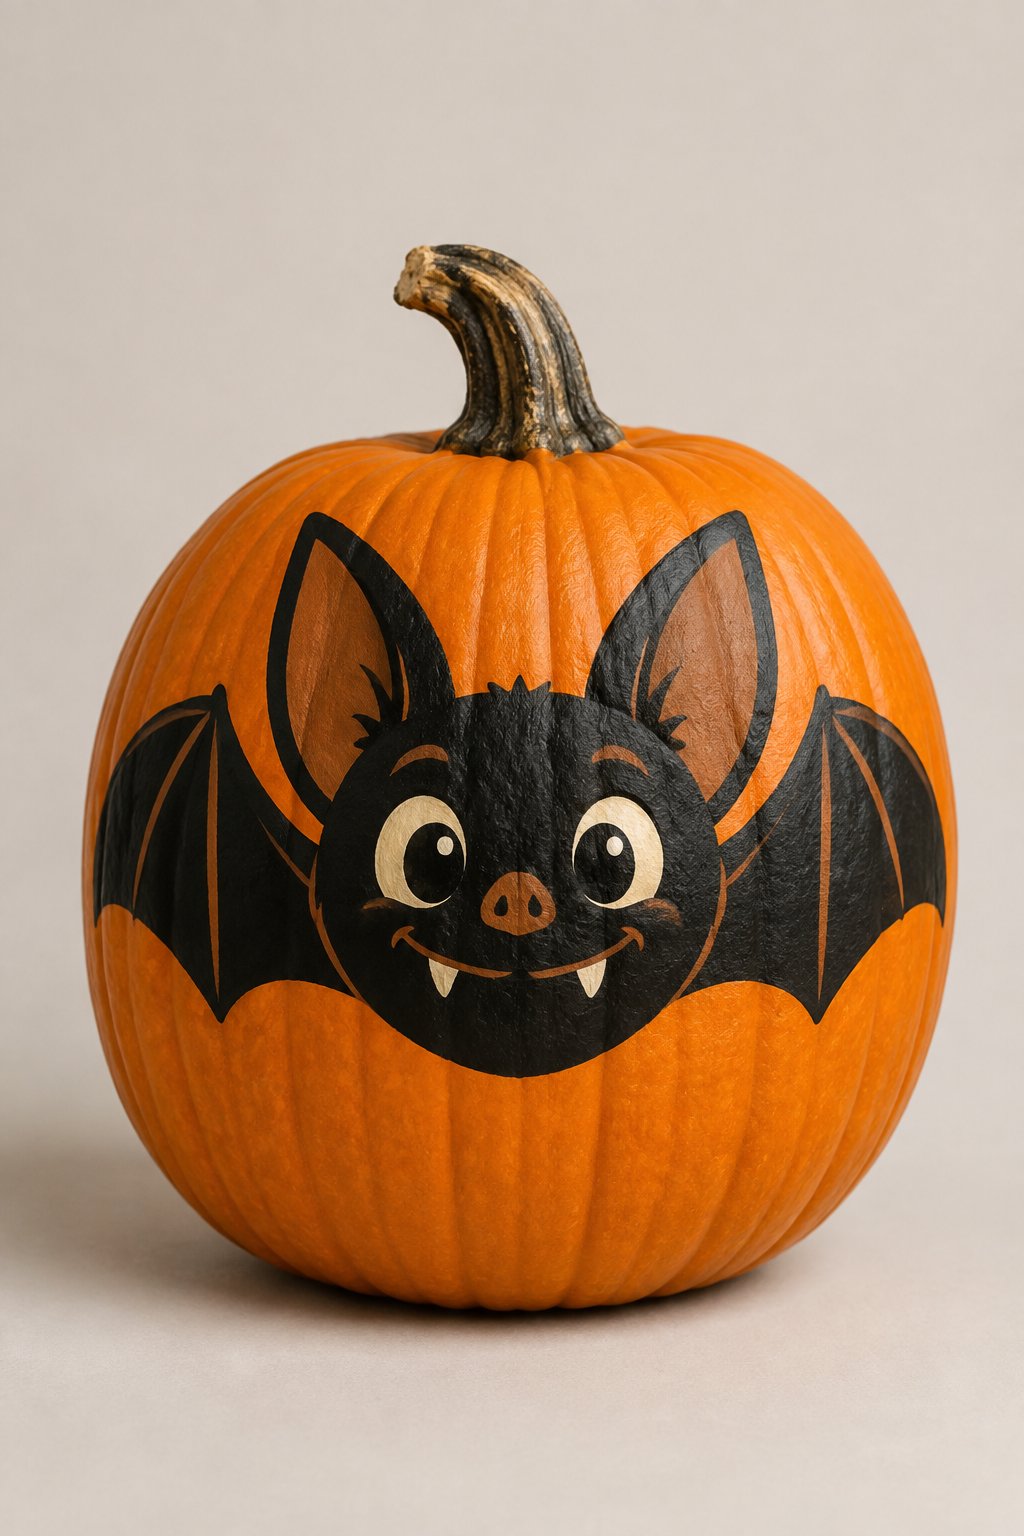
This orange pumpkin becomes a round, friendly bat face with big round eyes, tiny fangs, and rounded ears painted near the stem. The smile keeps the whole look cheerful instead of spooky.
Paint the eyes first as white circles with black centers, then add the ears and a curved smile line. This design is a favorite for younger kids who want a bat that looks more silly than scary.
9. Sleepy Bat Face
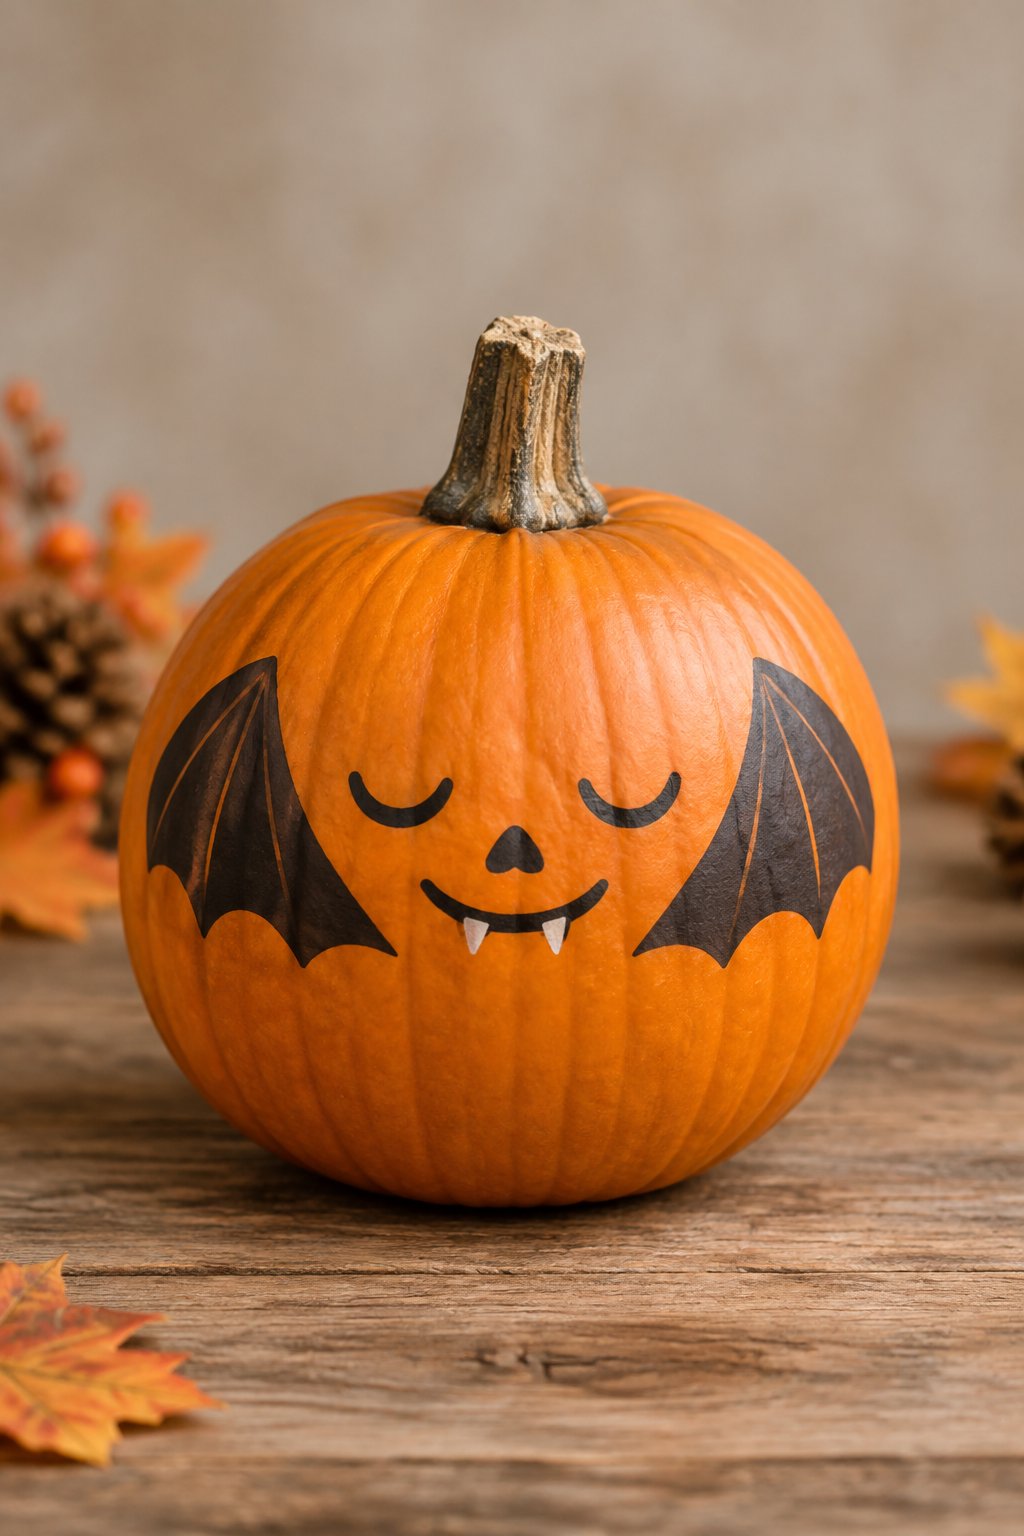
A white pumpkin shows a bat face with half-closed eyes and folded wings resting at its sides, giving off a cozy, napping vibe. The soft background color adds to the gentle, quiet feel of the design.
Use curved lines instead of full circles for the eyes to get that drowsy look. This one is a sweet pick for a nursery shelf or a calm nighttime display.
10. Winking Bat Face
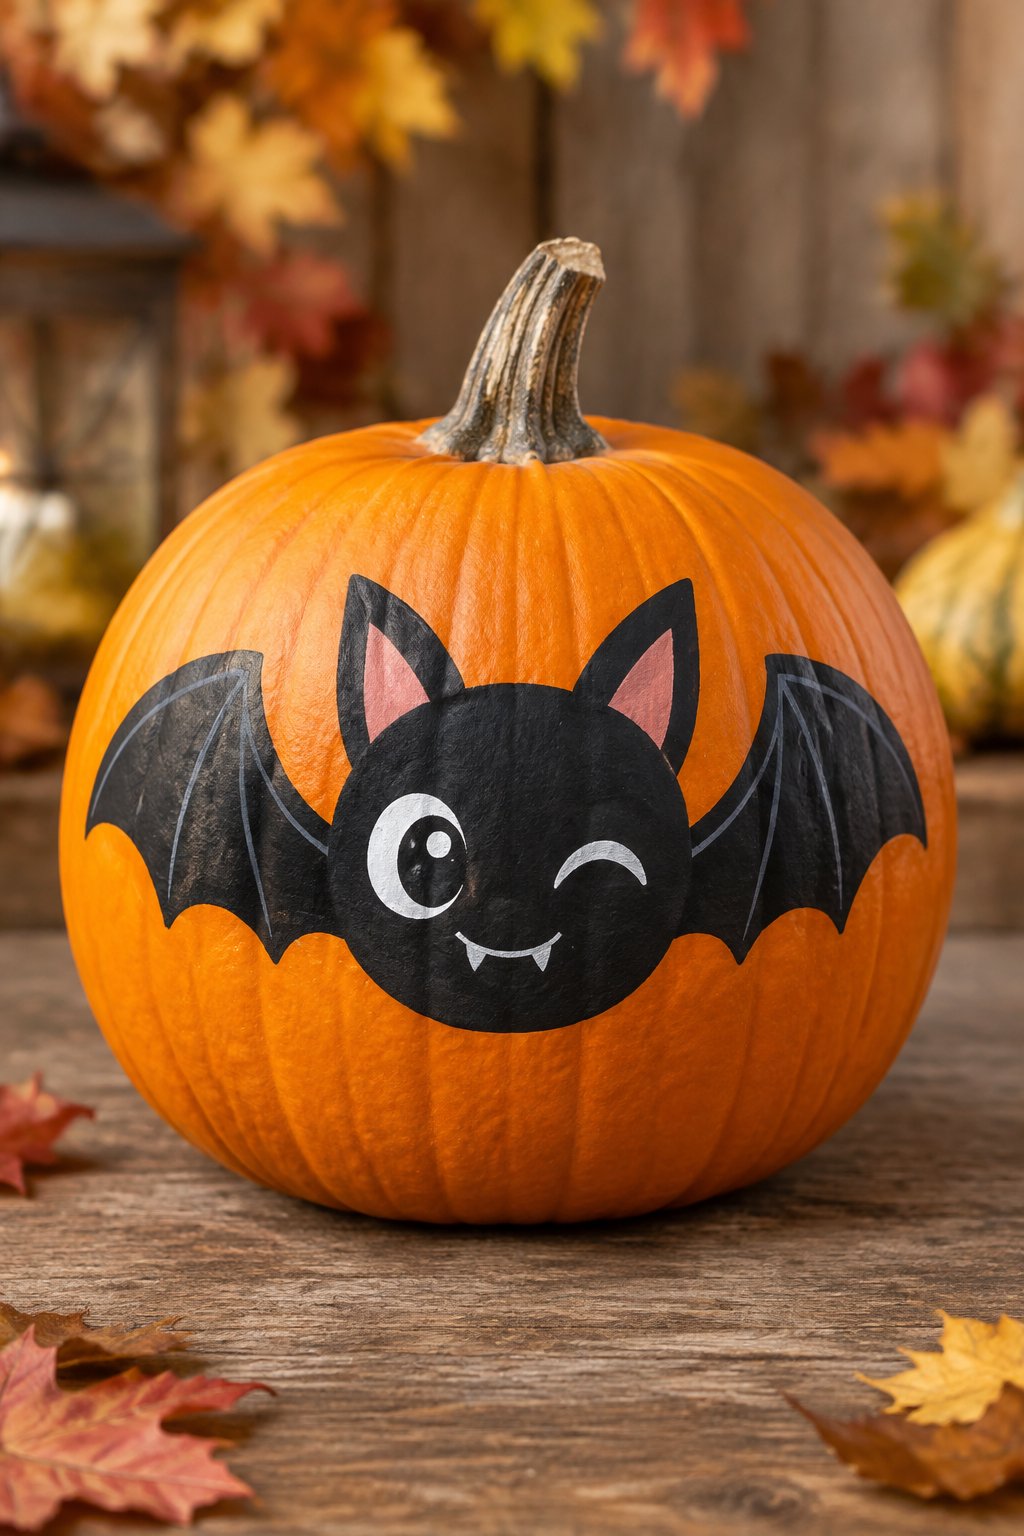
This pumpkin’s bat face has one eye winking and a small curved smile, giving it a playful, mischievous charm. The asymmetry makes it feel more alive than a straight-on symmetrical face.
Paint one eye as a full circle and the other as a simple closed curve to create the wink. Kids love picking which eye gets to wink.
11. Chubby Cheek Bat
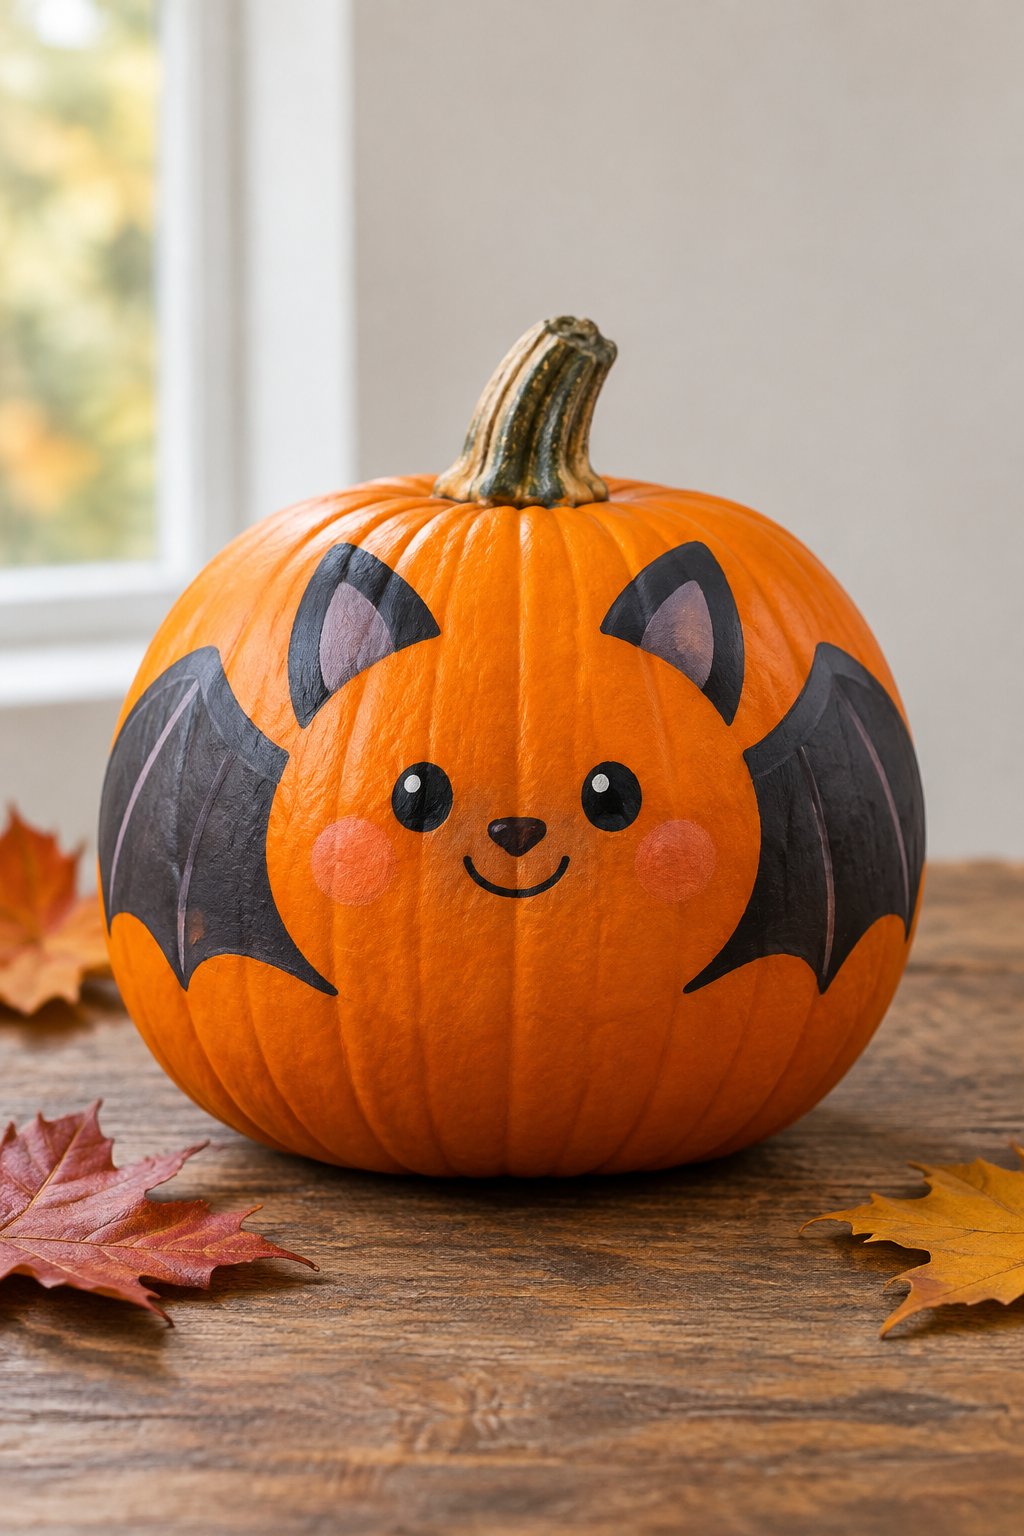
A squat orange pumpkin turns into a round bat face with rosy painted cheeks and tiny round ears, plus little wings on the sides. The rounded shape of the pumpkin itself makes the chubby cheeks look extra fitting.
Add a light dab of pink or red paint on each cheek after the black details dry. This design works best on shorter, wider pumpkins rather than tall skinny ones.
12. Surprised Bat Face
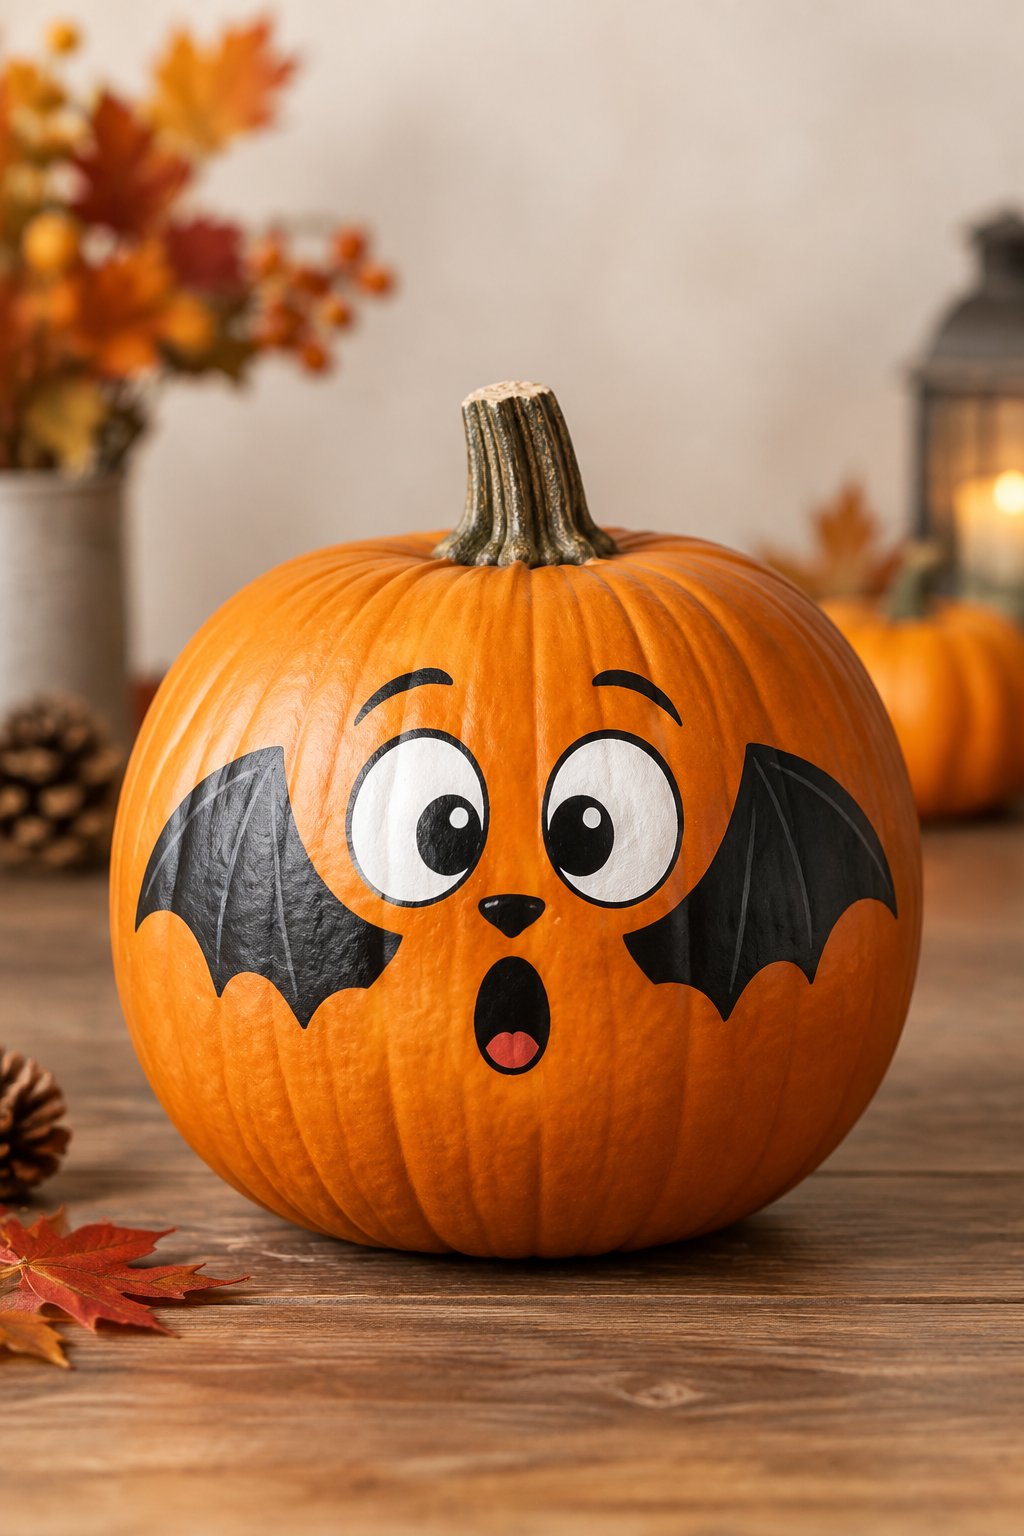
A tall pumpkin wears a bat face with wide round eyes and small raised ears, giving it a startled, “oh!” expression. The elongated shape of the pumpkin suits the wide-eyed, upright look.
Make the eyes larger than usual and add small arched lines above them for raised brows. This fun face is a hit at Halloween parties where guests guess what surprised the bat.
13. Mini Bat Faces Trio
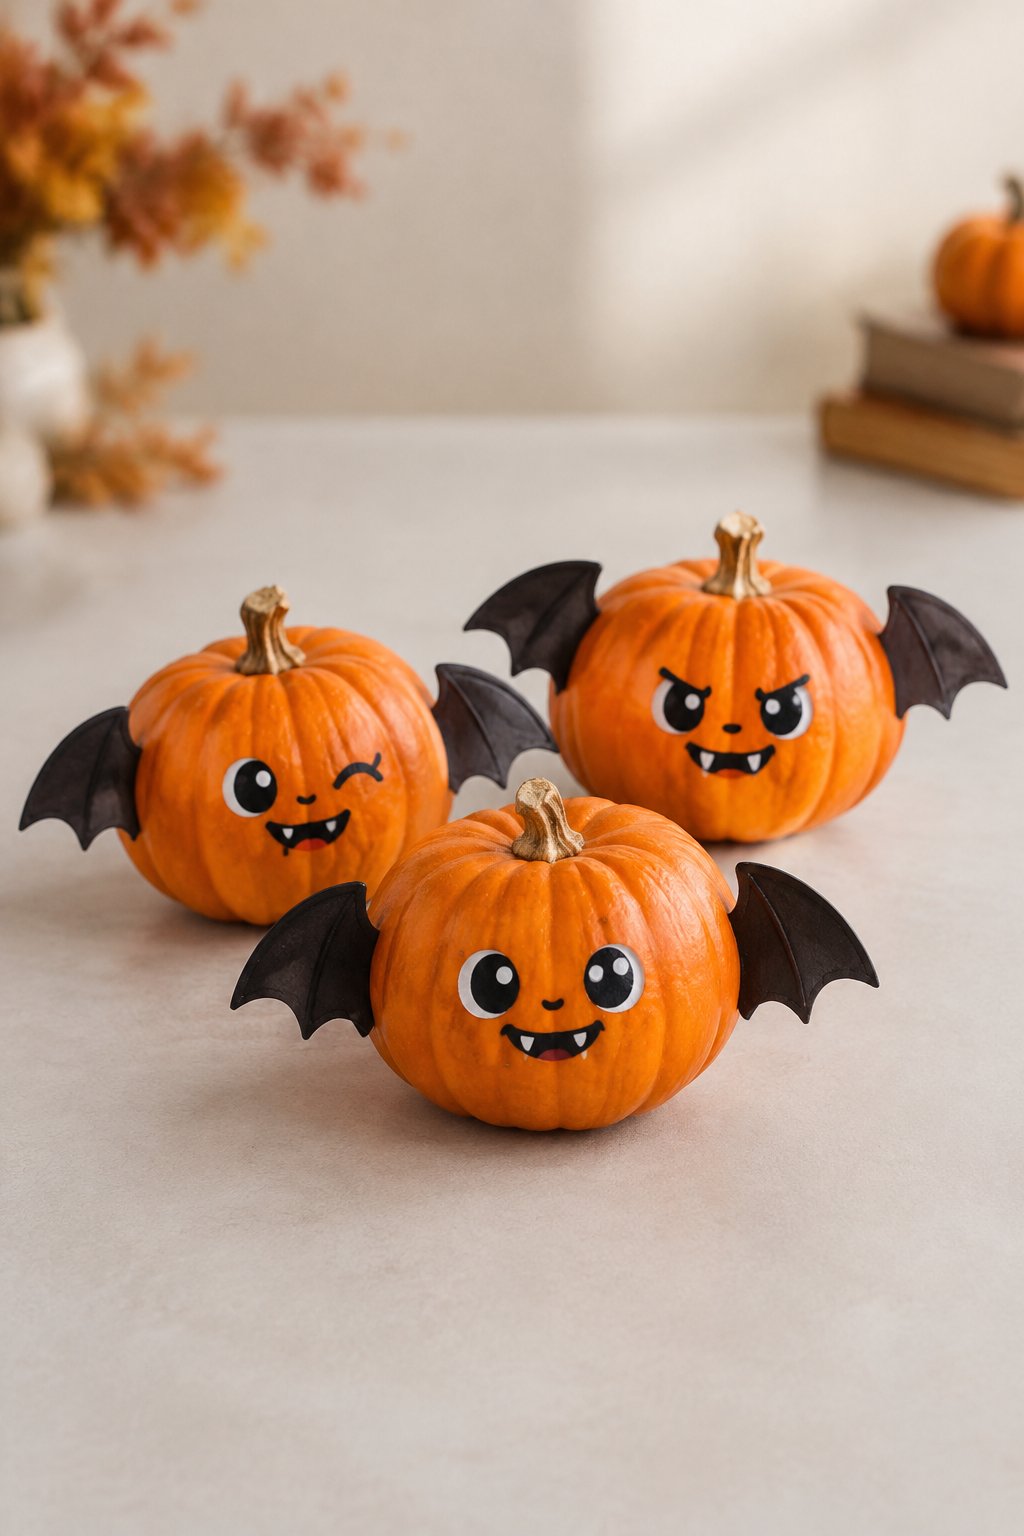
Three mini pumpkins group together on a shelf, each painted with a slightly different cute bat face. One might smile, one might wink, and one might look sleepy, giving the trio some personality variety.
Let each family member paint one pumpkin for a quick group project. Mini pumpkins take less paint and dry faster, so this trio can be finished in one sitting.
Flying Bat Pattern Pumpkins
14. Bats Across the Sky
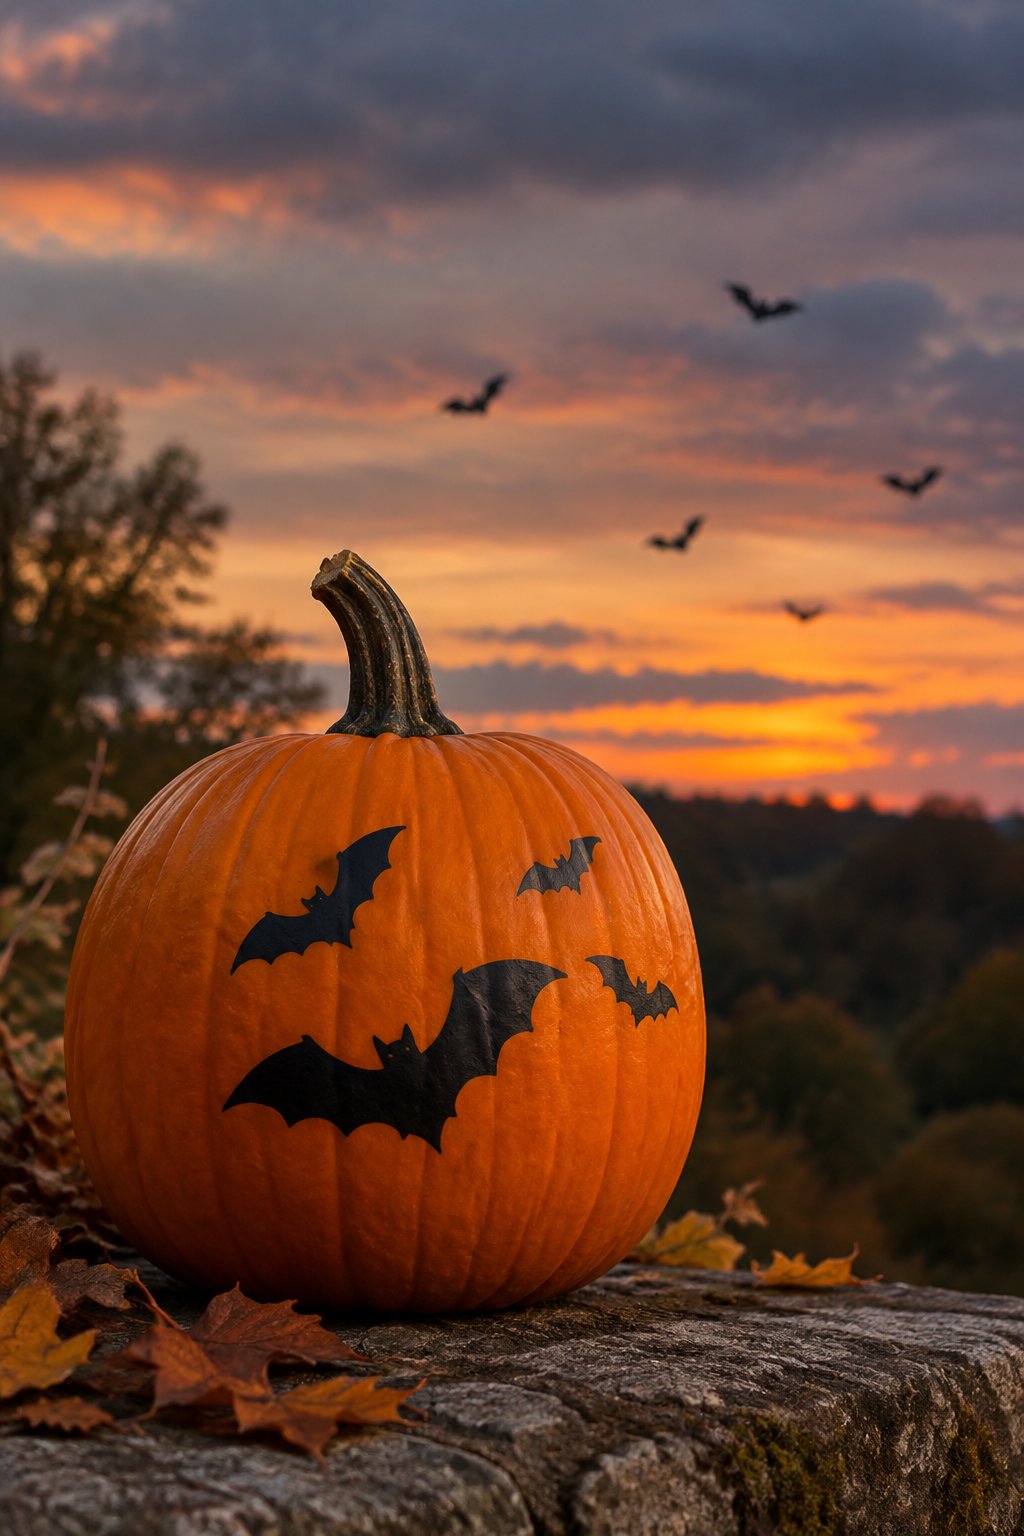
Small bats fly in a wavy diagonal line across this orange pumpkin, mimicking a real flock moving through the sky. The design feels dynamic even though the pumpkin itself sits still.
Sketch a light wavy guideline in pencil first, then paint bats along the curve in different sizes. This pattern works well on wider pumpkins with plenty of round surface to show off the flight path.
15. Swirling Bat Trail
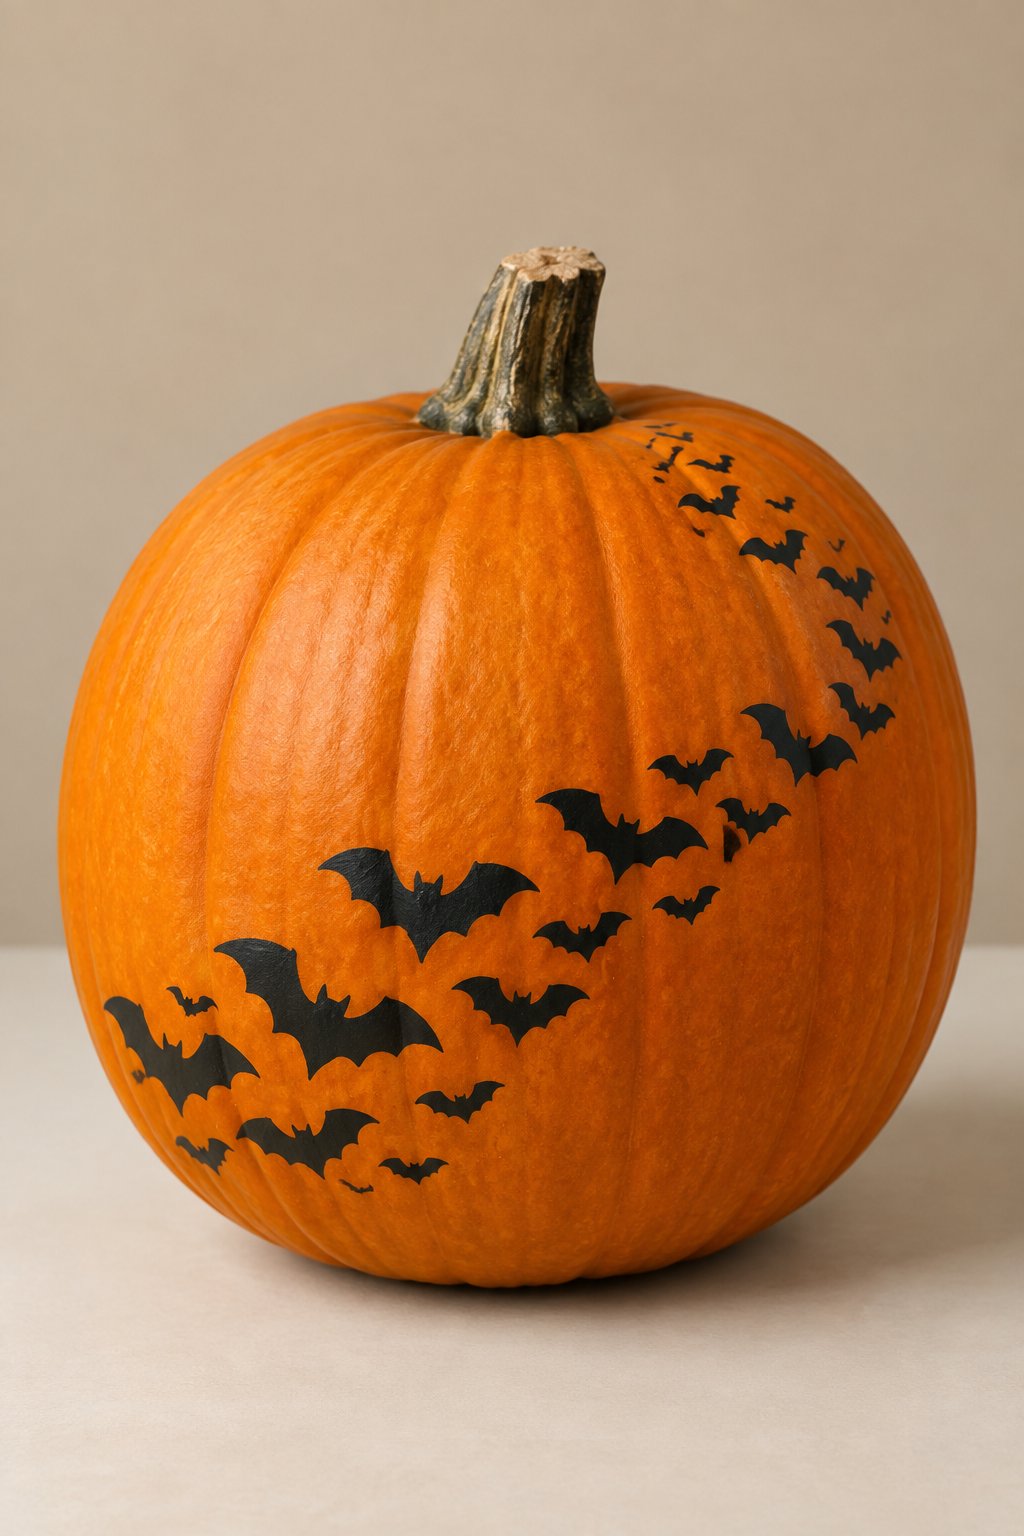
Bats spiral upward from the base to the stem of this tall pumpkin in a swirling trail, almost like a tornado of tiny wings. The vertical movement draws the eye all the way up to the top.
Use a pencil to mark a loose spiral path before painting, spacing bats closer together near the stem. Tall pumpkins show off this spiral shape best.
16. Bat Flock Pattern
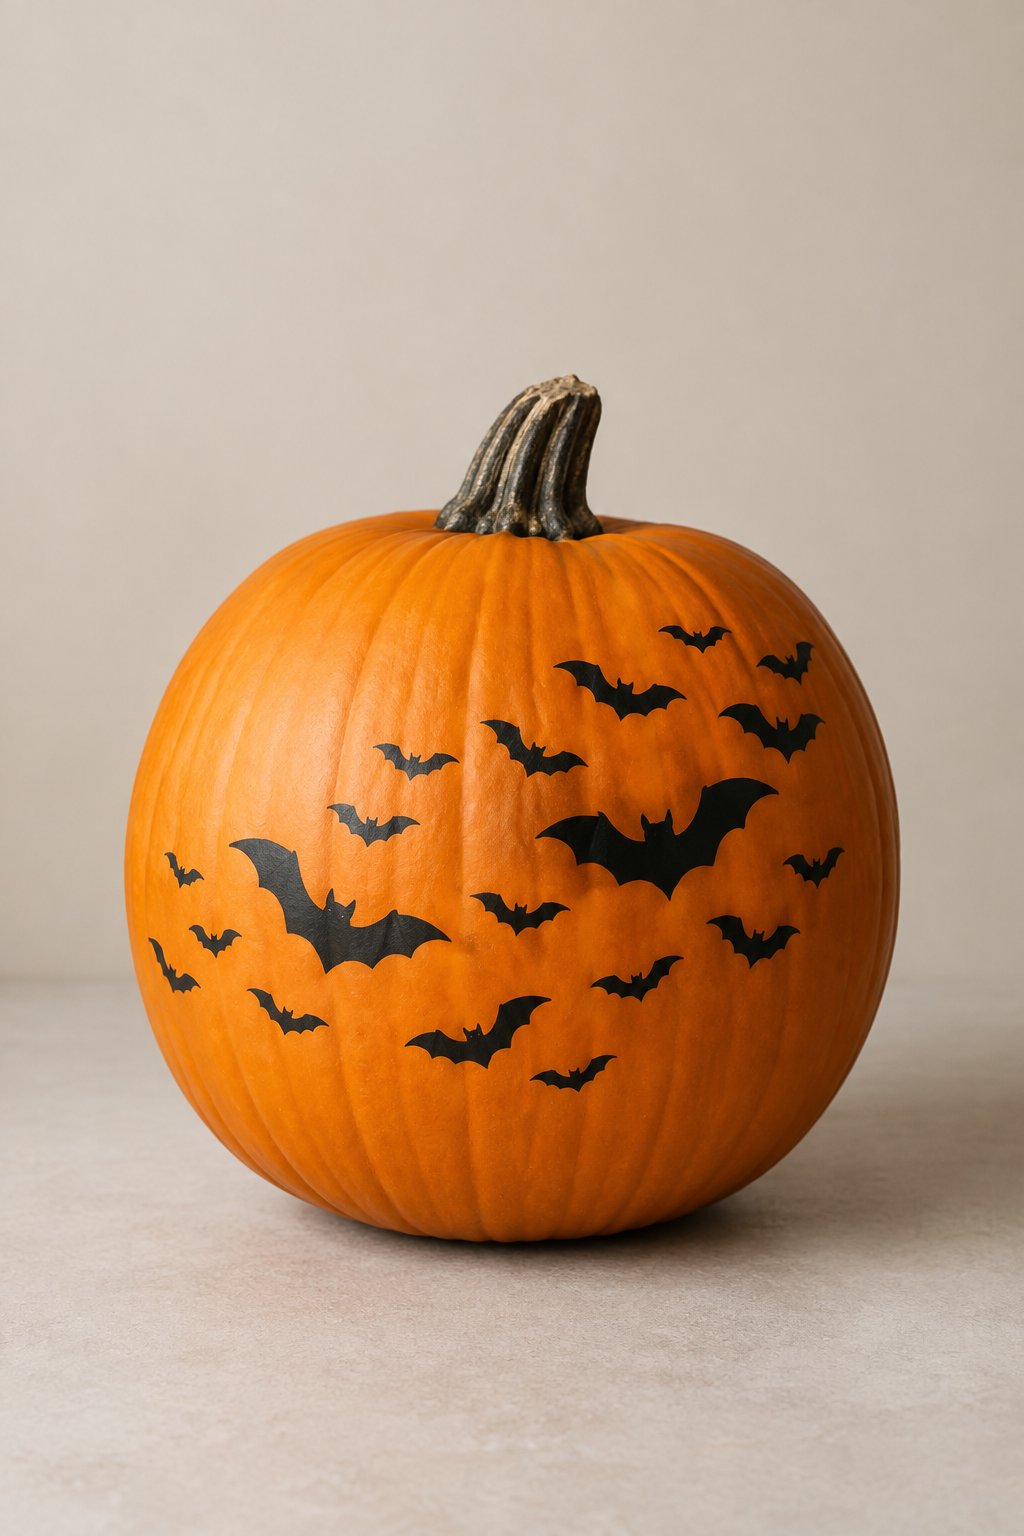
A white pumpkin is covered edge to edge with a flock of small bats scattered evenly across its entire surface. The all-over pattern gives it a busy, textured look without feeling cluttered.
Work in sections, painting a few bats at a time and rotating the pumpkin as you go. This all-over style takes more time than a single design, so plan for a couple of paint sessions.
17. Bats in Formation
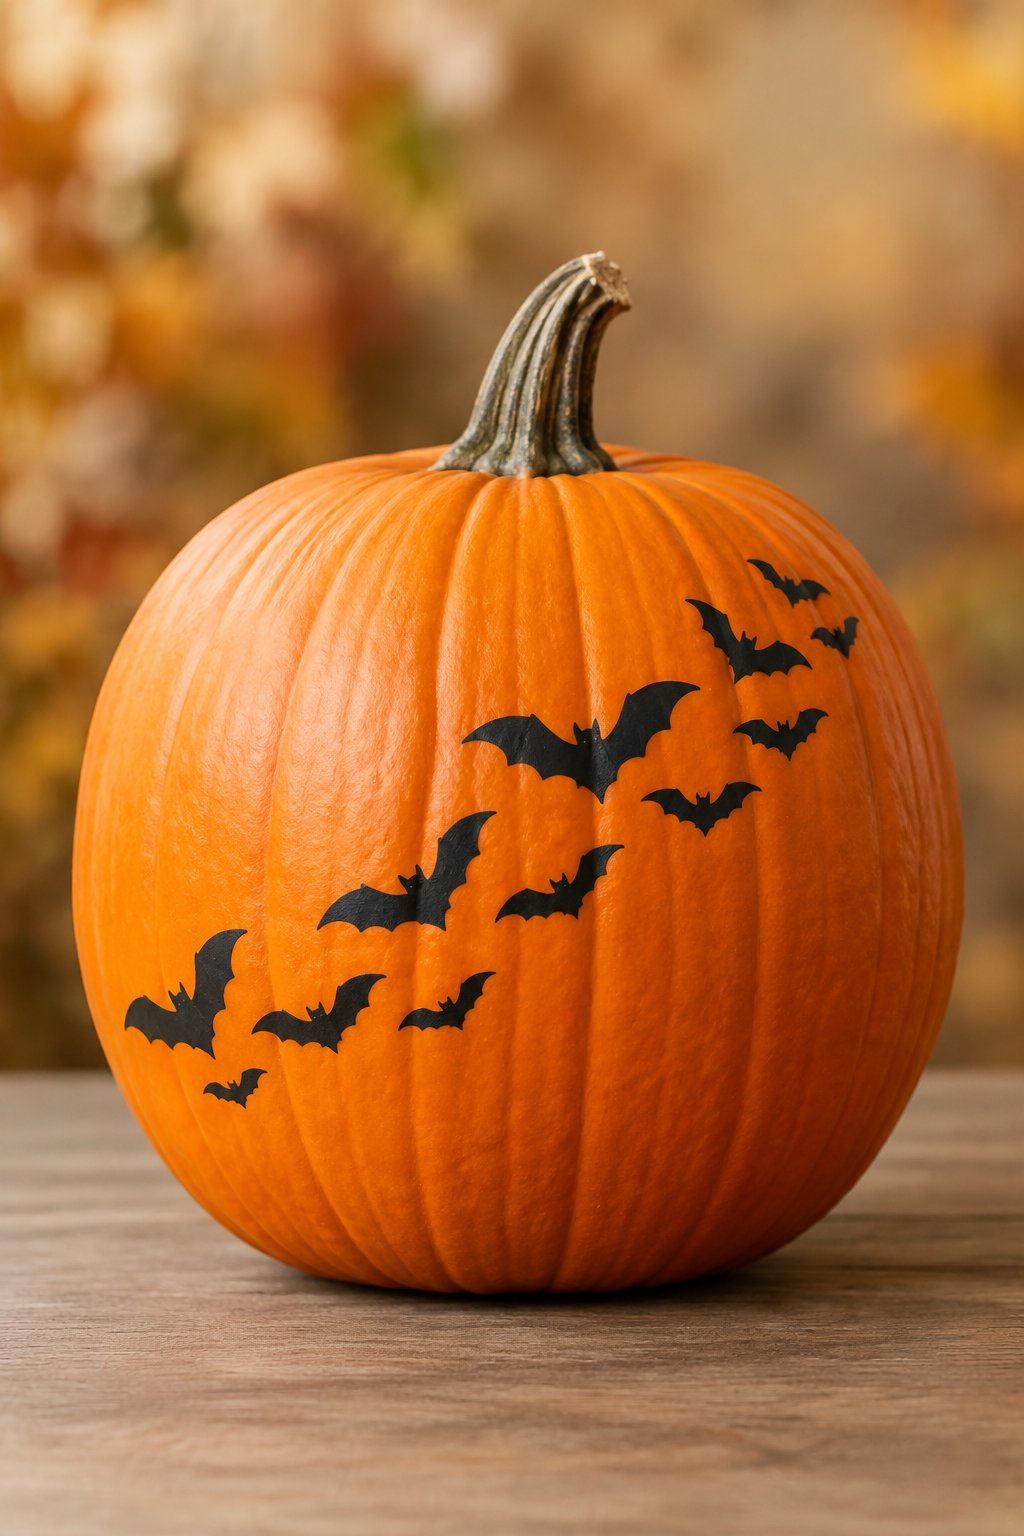
Small bats arrange in a neat V-shaped flying formation near the top of this orange pumpkin, like geese heading south for winter. The tidy shape gives the design a more organized feel than a scattered pattern.
Mark the V shape lightly with a pencil, then fill in bats along each line from the point outward. This design looks sharp on pumpkins with a smooth, unribbed top.
18. Fluttering Bat Wings
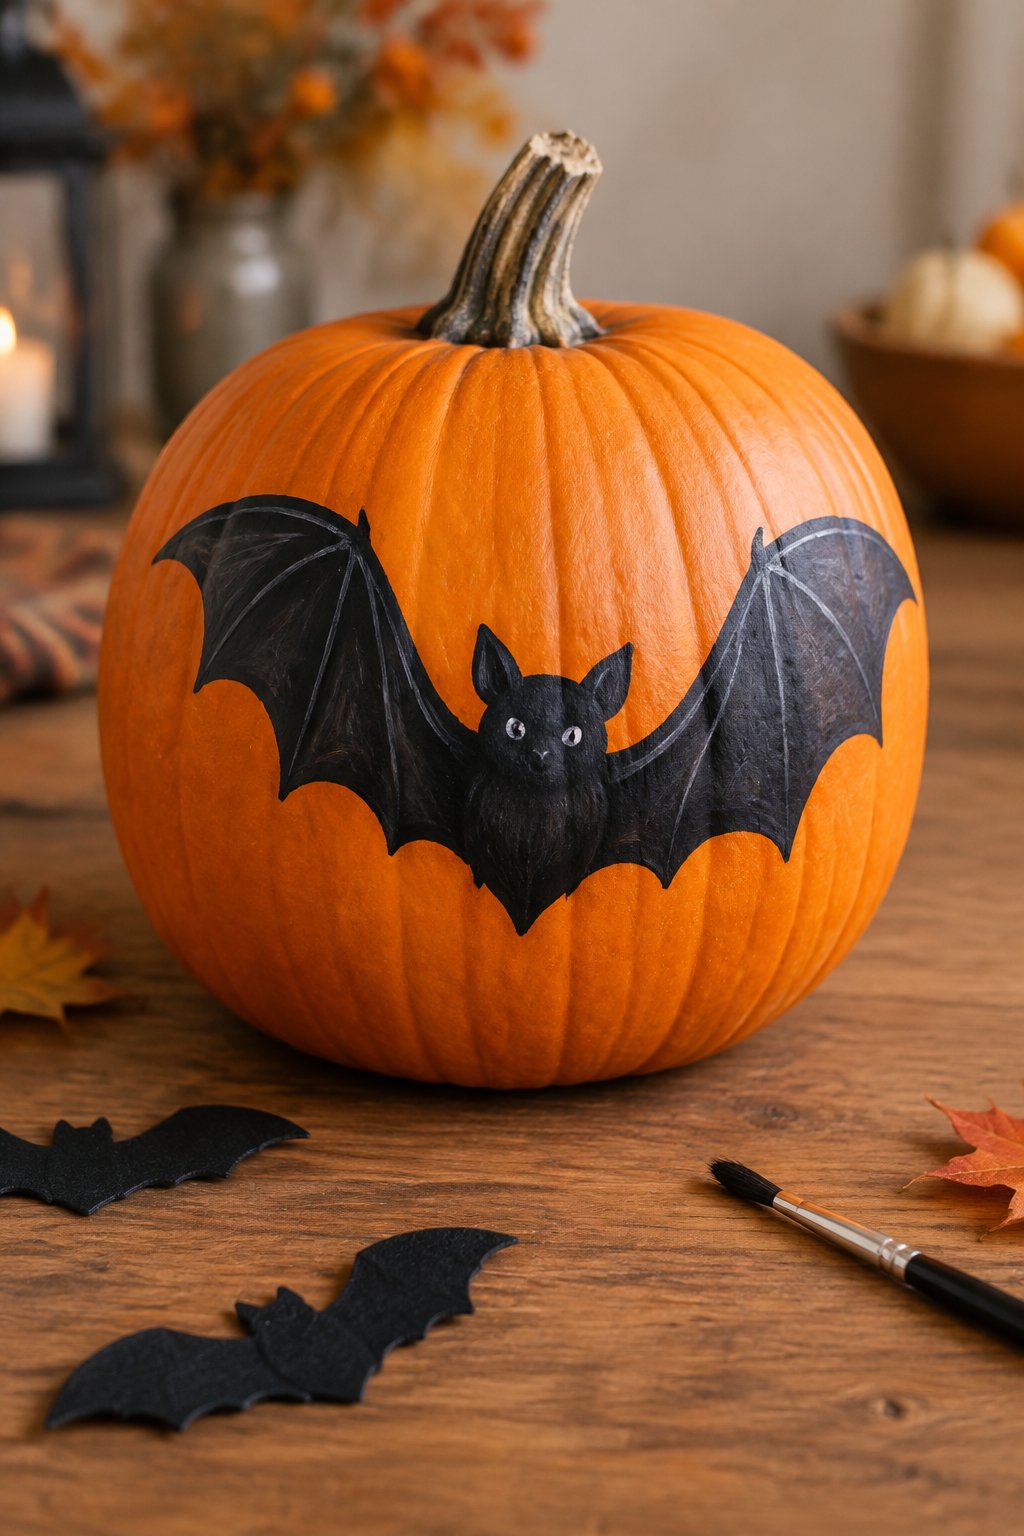
This green pumpkin has several small bats mid-flap, with wings angled in different directions to show motion. The unusual green base color makes the black bats stand out with extra contrast.
Paint each bat’s wings at a slightly different tilt to create the flapping effect. Green and other unusual pumpkin colors work well for this design since they add visual interest on their own.
19. Bat Trail Down the Side
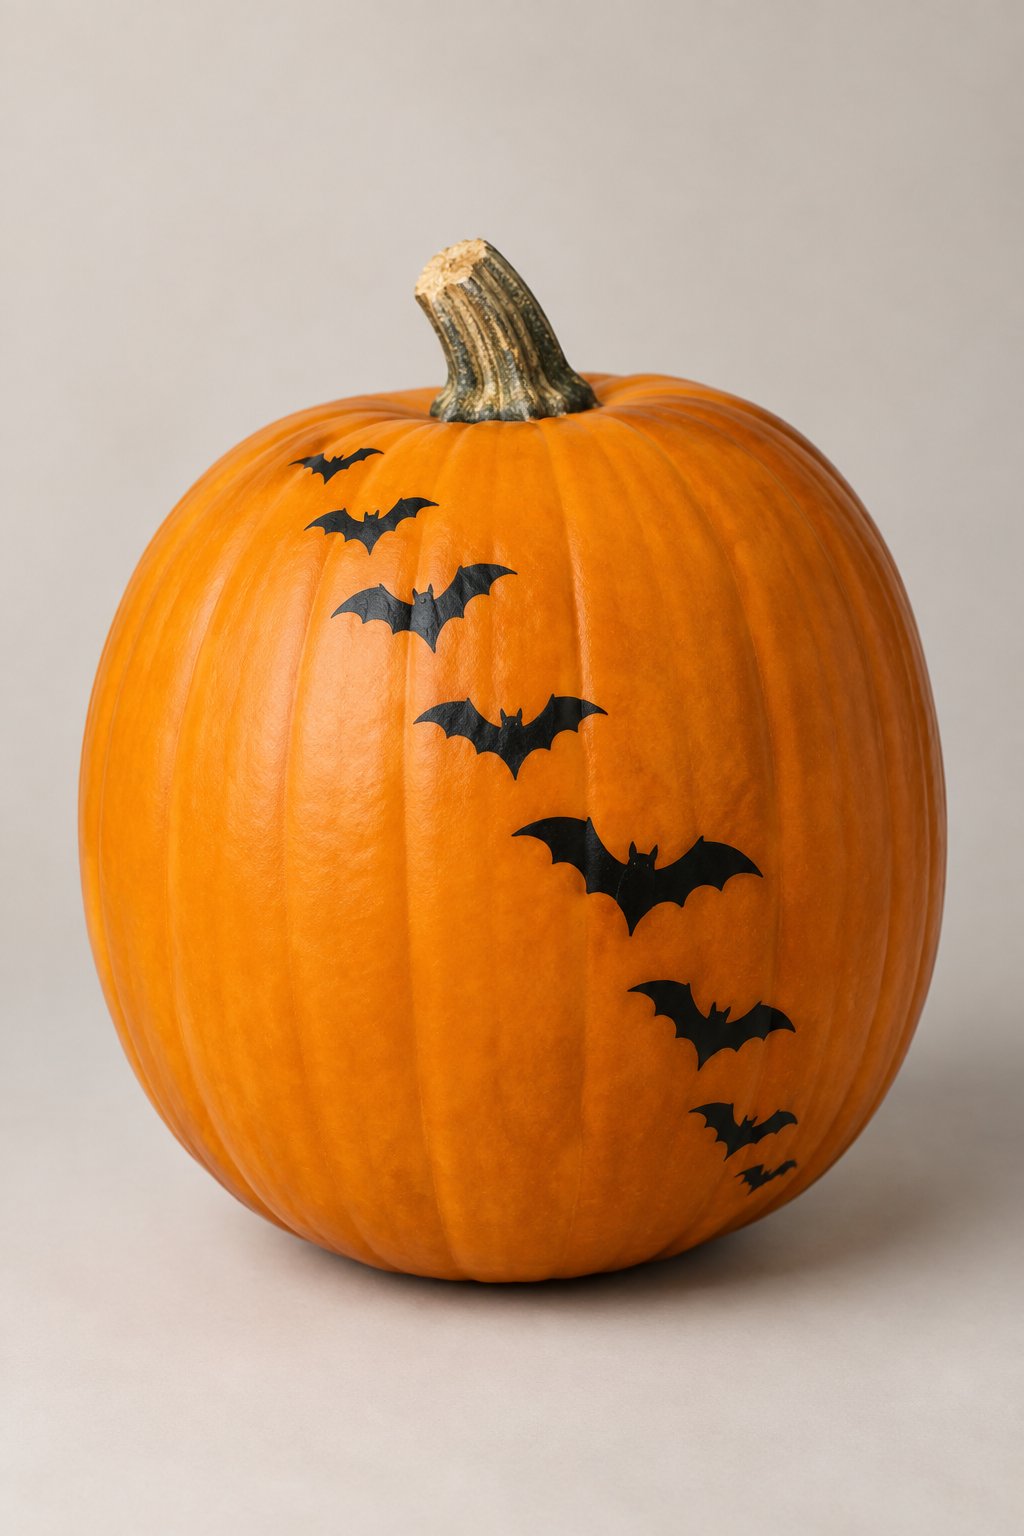
Small bats fly down one side of this tall orange pumpkin, forming a trail from stem to base. The vertical line makes great use of a pumpkin’s natural ridges as a painting guide.
Follow one of the pumpkin’s grooves as your path for the bats to keep the line straight. This design pairs well with a plain front, so the trail becomes the main focal point when viewed from the side.
20. Ring of Flying Bats
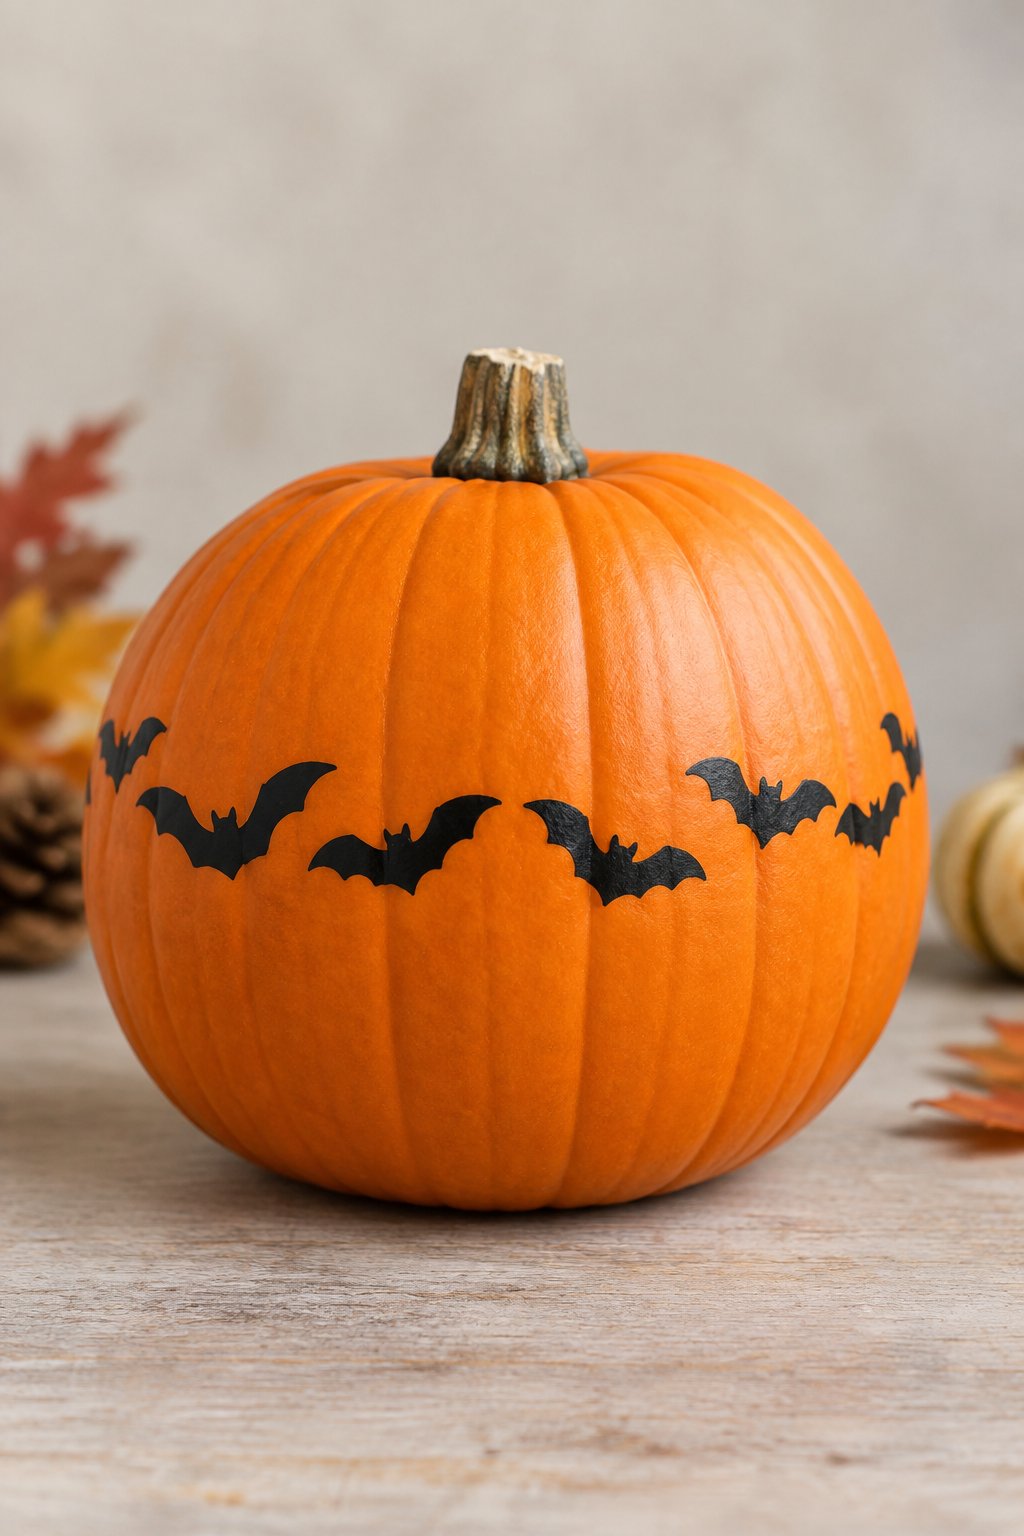
A full ring of small flying bats circles the widest point of this round pumpkin, sitting among scattered autumn leaves for a fall display. The continuous ring gives the design a balanced, complete look from any angle.
Rotate the pumpkin slowly as you paint to keep the ring level all the way around. This design looks great as a centerpiece since there’s no single “front” to worry about.
Glam Bat Pumpkins
21. Gold Foil Bat Silhouette
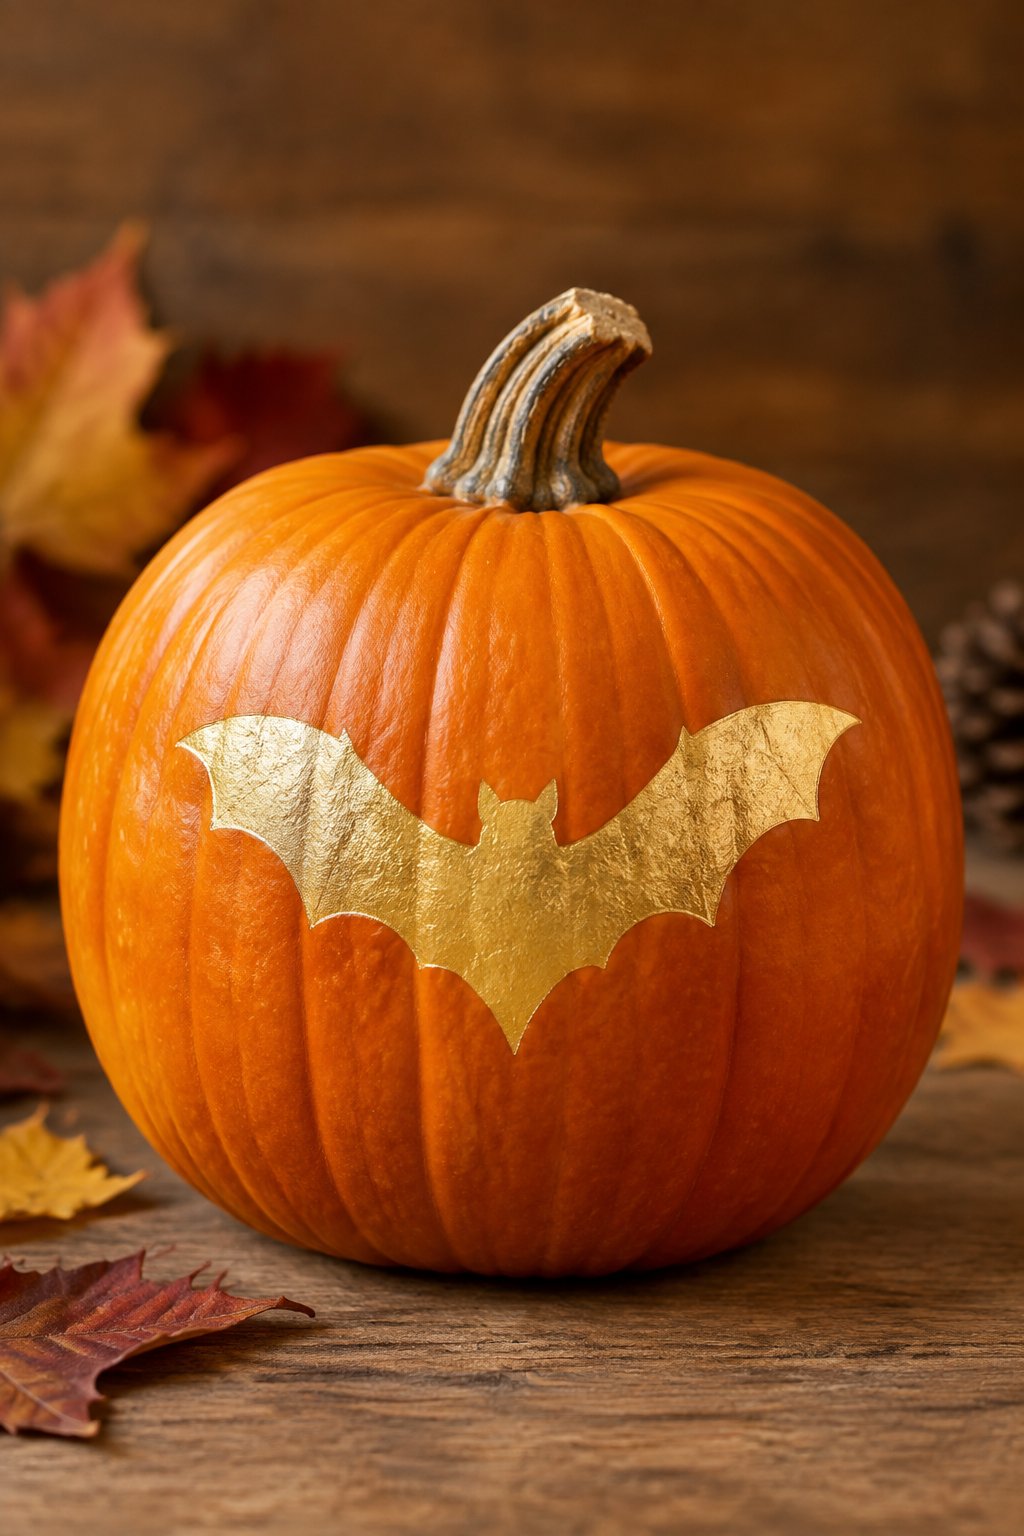
A matte black pumpkin features one shimmering gold bat silhouette centered on the front, creating a bold, elegant contrast. The single shape keeps the focus entirely on that metallic shine.
Use metallic gold acrylic paint or gold leaf for the richest shimmer. This design suits a more grown-up Halloween display, like a dining room table or entryway console.
22. Metallic Bat Swarm
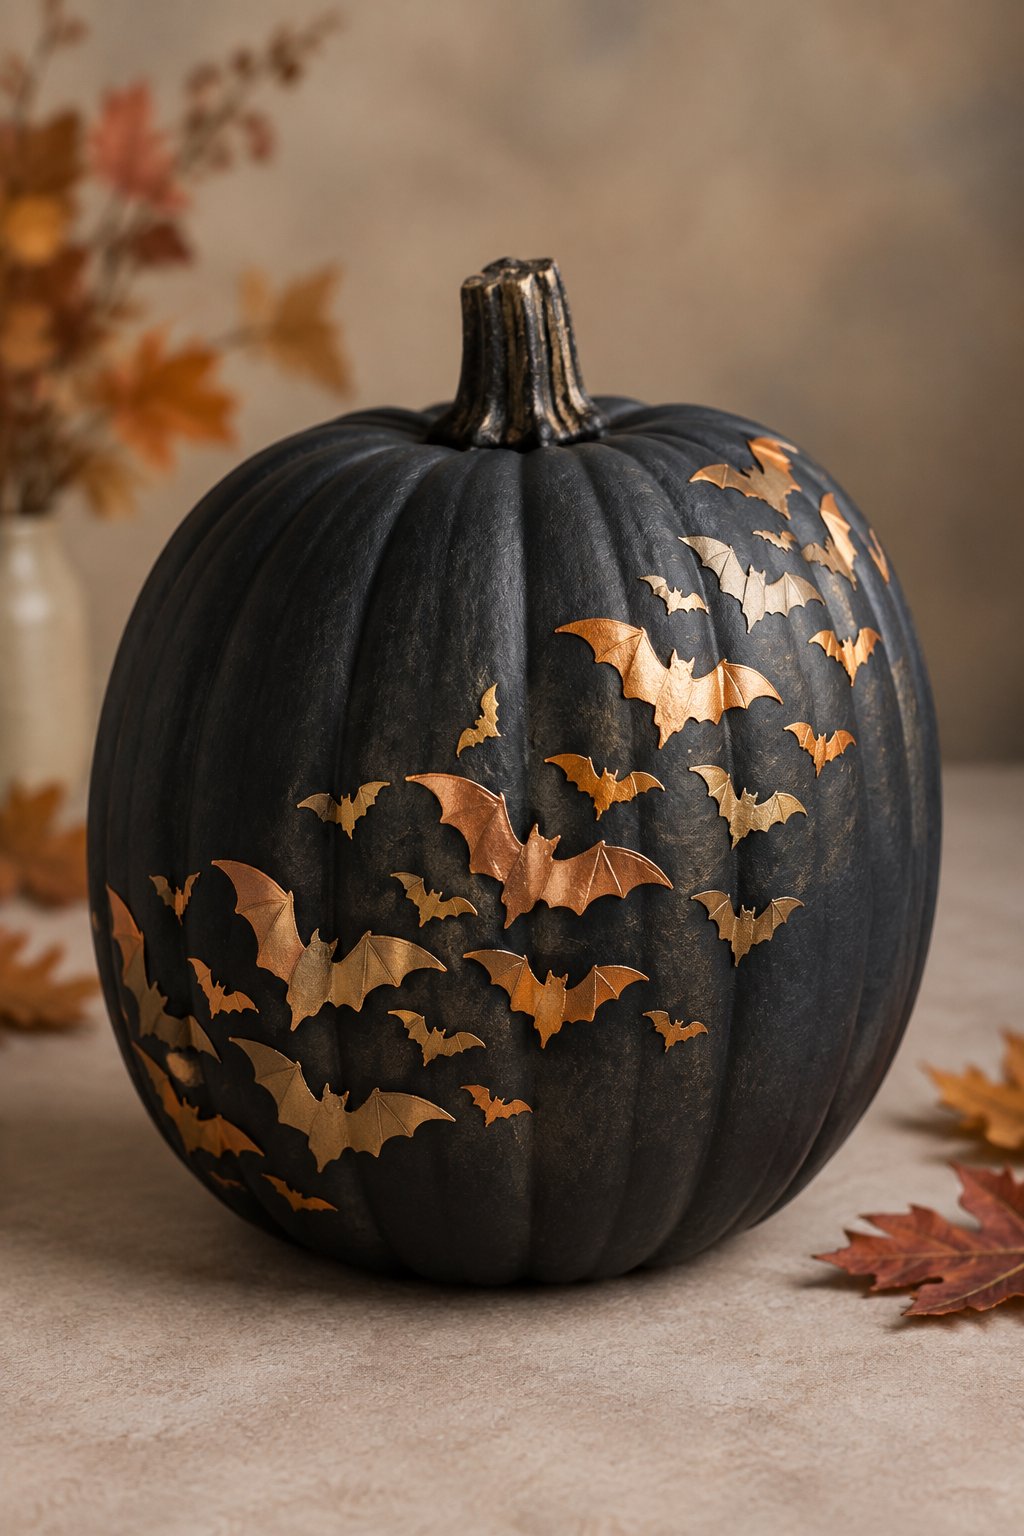
A cluster of small metallic gold bats gathers near the stem of this black pumpkin, displayed on a velvet runner among scattered leaves. The warm gold tone against the deep black base gives it a rich, formal feel.
Paint the black base first and let it fully dry before adding gold bats on top. This swarm design works well when you want a dramatic focal point without covering the whole pumpkin.
23. Black and Silver Bats
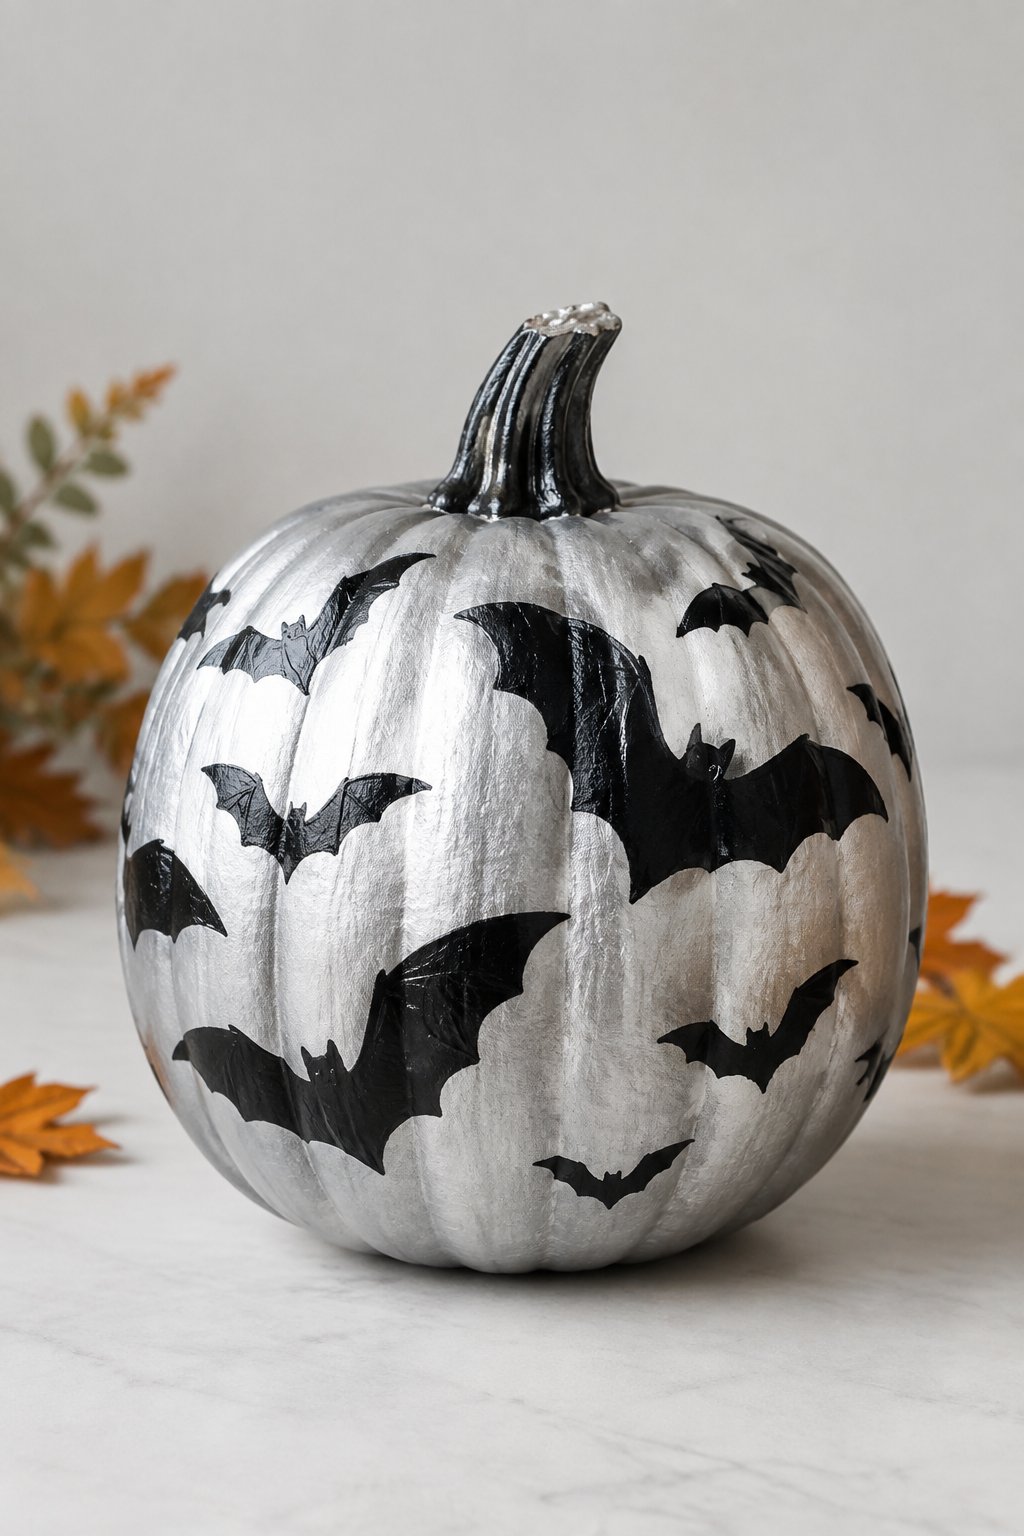
Silver bat silhouettes scatter across this black pumpkin, which sits on a mirrored tray that reflects the shine. The cool silver tone gives this design a sleeker, more modern feel than gold accents.
Use silver metallic paint pens for crisp, clean edges on each bat shape. This pairing suits a modern or minimalist Halloween decor style.
24. Glam Bat Wing Wrap
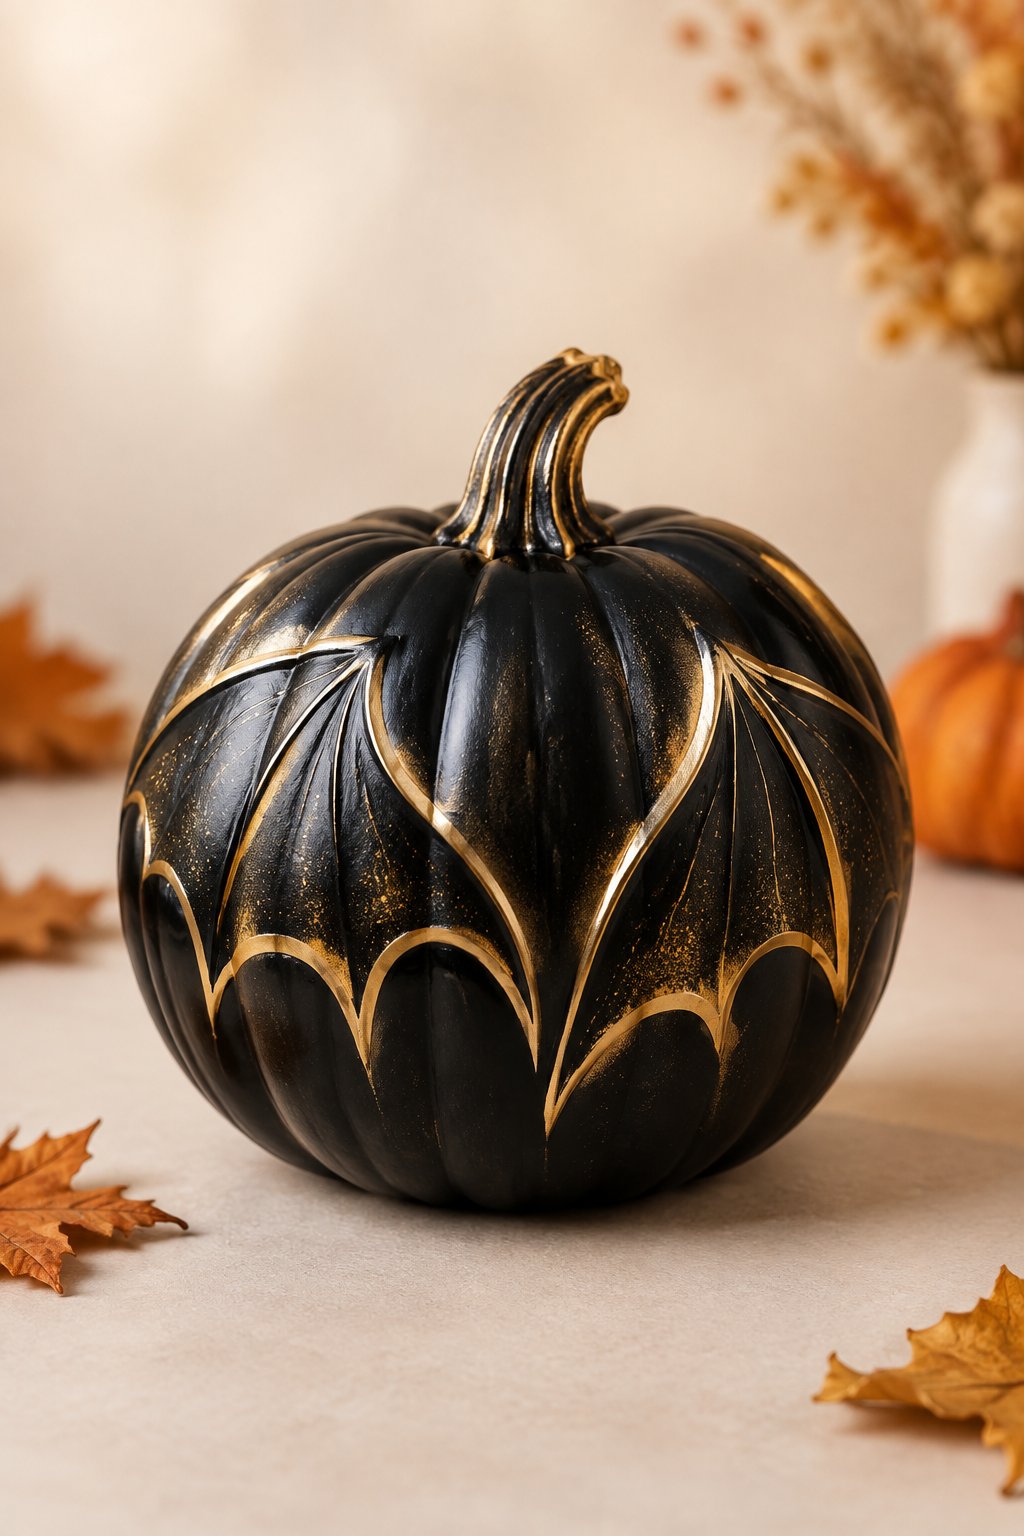
Gold bat wings wrap around the curves of this tall black pumpkin like a flowing design motif rather than separate bat shapes. The wings follow the pumpkin’s natural ridges, giving it a sculpted, elegant look.
Paint along the existing grooves of the pumpkin to make the wings feel built into its shape. This design takes a steadier hand, so it suits more experienced painters.
25. Sparkling Bat Trio
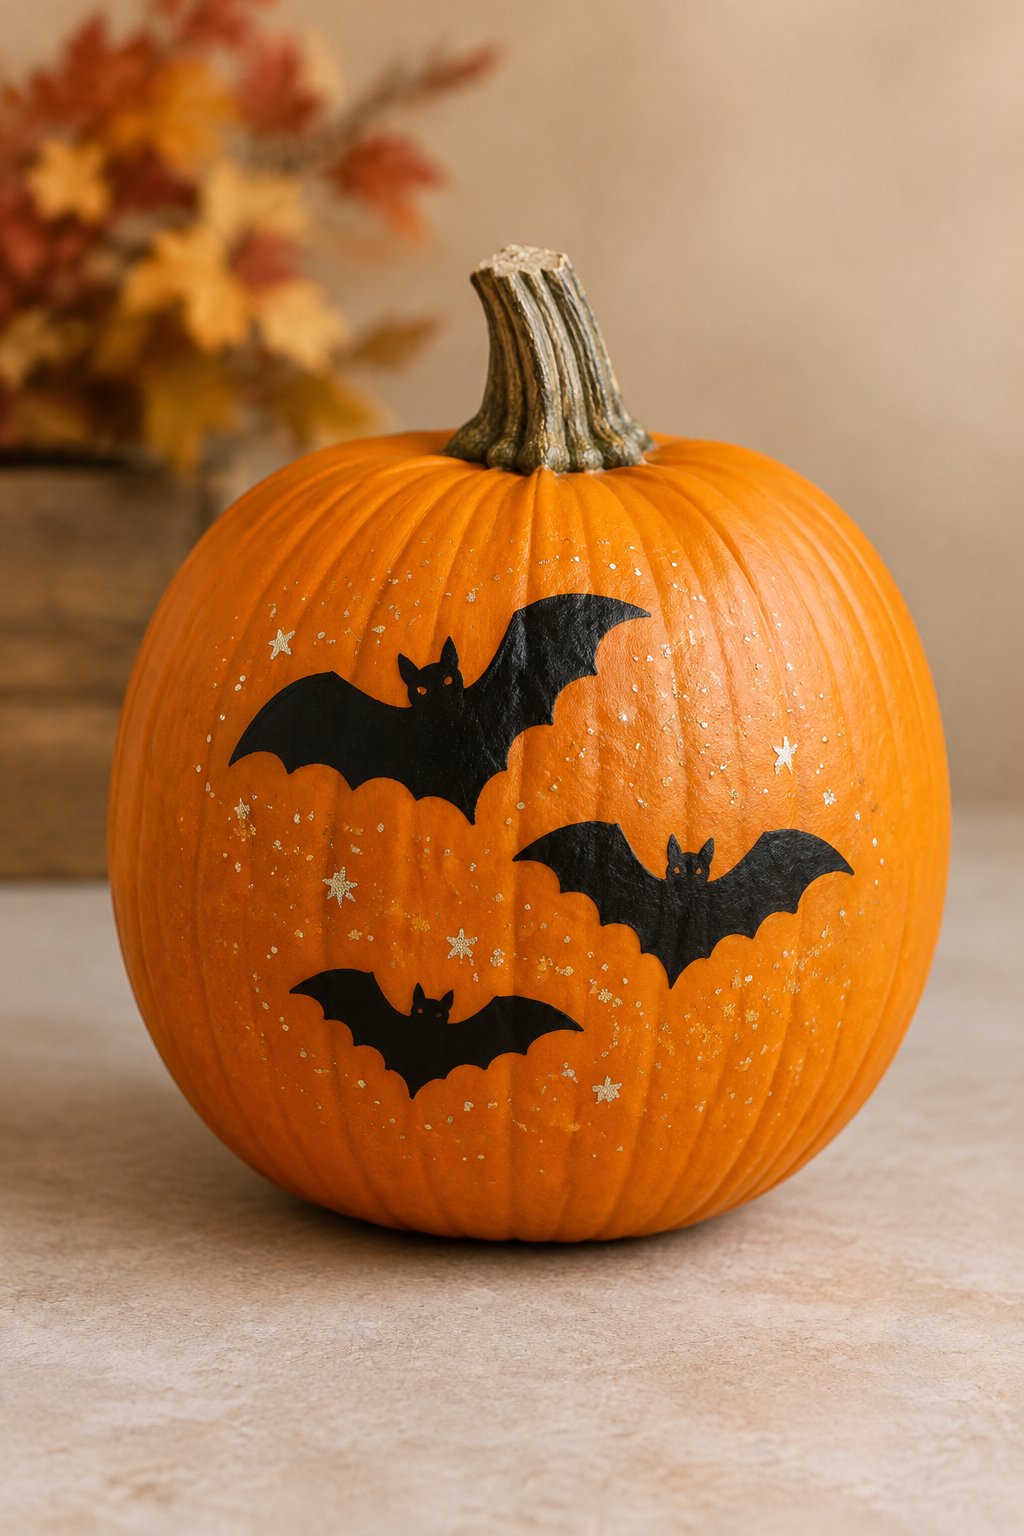
Three mini black pumpkins each show one small gold bat silhouette, clustered together on a gold charger plate. The trio format makes it easy to display as a matched little set.
Paint the gold bats with a fine liner brush for crisp, small details on the mini surface. This set makes a sweet hostess gift or a dinner party accent.
26. Elegant Bat Fan Pattern
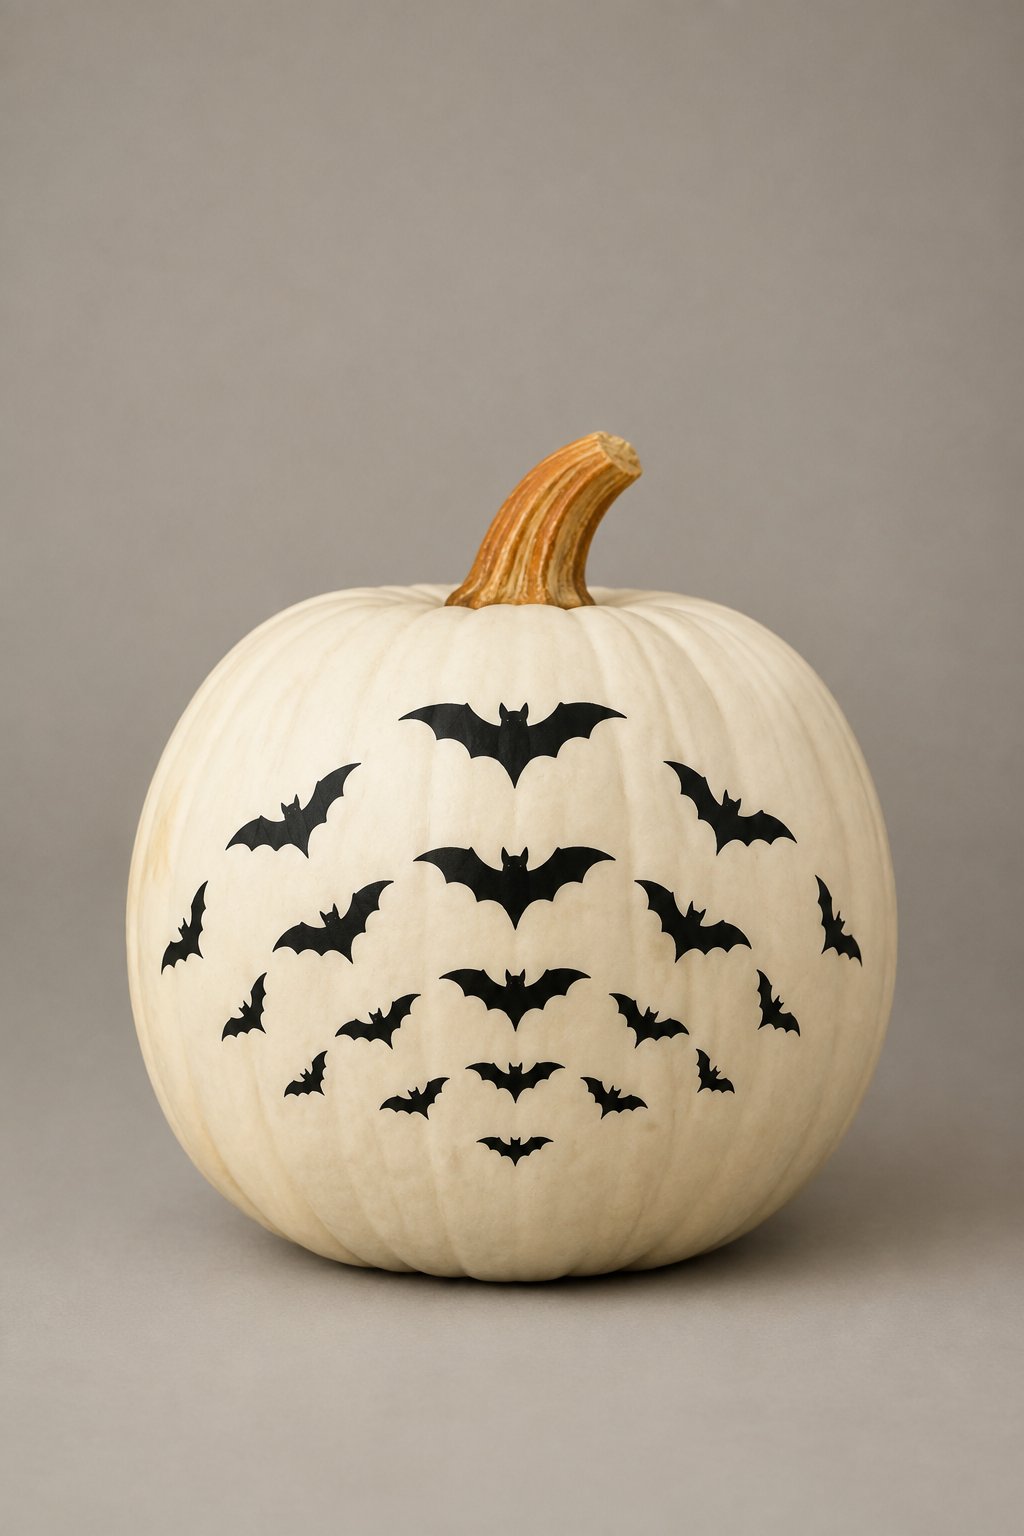
A fan-shaped spread of small gold bats fans out near the top of this black pumpkin, resembling a peacock tail made of wings. The radiating pattern draws the eye upward toward the stem.
Start with a center bat and add others at increasing angles on either side to build the fan. This design looks polished on pumpkins with a flat or slightly domed top.
Moon and Bat Scene Pumpkins
27. Bats Crossing the Moon
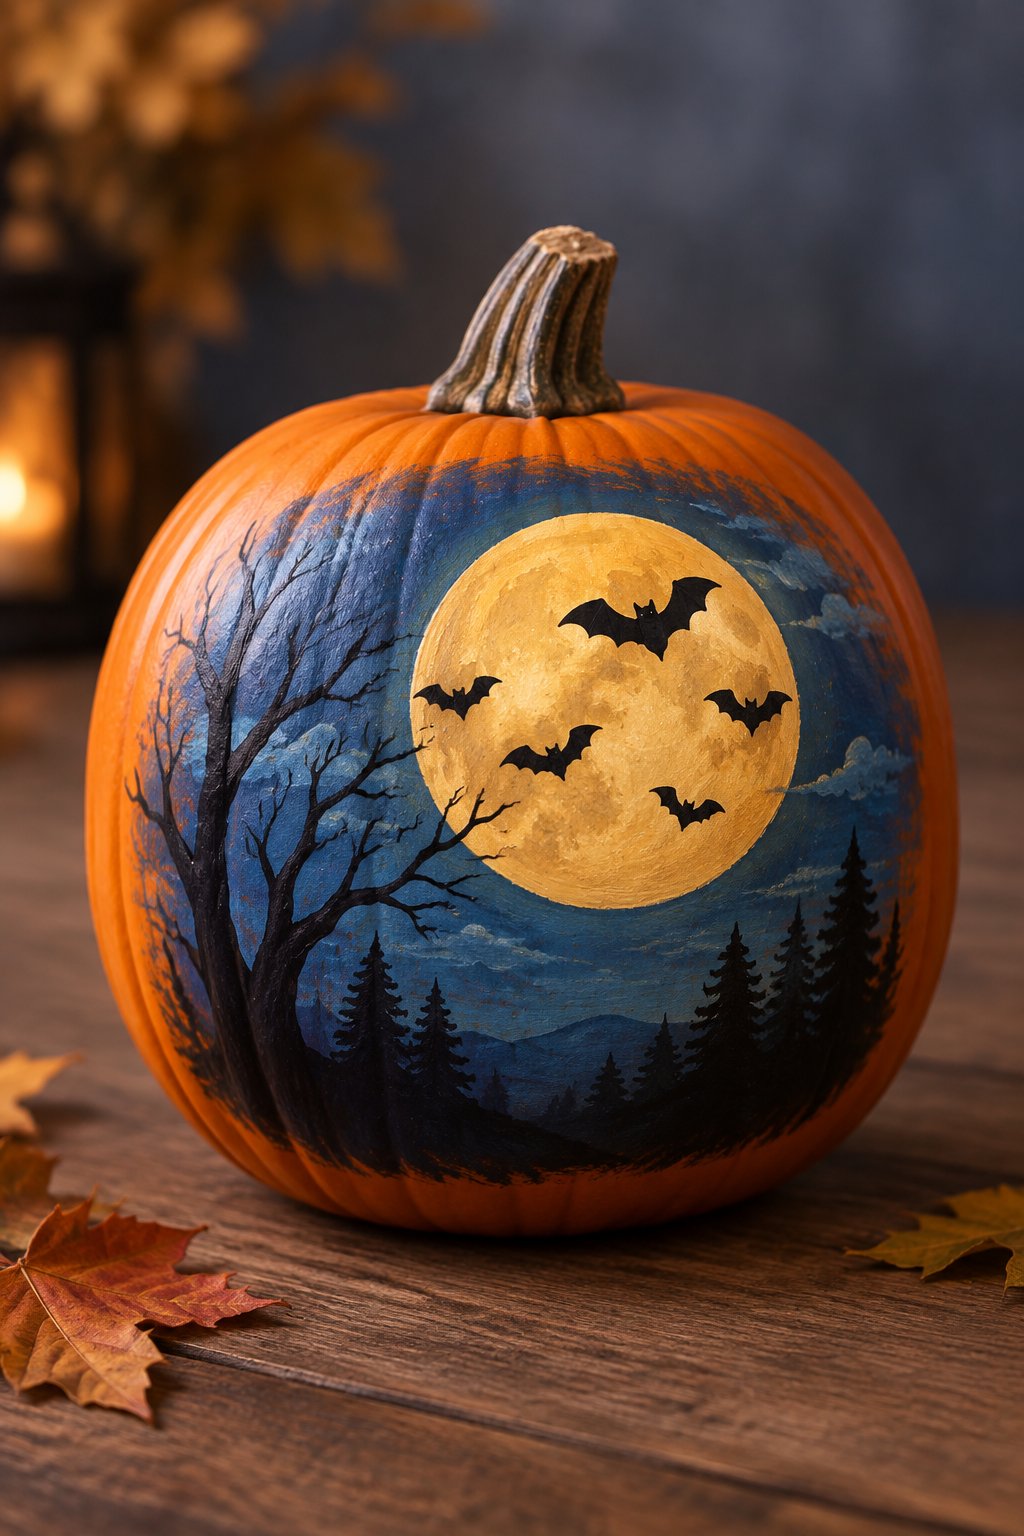
A pale full moon takes up much of this orange pumpkin’s surface, with three small bat silhouettes crossing in front of it. The scene captures a classic Halloween night image in one simple design.
Paint the moon first as a solid white or cream circle, then add black bats once it dries. This design turns a pumpkin into a mini nighttime scene perfect for a front porch.
28. Moonlit Bat Sky
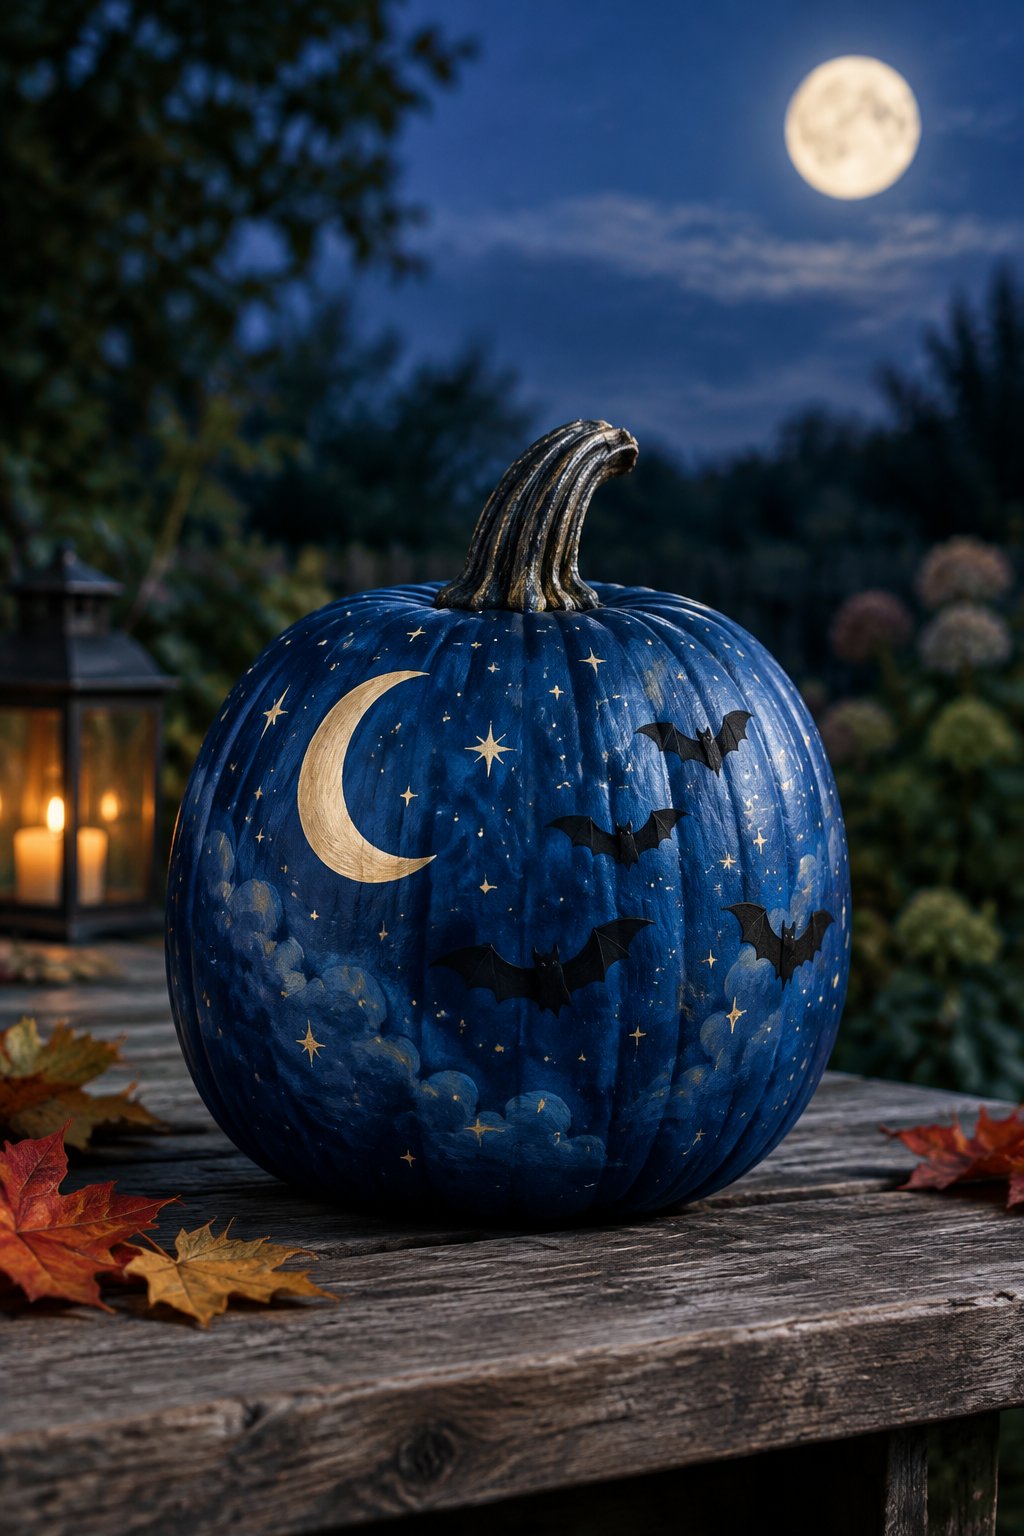
A dark navy-painted pumpkin shows a glowing crescent moon with tiny bats scattered around it, creating a full night sky effect. The navy base color sets this apart from the usual orange pumpkin look.
Paint the whole pumpkin navy first and let it dry completely before adding the moon and bats. This design takes more prep time but gives a striking, gallery-worthy result.
29. Bat and Moon Corner Scene
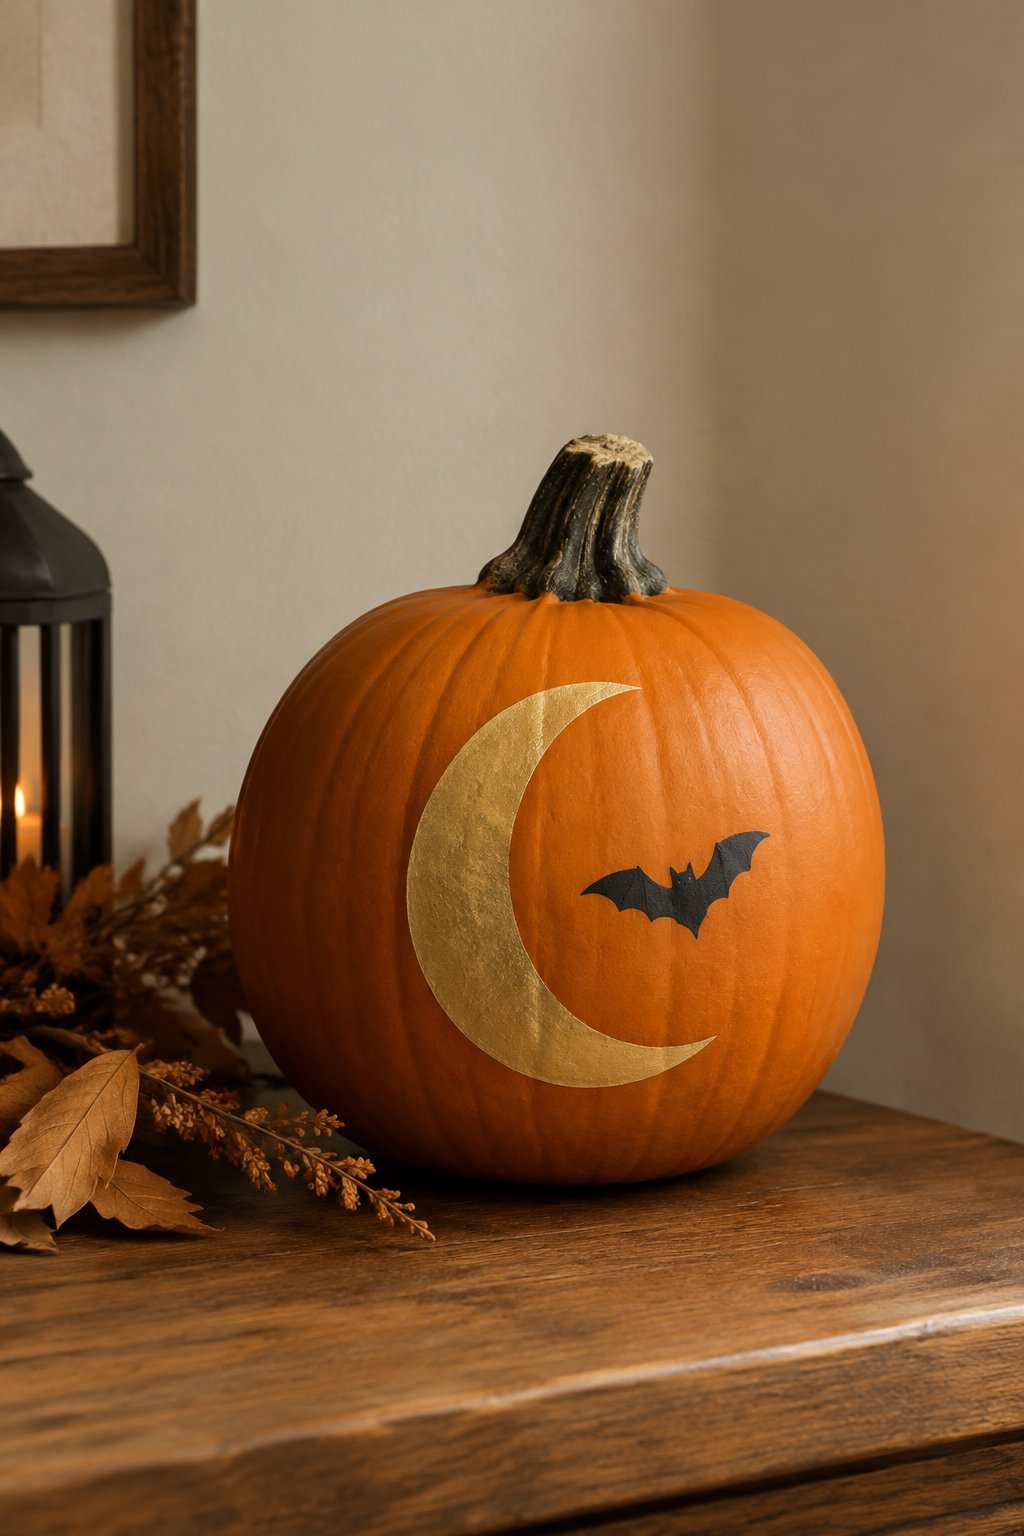
A small moon and a few bats tuck into one corner of this white pumpkin’s surface, leaving most of the pumpkin plain. The quiet, compact scene feels more subtle than an all-over design.
Keep the moon small, about the size of a golf ball, so it doesn’t overwhelm the corner. This design is a good pick if you want a bat theme without covering the whole pumpkin.
30. Cloudy Moon Bat Scene
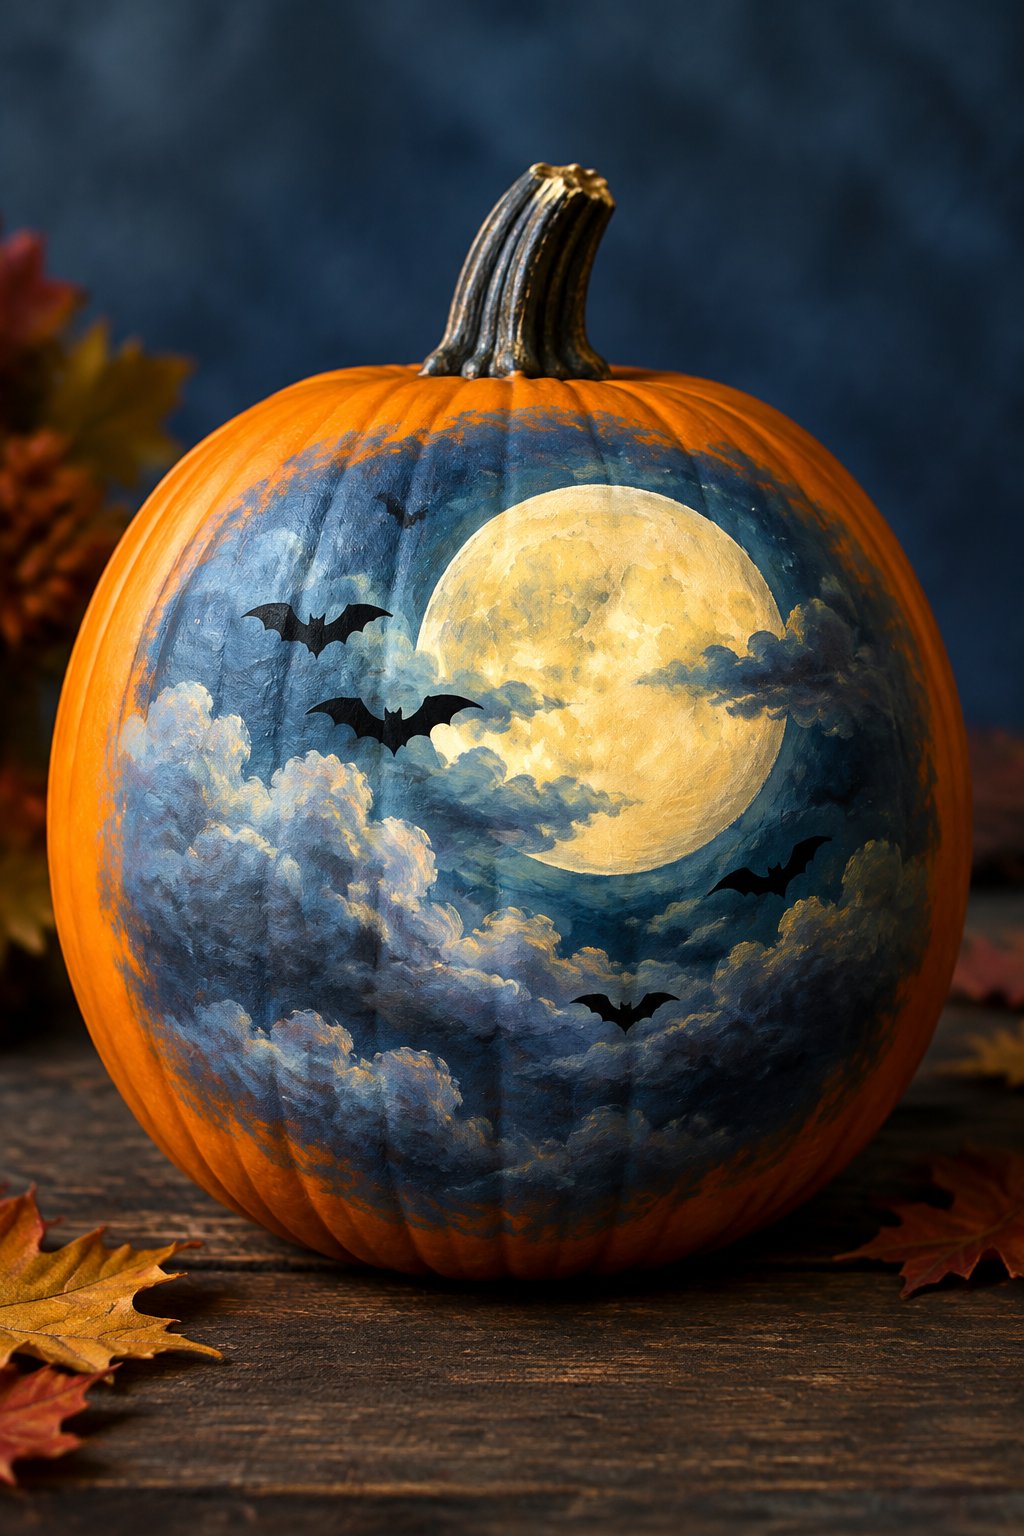
A soft cloud shape frames a moon on this orange pumpkin, with two bats flying past the scene. The cloud adds a soft, storybook feel to the classic moon-and-bat combination.
Paint the cloud in a light gray or white with soft, puffy edges before adding the moon and bats on top. This design suits pumpkins meant for a kid’s room or a gentle, non-spooky Halloween look.
31. Twilight Bat Silhouettes
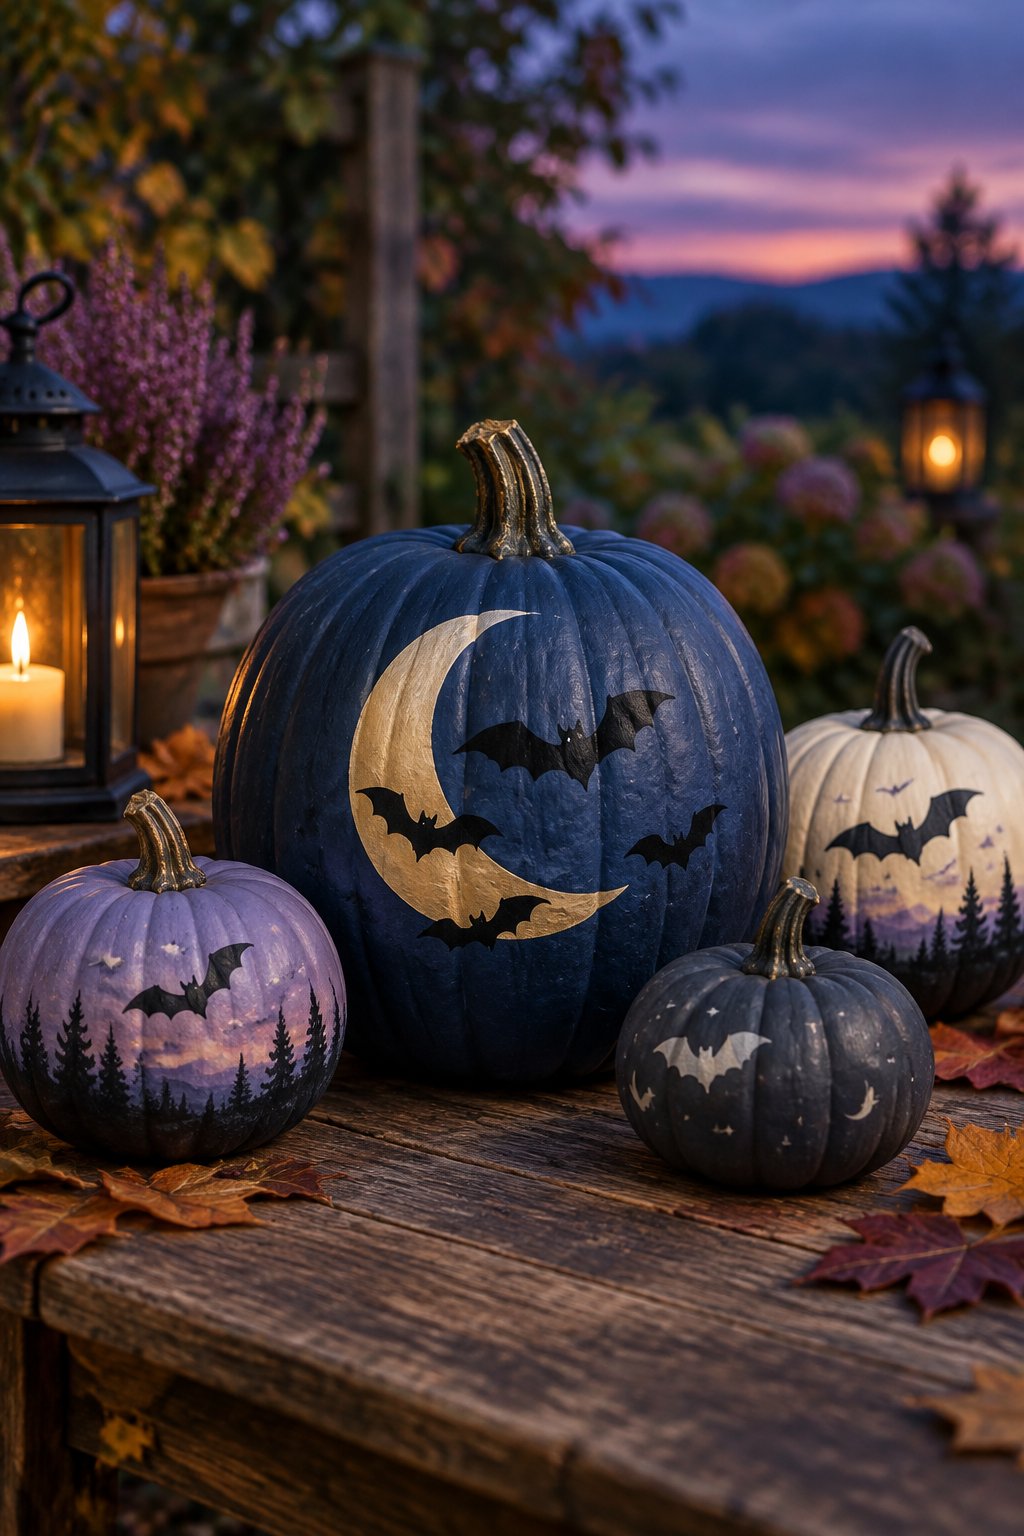
This pumpkin is painted in a twilight purple gradient with black bat silhouettes flying across it, capturing the colors of dusk. The gradient background gives the design more depth than a plain orange base.
Blend purple and pink acrylic paint together while still wet to create the gradient sky. Add black bats once the base color dries completely for the cleanest lines.
32. Full Moon Bat Circle
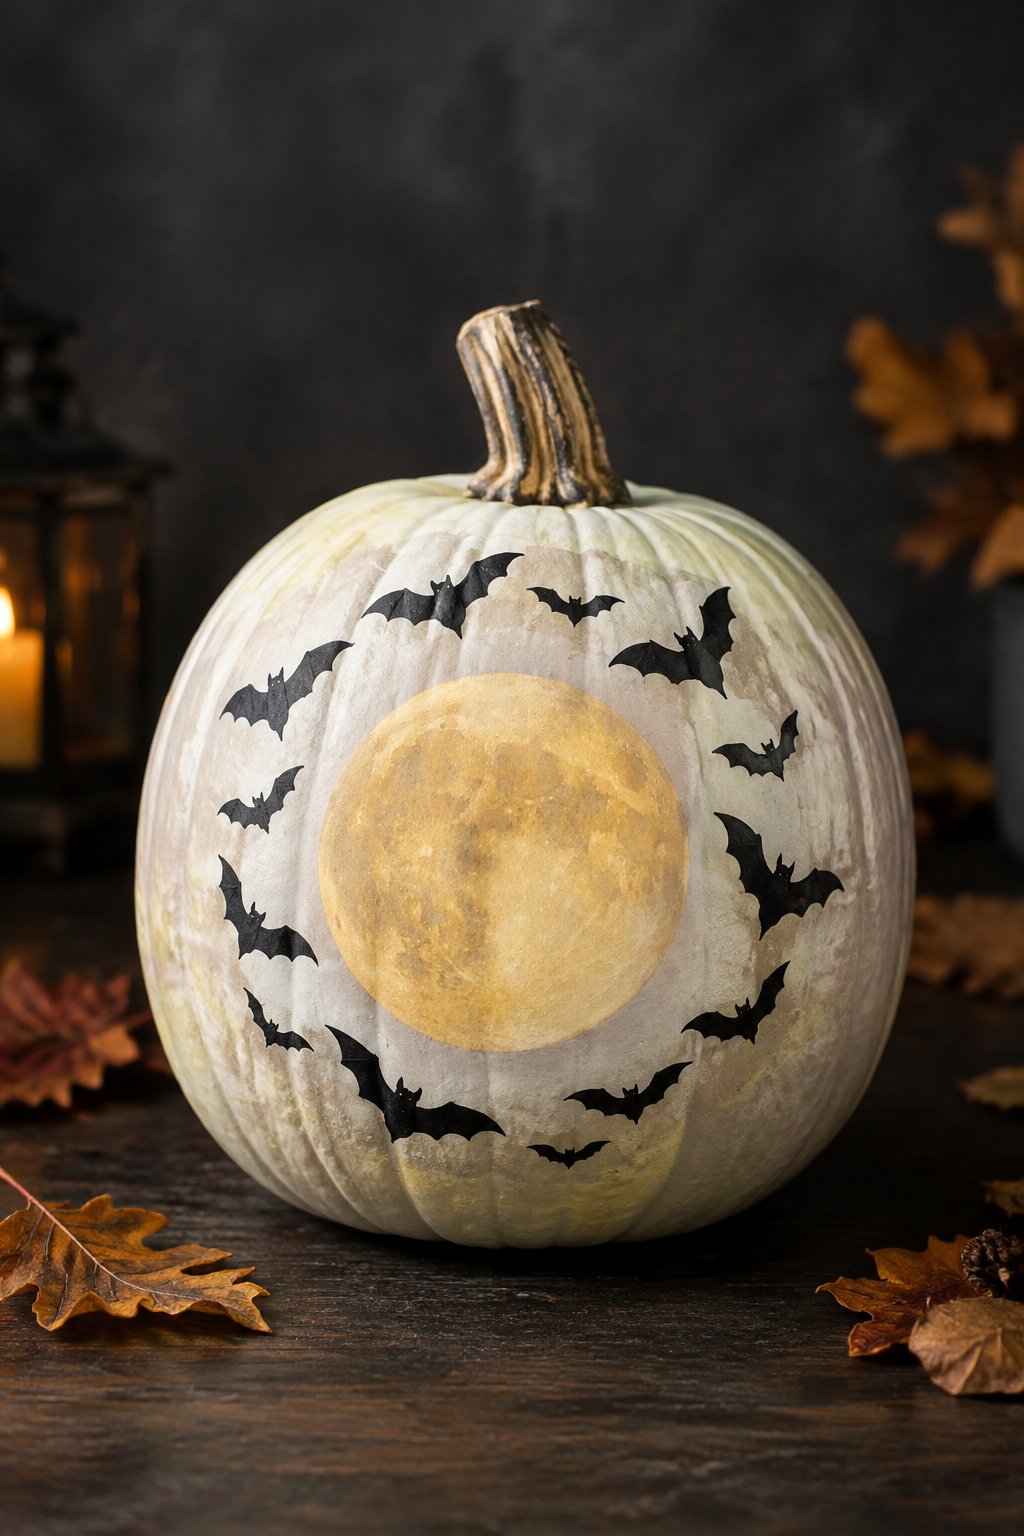
A large full moon takes center stage on this tall pumpkin, with a ring of small bats circling around its edge. The moon’s size makes it the clear focal point of the whole design.
Use a round object like a lid to trace a perfect circle for the moon before filling it in. This design suits taller pumpkins with enough flat space for a large moon shape.
33. Starry Night Bat Scene
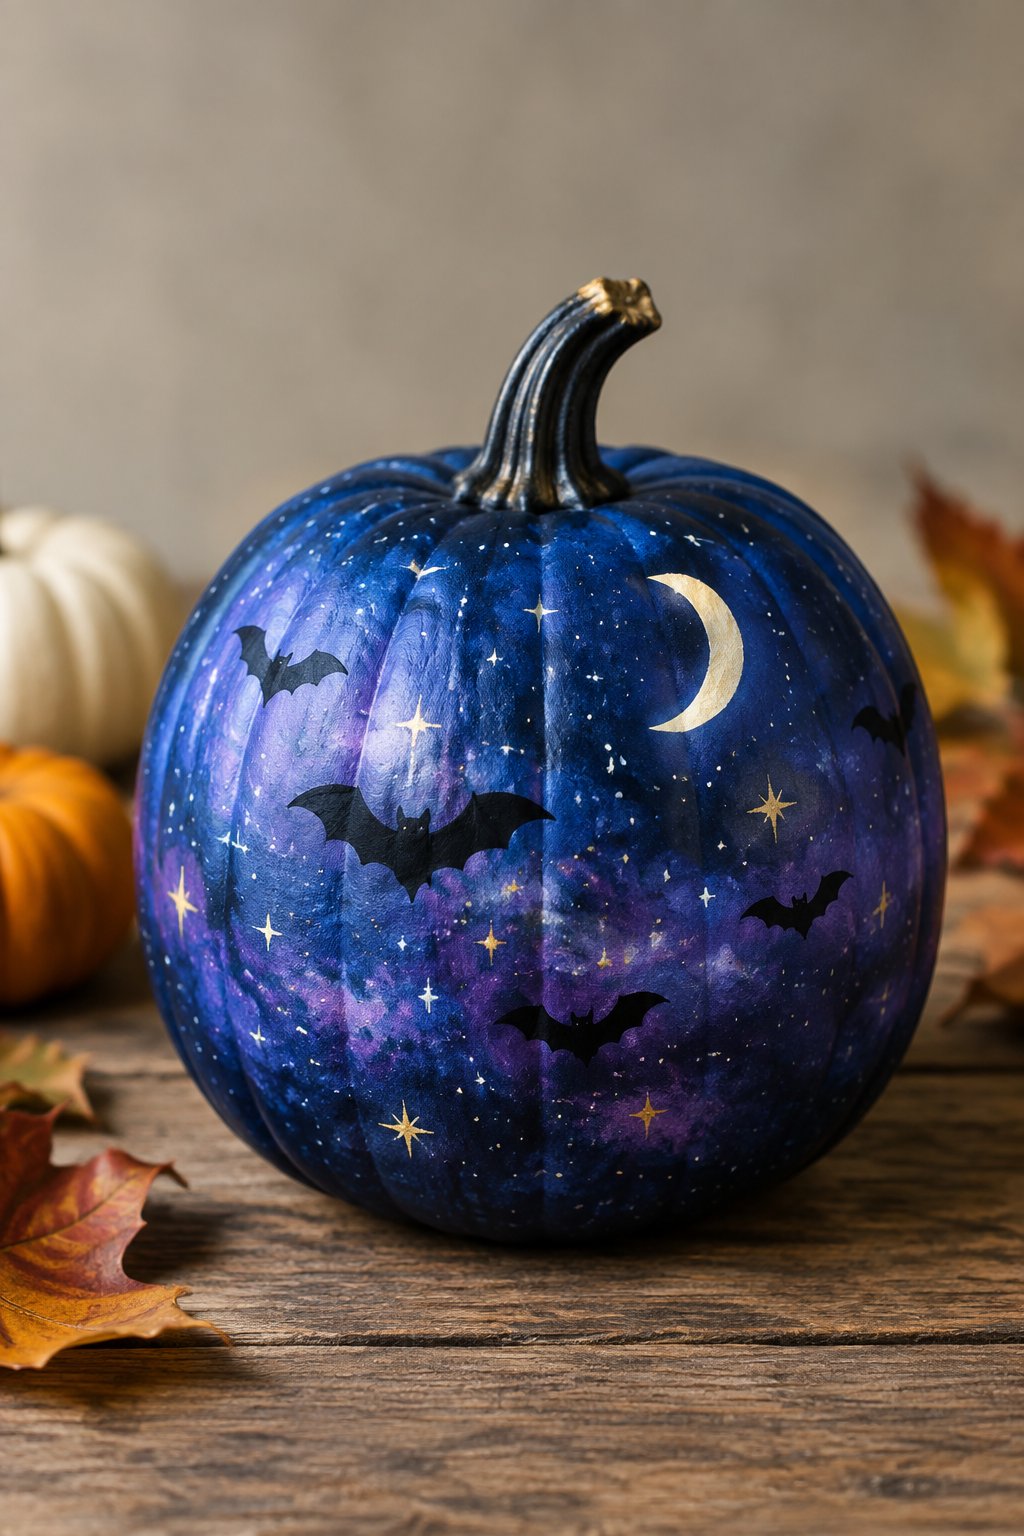
Tiny painted stars dot this dark blue pumpkin alongside a crescent moon and a few flying bats, creating a full night sky scene. The stars add sparkle and depth to the darker background color.
Use a small dotting tool or the back of a paintbrush to add star dots after the main shapes dry. This design works nicely as part of a nighttime-themed table display.
Bat Pumpkins for Every Porch
34. Porch Step Bat Row
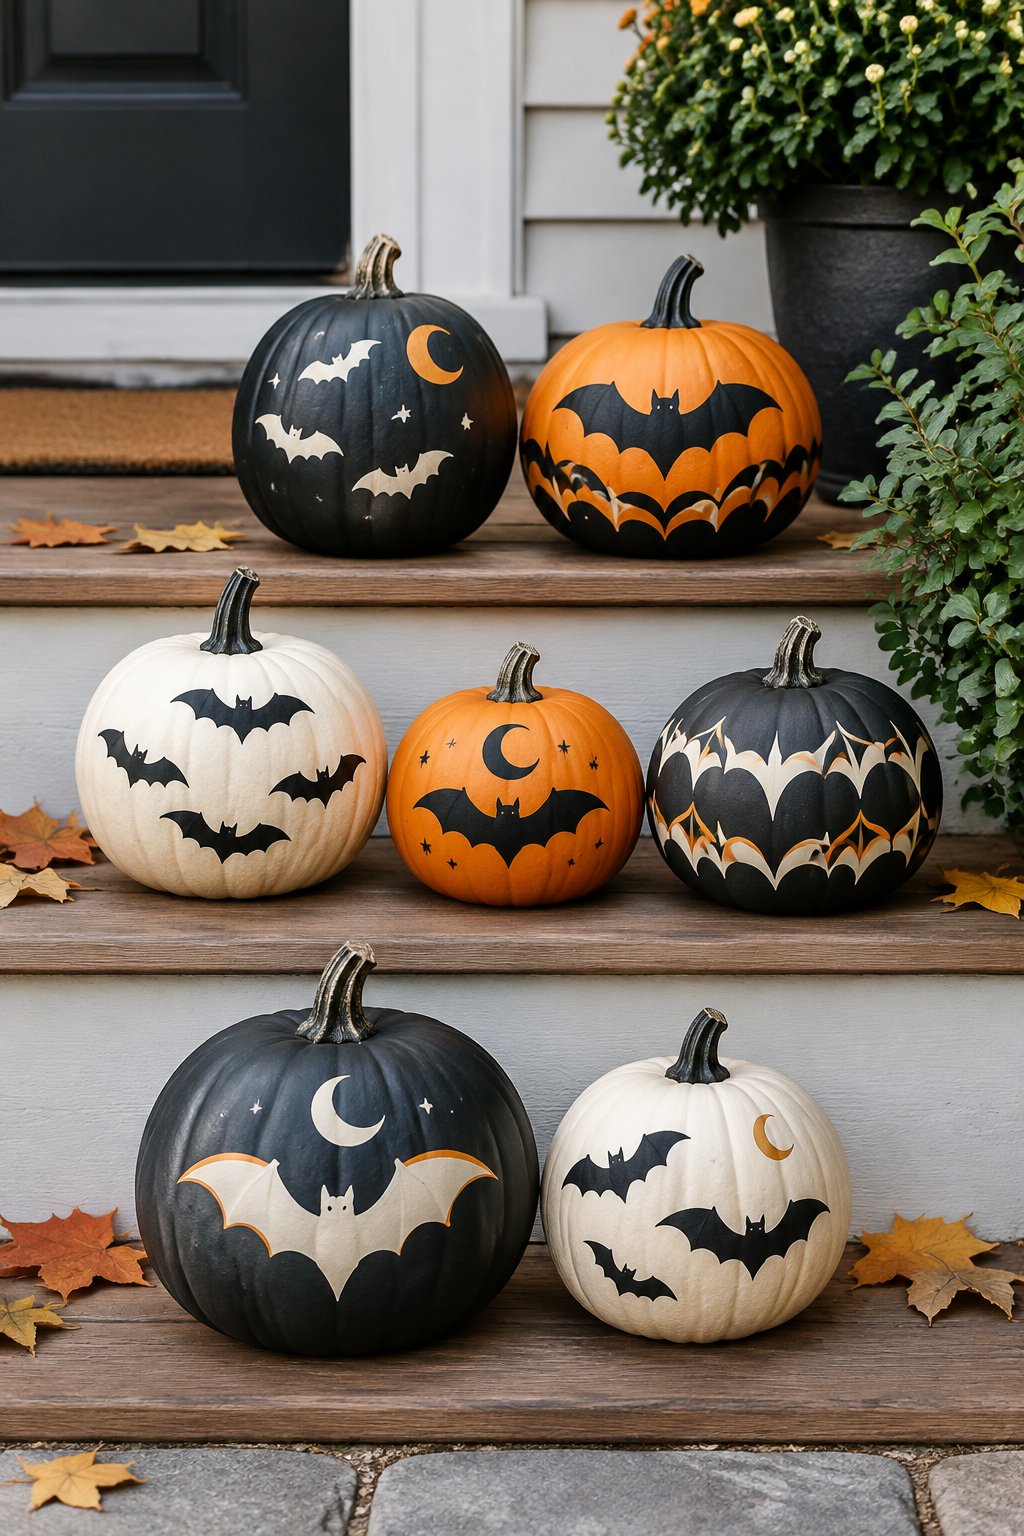
A row of pumpkins, each painted with a bat design of increasing size, lines wooden porch steps from bottom to top. The graduated sizing creates a fun visual path leading up to the front door.
Start with your smallest bat design on the smallest pumpkin and work up in size and detail. This arrangement is an easy way to use extra pumpkins from your patch without repeating the same design twice.
35. Mantel Bat Centerpiece
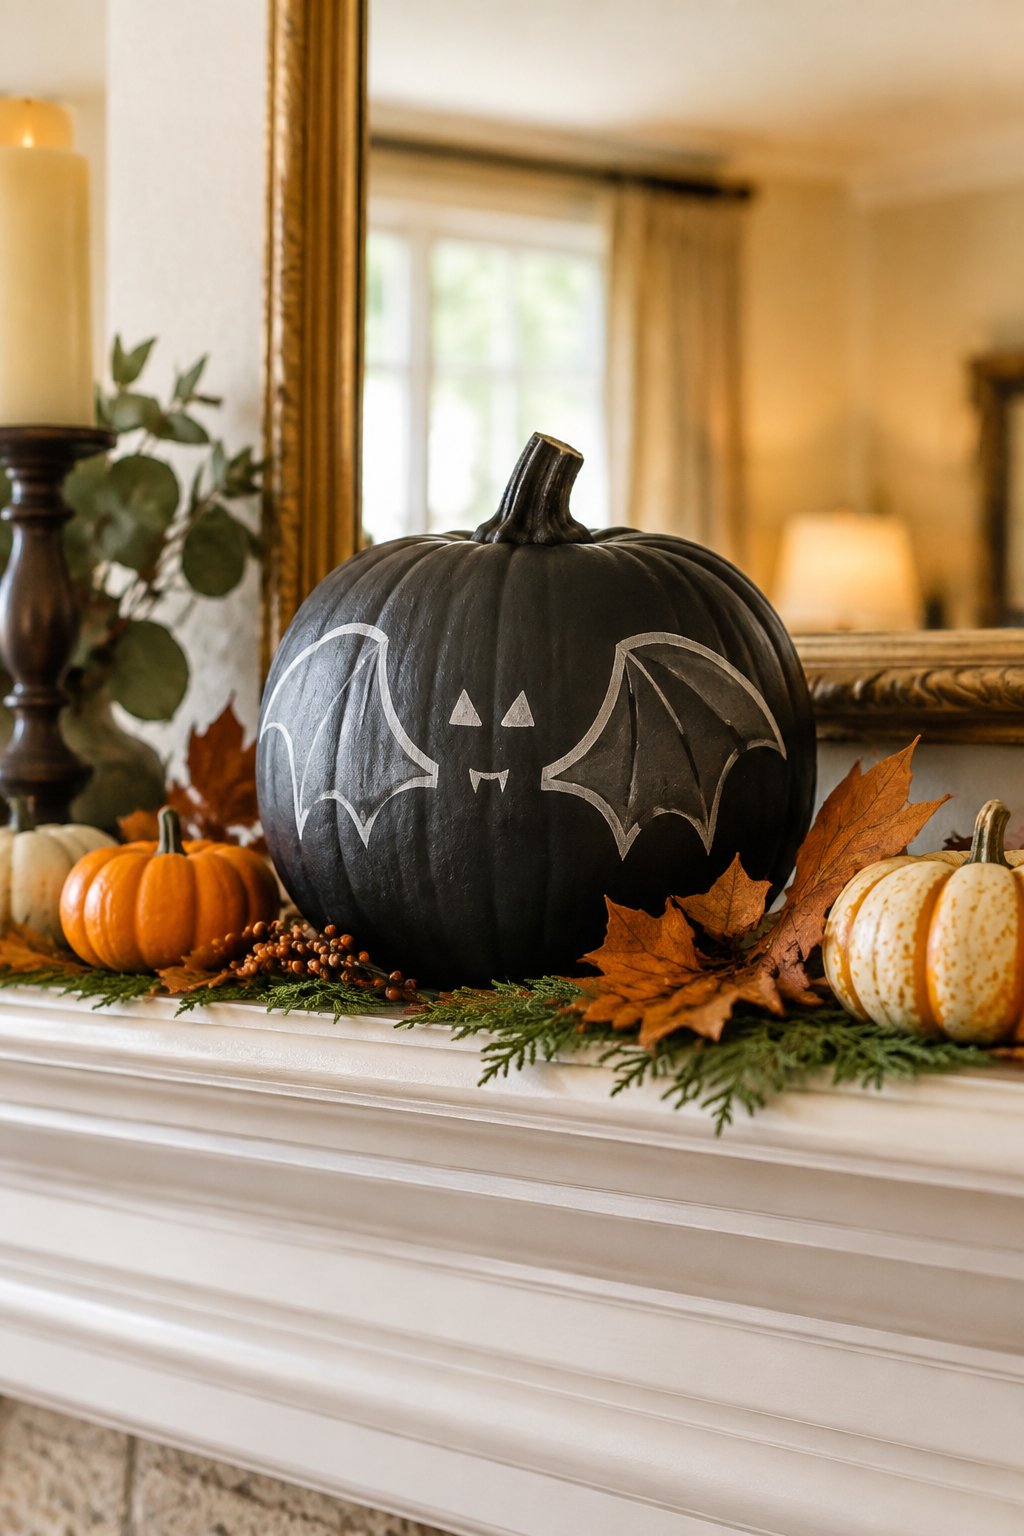
A large orange pumpkin painted with a bold bat silhouette anchors this mantel display, surrounded by candles for extra warmth. The bigger surface gives the bat design plenty of room to stand out from across the room.
Choose your biggest, roundest pumpkin for this spot since it needs to hold visual weight on a mantel. Keep candles a safe distance away and never leave open flames unattended near the display.
36. Windowsill Bat Trio
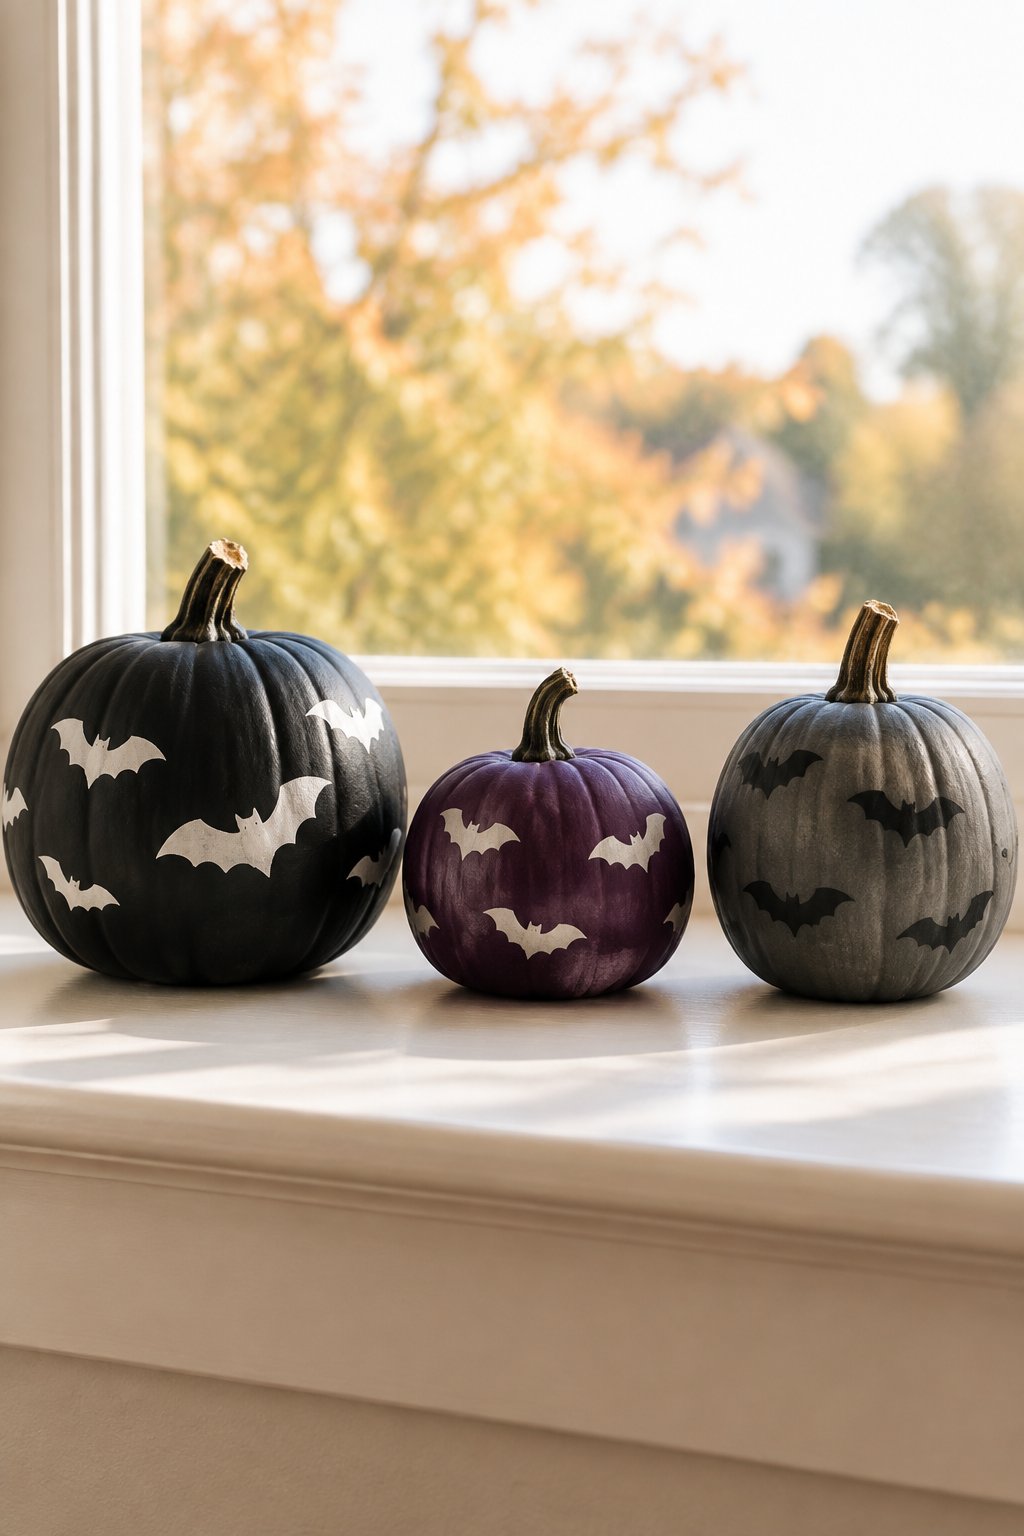
Three mini pumpkins, each painted with a different simple bat design, line up along a sunny windowsill. The natural light shows off the different designs nicely throughout the day.
Space the pumpkins evenly and vary each design slightly so they don’t look identical. This spot works well for smaller mini pumpkins that won’t block window light.
37. Stacked Bat Pumpkins
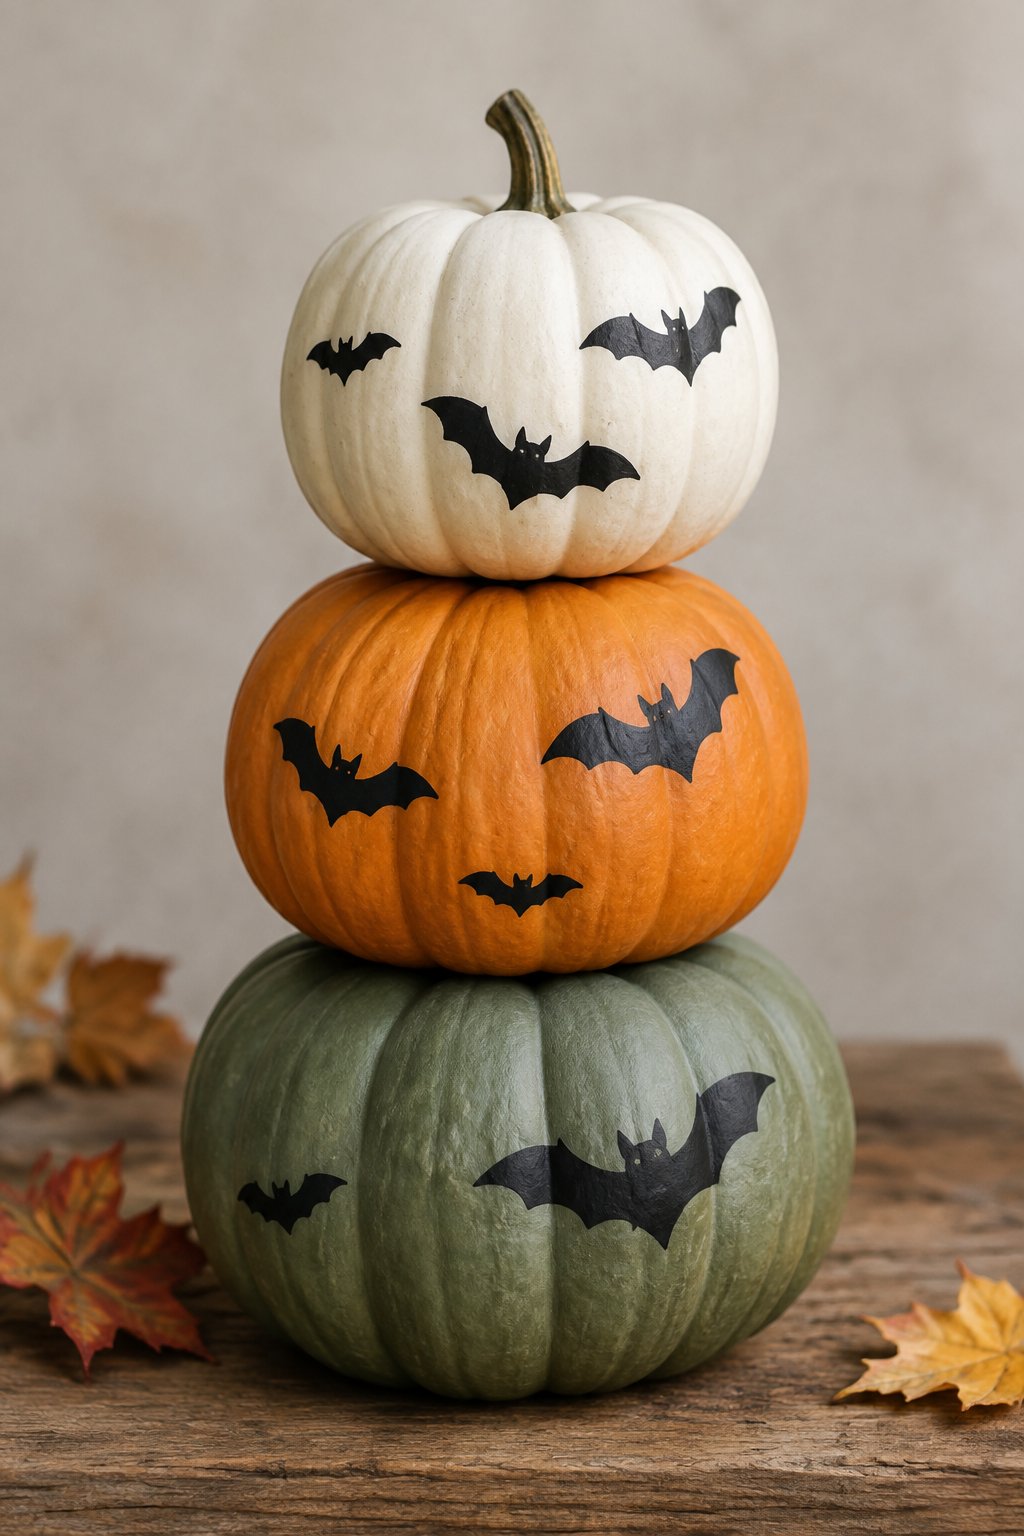
Two pumpkins stack on a wooden crate, with the top one painted with bats and the bottom one left plain orange. The contrast between painted and plain adds visual interest without extra painting work.
Choose a smaller pumpkin for the top so the stack stays sturdy. A dab of hot glue between the stems helps keep the stack steady if it sits somewhere breezy.
38. Shelf Bat Collection
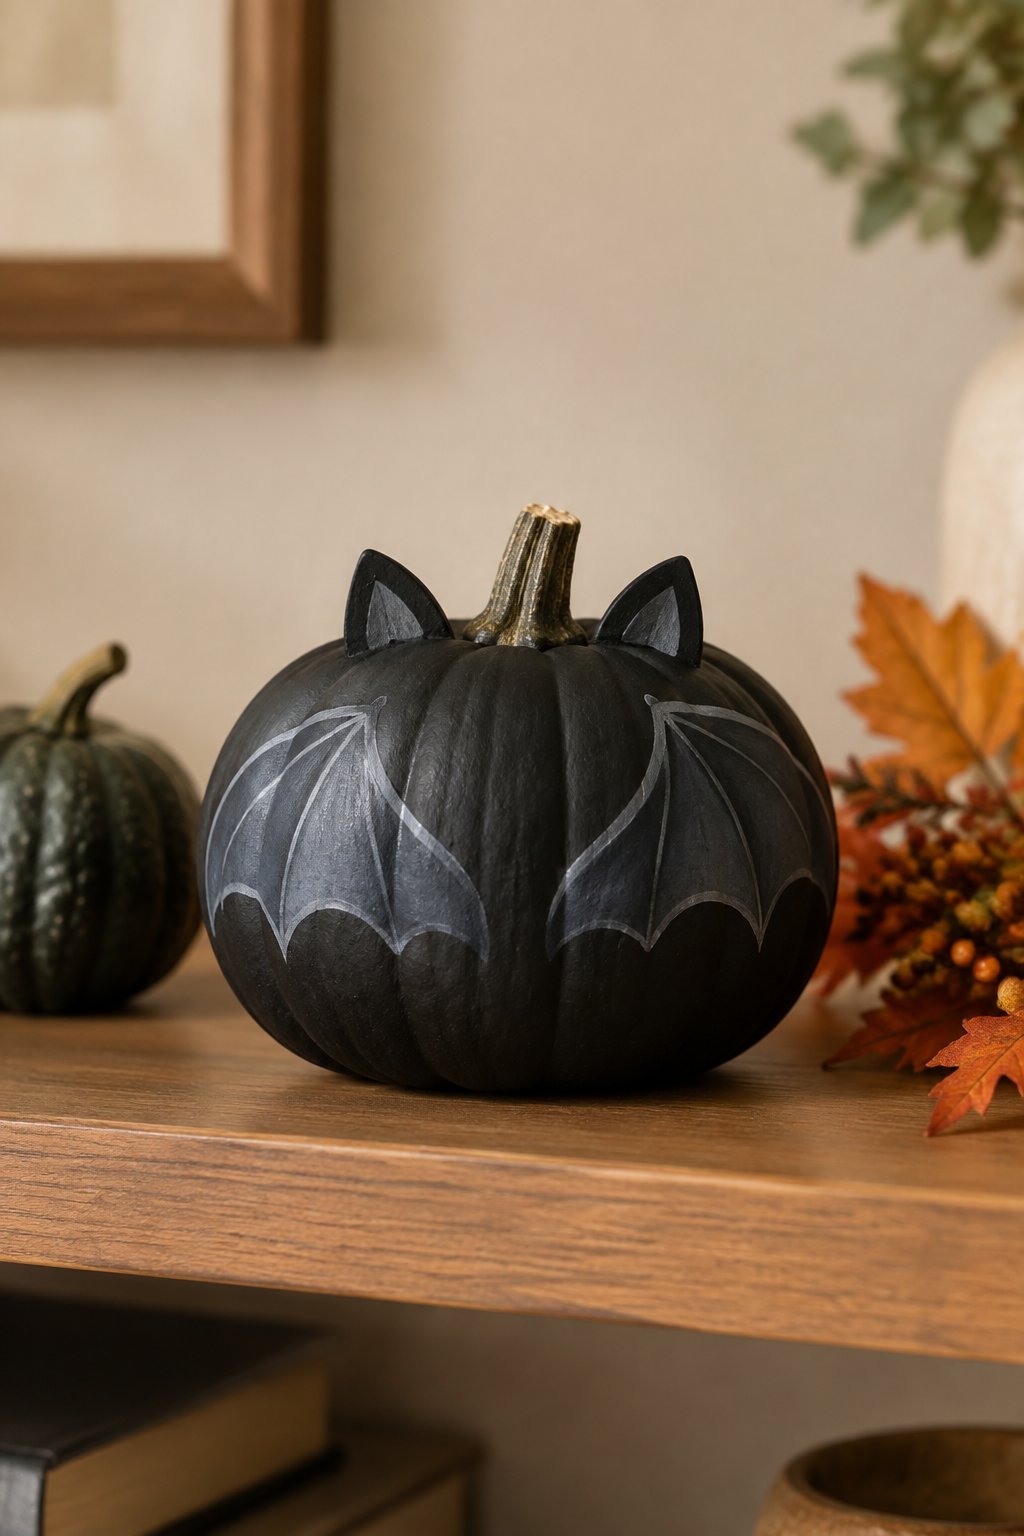
Four small pumpkins, each painted with a unique bat motif, sit together on a floating shelf alongside other autumn decor. The collection format lets you mix silhouettes, faces, and patterns all in one spot.
Group pumpkins of similar size together so the shelf display looks balanced. This is a great way to showcase a whole season’s worth of painting projects in one place.
39. Table Bat Centerpiece
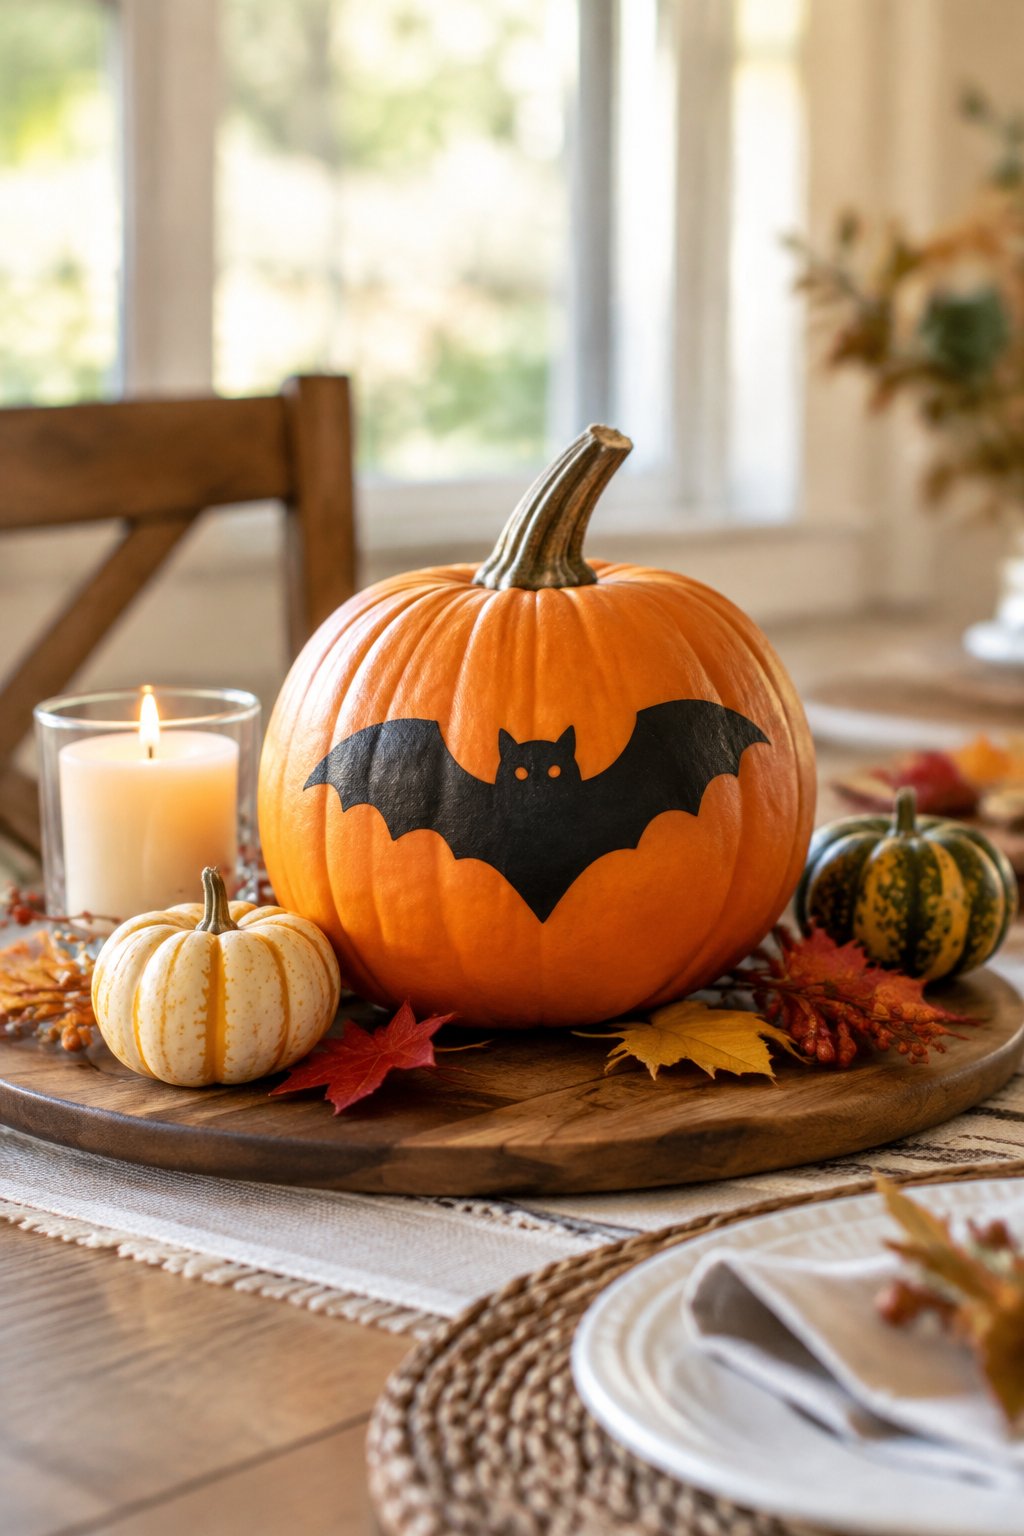
A wide white pumpkin painted with a cluster of bats sits as the centerpiece on a rustic wood table, surrounded by other fall touches. The white base makes the black bats look extra crisp against the wood grain below.
Choose a pumpkin with a flat bottom so it sits steady at the center of the table. This design works well for Halloween dinners or fall gatherings where guests will view it up close.
40. Tall Bat Pumpkin Duo
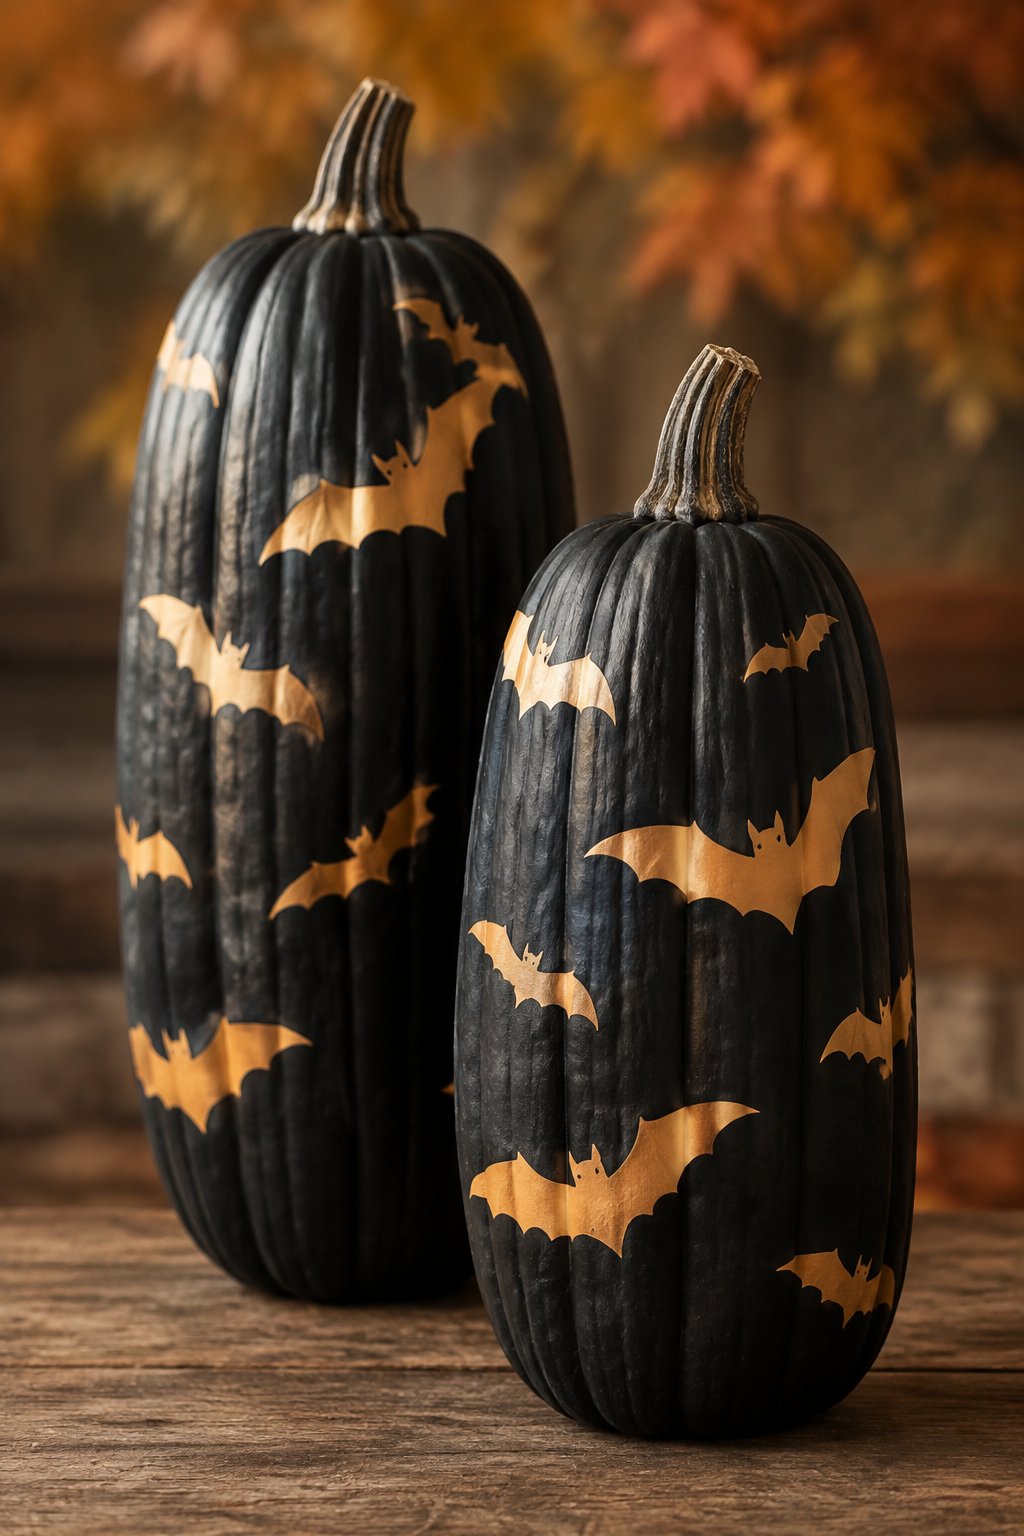
Two tall orange pumpkins stand side by side, each painted with a single large bat silhouette. The matching height and design make them look like a coordinated pair rather than two separate pieces.
Pick pumpkins that are close in size and shape so the pair looks balanced when placed together. This duo makes a strong statement flanking a front door or staircase.